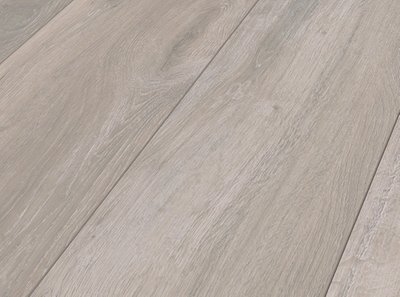
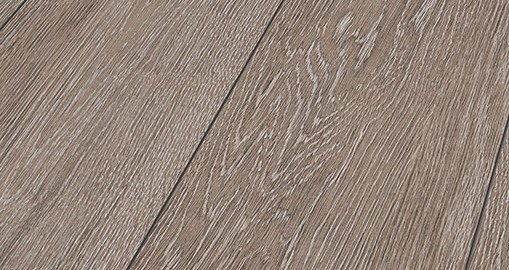
Laminate Flooring Packs - Rockford Oak
- Product number
- P007655
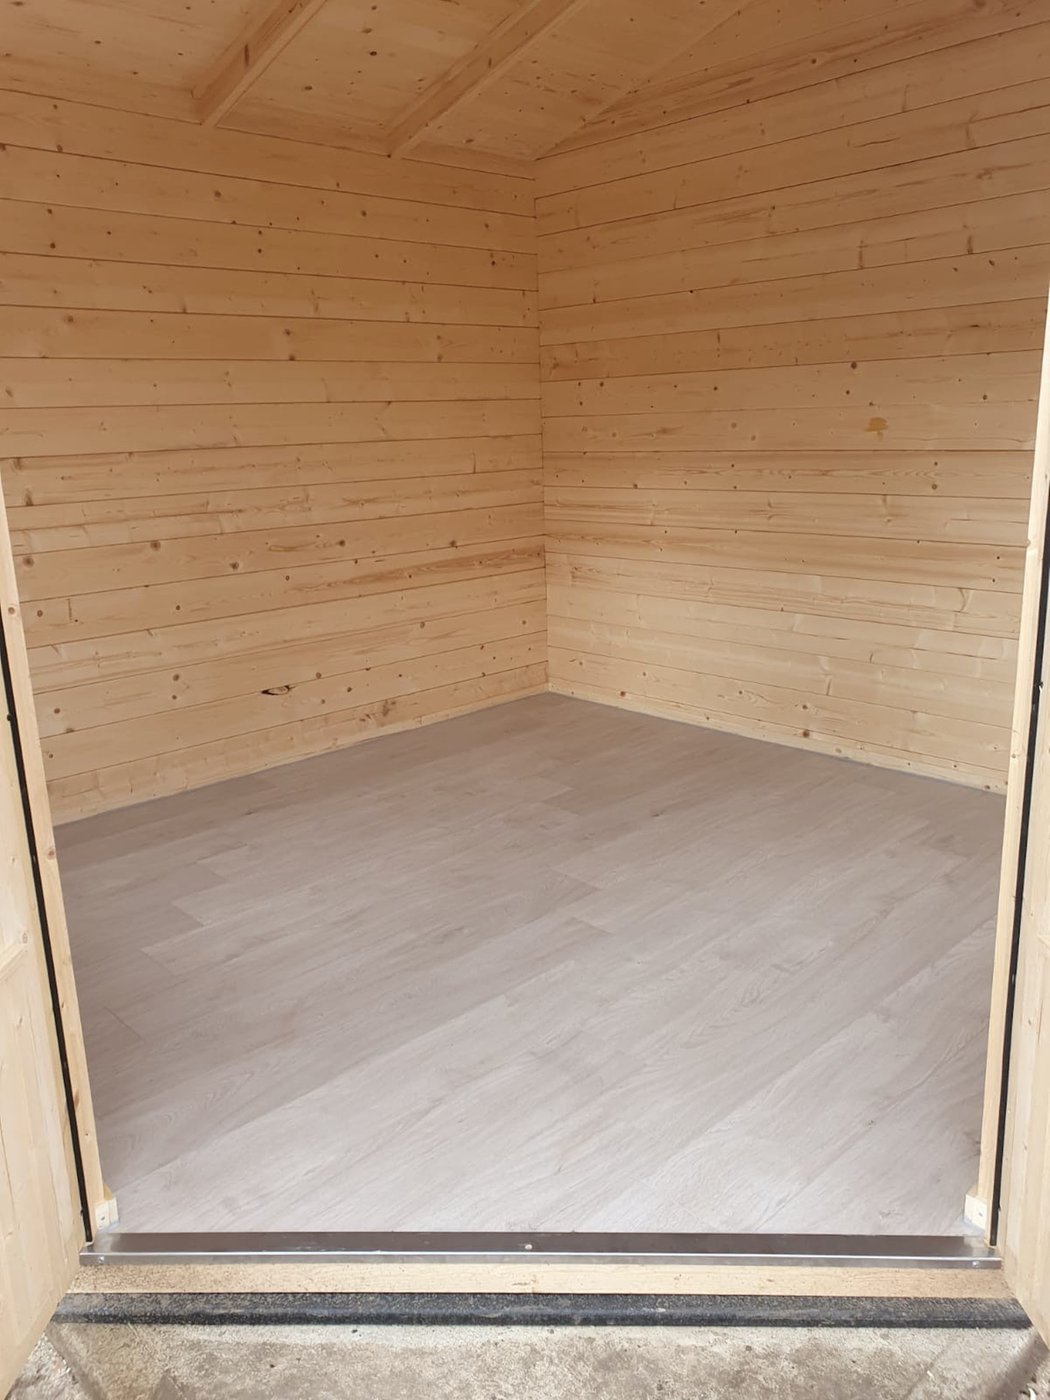
- Finish off your building with a laminate floor. The laminate is 8mm thick and one pack can cover 2.22 m² of area, made of a high quality suitable for commercial spaces, making it ideal for use in your Log Cabin.
208.23
incl. vat
- 10 year timber guarantee *
- Unbeatable Industry Knowledge
- Free delivery to most UK homes *
Pros and cons
made of a high quality suitable for commercial spaces
Laminate Flooring Packs - Rockford Oak
Finish off your building with a laminate floor. The laminate is 8mm thick and one pack can cover 2.22 m² of area, made of a high quality suitable for commercial spaces, making it ideal for use in your Log Cabin.
For use on top of a sub floor
How this page works
Here it is possible to purchase individual packs of laminate flooring based on your own needs and calculations
We are only supplying the laminate packs themselves, They do not include the other elements that may be needed to complete the process such as Joists, Sub Flooring, Skirtings or Underlay.
If you are also purchasing one of our cabins, Please visit our Laminate flooring for log cabins page instead.
Installation Advice
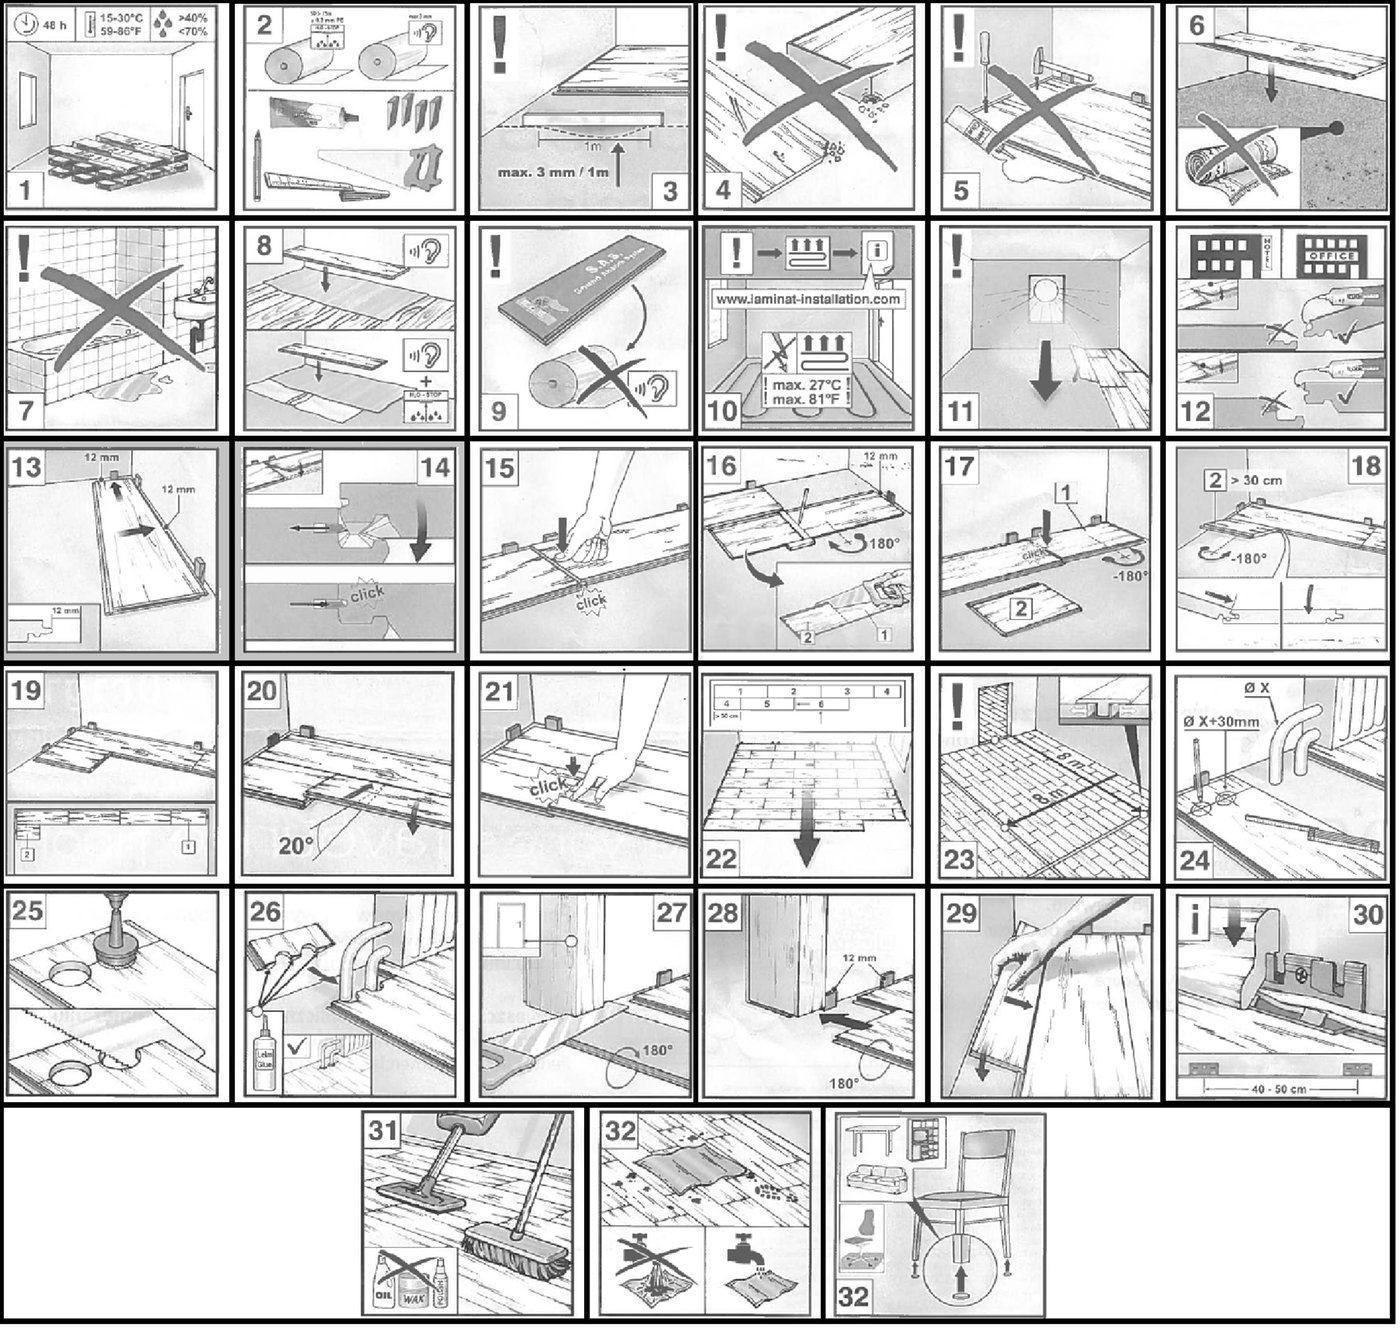
The laminate floor packages should be stored in a similar condition to where it's being installed for 48 hours prior to installation. Keeping the packets in your Log Cabin will pre-condition the laminate for long term durability and proper fitting.
Ideal conditions should be a temperature between 15 – 30°C and a relative humidity of 40 - 70%
Laminate flooring is installed as a floating floor, similar to our Log Cabin floors. They shouldn't be glued, screwed or nailed into place.
In most cases the laminate will benefit from being installed on a purpose underlay.
If underfloor heating is used in the cabin, please ensure it is properly installed and that a temperature of 27°C shouldn't be met underneath the flooring.
It's recommended to lay the floor panels in the direction and length from the source of light.
Begin installation on the left corner of the room, please ensure that a 12-15 mm expansion gap is left from the wall, insert a second panel on the end of the first panel, at an angle of 30° insert the second board into the groove profile of the laid panel- Then lay flat on the floor, ensuring the edges are aligned to form a straight line.
When you reach the end of the row you may need to trim the side of the floor panel with the use of a saw, using the remnants of the previous panel to begin the second row, so long as there is at least 30 cm of flooring to use. Continue the installation by inserting and locking the flooring into place lengthwise. Then proceed to lock it into place. At a 20° angle, push the panel to the left and lock into place edgewise.
A hammer/mallet may be used to lock the two panels together, pushing them down until you hear an audible click. Then continue with the rest of the flooring.
For maintenance, remove dirt by sweeping or with a vacuum suitable for hard floors. If you need to further clean the floor a thoroughly-squeezed and drip-free cloth should be used.
Extras like skirtings and conversion pieces are not supplied with in these kits.
Features
Size per panel: 1285mm x 192mm x 8 mm
Nine panels in each package
2.22m² coverage per package
AC4 quality - Meaning that the floors can also be used in commercial spaces with ‘standard’ foot traffic
4 sided V-grooving for an authentic look
Simple laying with a 1clic 2go pure interlocking system
Anti-bacterial coating
Made from eco-friendly materials
20 year manufacturer guarantee
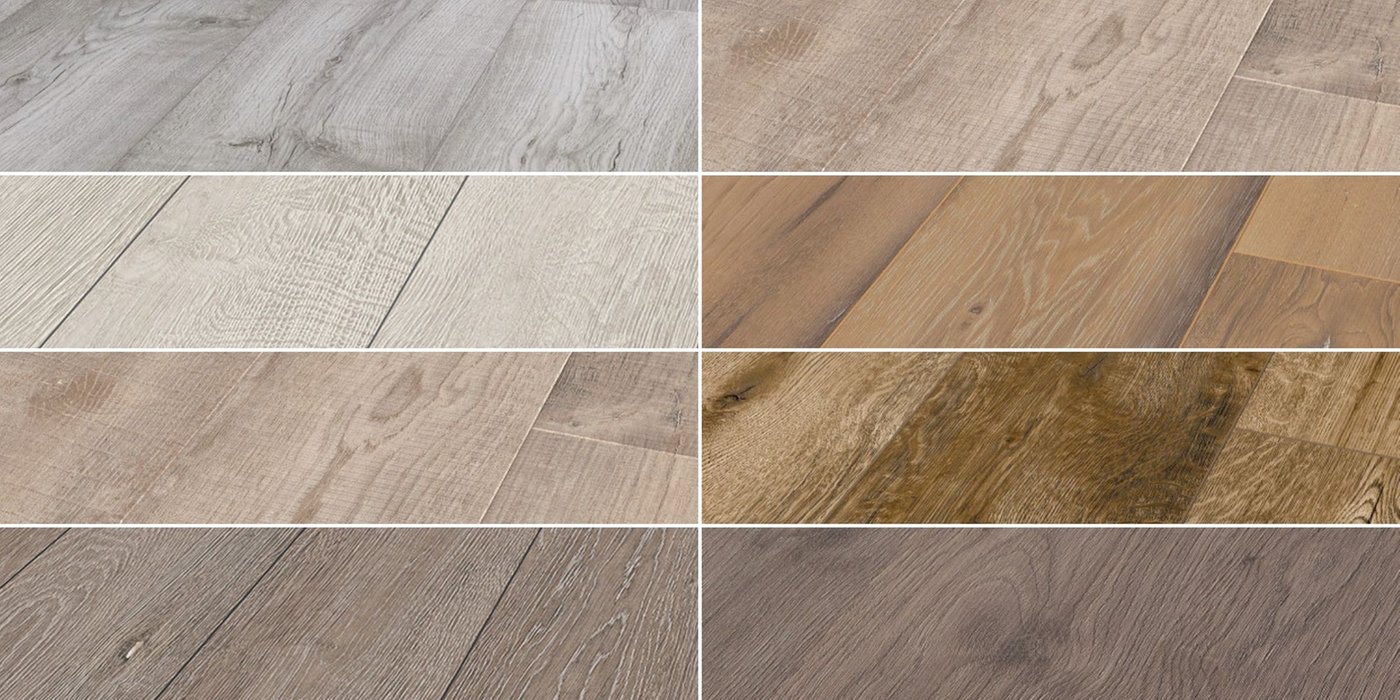
Alternative products
