Log cabin insulation - Floor and roof
If you were one of my customers and you were buying a lovely new log cabin from me, especially one of our thicker wall log cabins such as 50mm upwards, I would be strongly urging you to insulate at the least the floor of your new log cabin. I would also try to nudge log cabin insulation for the roof as well.
You may also be interested in this post on double glazing, R and U values and Log cabin thermal properties: Double Glazing in Log Cabins

Introduction to insulation
The benefits are obvious for you. You’ve decided upon your building, you’ve weighed up the benefits of the thicker logs and of course the double glazing. But, you lose a lot of heat from the floor. Additionally, the cold rises up and, of course, loses loads of heat through the roof. Ideally we want these areas insulated and to the same or similar as the wall thickness.
As of recent, we have also started selling Insulation Kits for Log Cabins. These include all of the necessary materials needed to insulate both the roof and floor of your Log Cabin. While we offer these kits ourselves, you may want your own insulation supplies from a local builders merchant. I’ll explain what you need to do this along with advice on insulating your log cabin ready for the colder months.
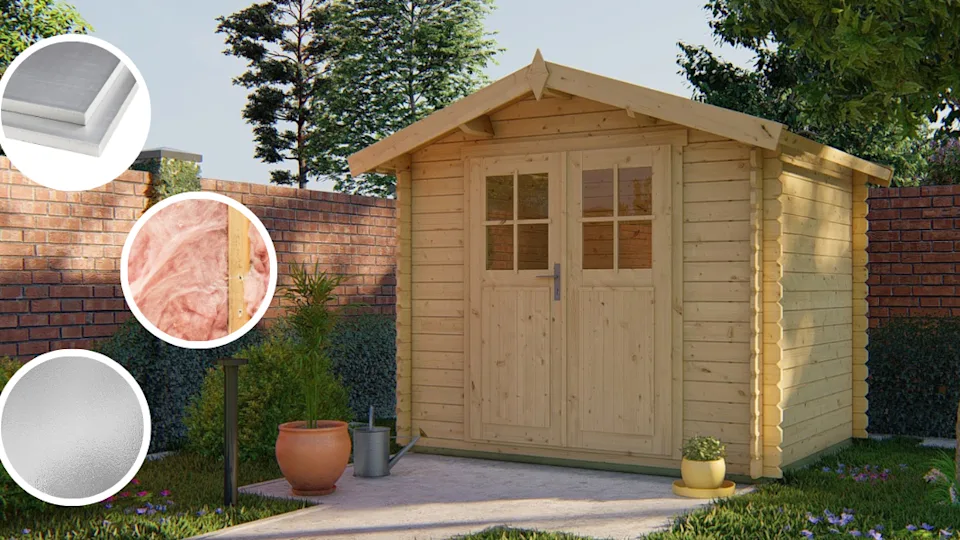
I like the Celotex brand of board. I’ve used several types over the years but get on best with this one.
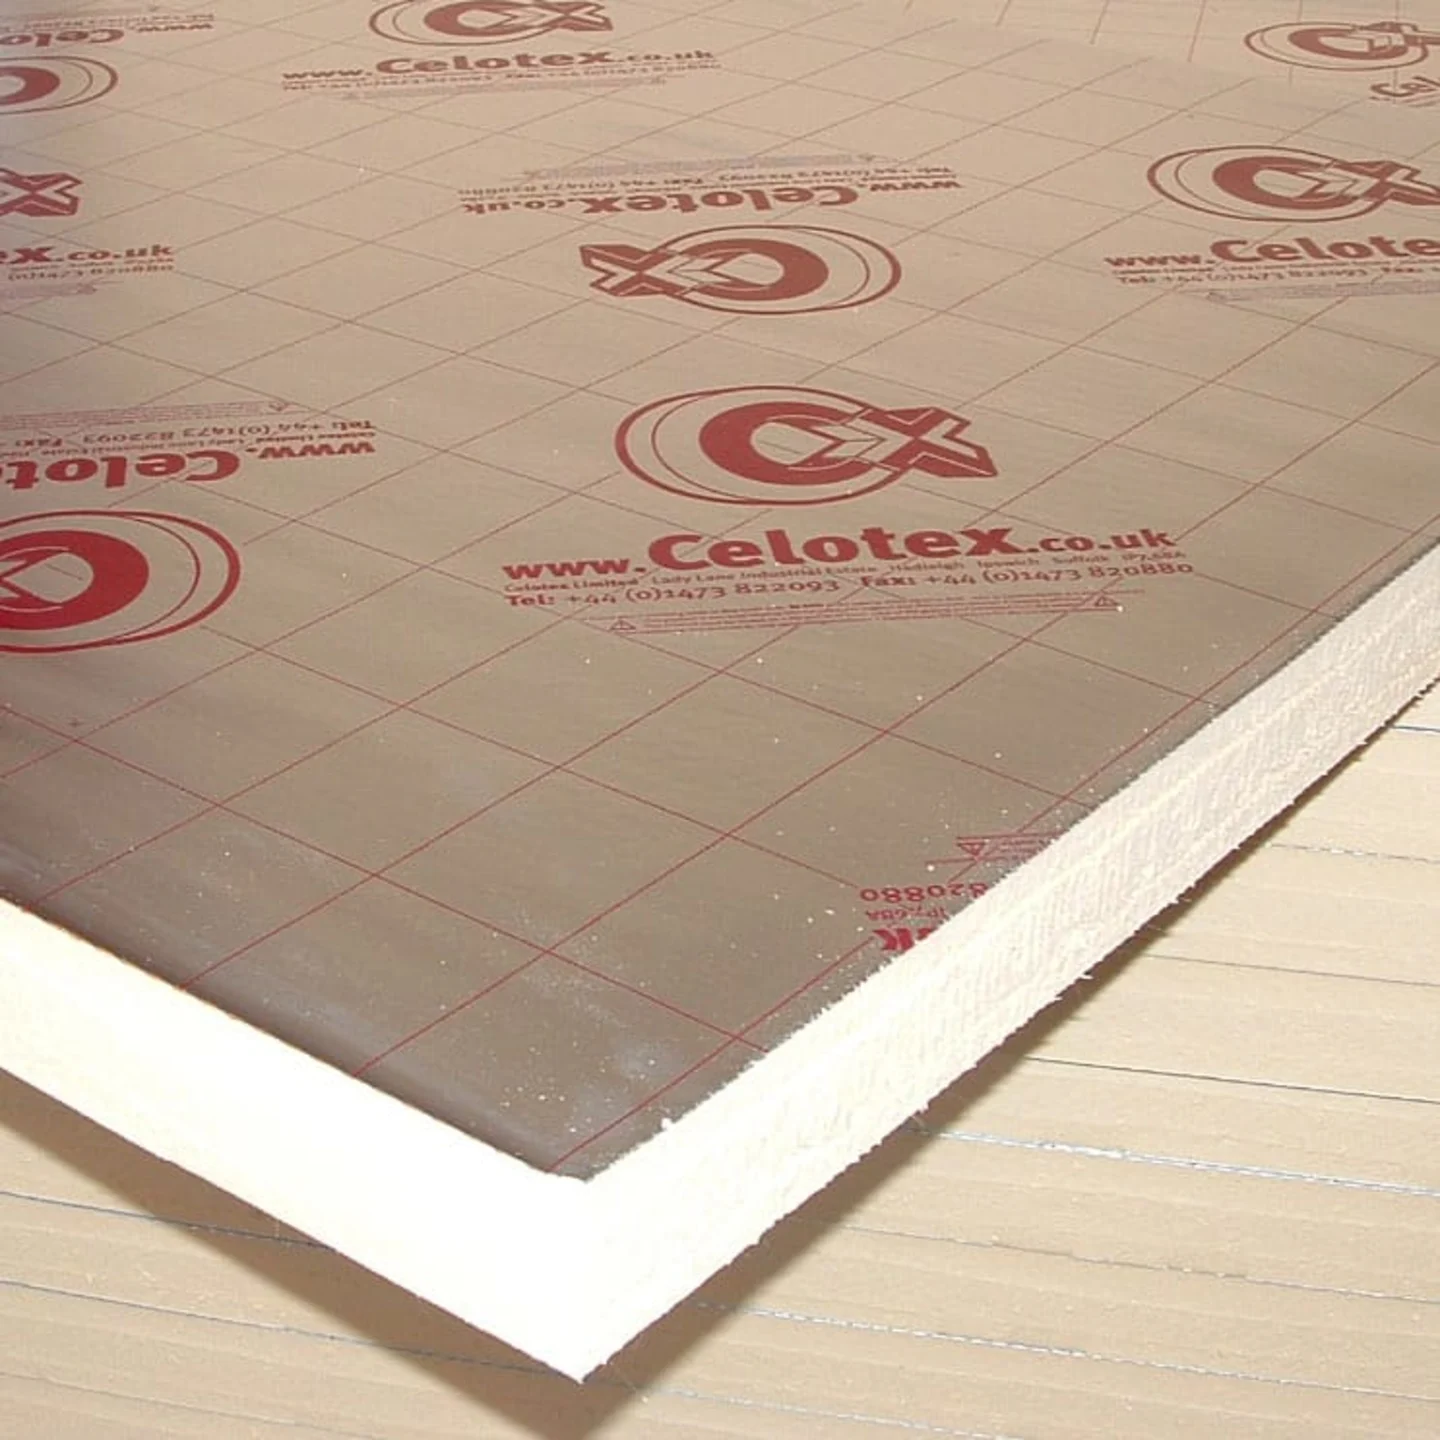
I know lots of other manufacturers do a similar product, some better and some worse. That part is up to you but I prefer a solid fibre board to work with as above.
Of course there are lots of ways to accomplish an insulated roof and floor. Some fitters favour adding it underneath the roof and boarding it out thus keeping the insulation in. Some will put a frame on top of the roof and use rockwool and ply over the top. I have never used these methods as I can’t see the benefit other than perhaps a saving in the insulation material cost itself.
So, my rough and simple guide on how to insulate your roof and floor of your new log cabin.
Insulate the floor
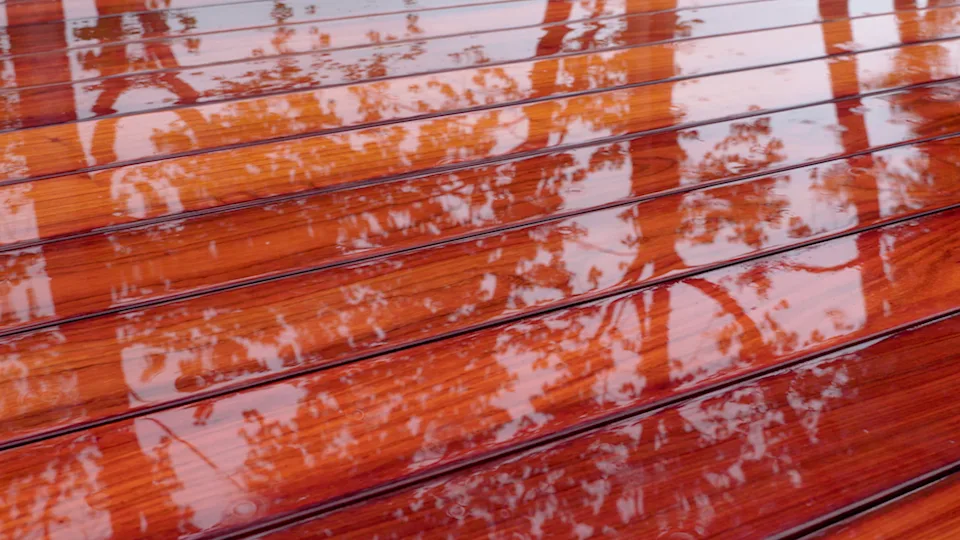
A quick one before explaining this: Have you considered a DPM? A damp proof membrane either within your base or on top of it. It’s well worth it and prevents any damp coming up and into your building. (http://en.wikipedia.org/wiki/Damp_proofing)
I build my log cabin as usual on the 44mm tanalised timber foundation beams we supply with every building. I’ve now completed the build. What’s left is laying the floor down and applying the roof covering. If I’m using a floor pack I will set out my floor bearers as normal. I then cut up my insulation board which I’ve ordered from the local builders merchant at 50mm deep. This sits perfectly between and within the bearers, the joists support my build while the insulation boards supports it. If you want to be exact to the joists then use 40mm.
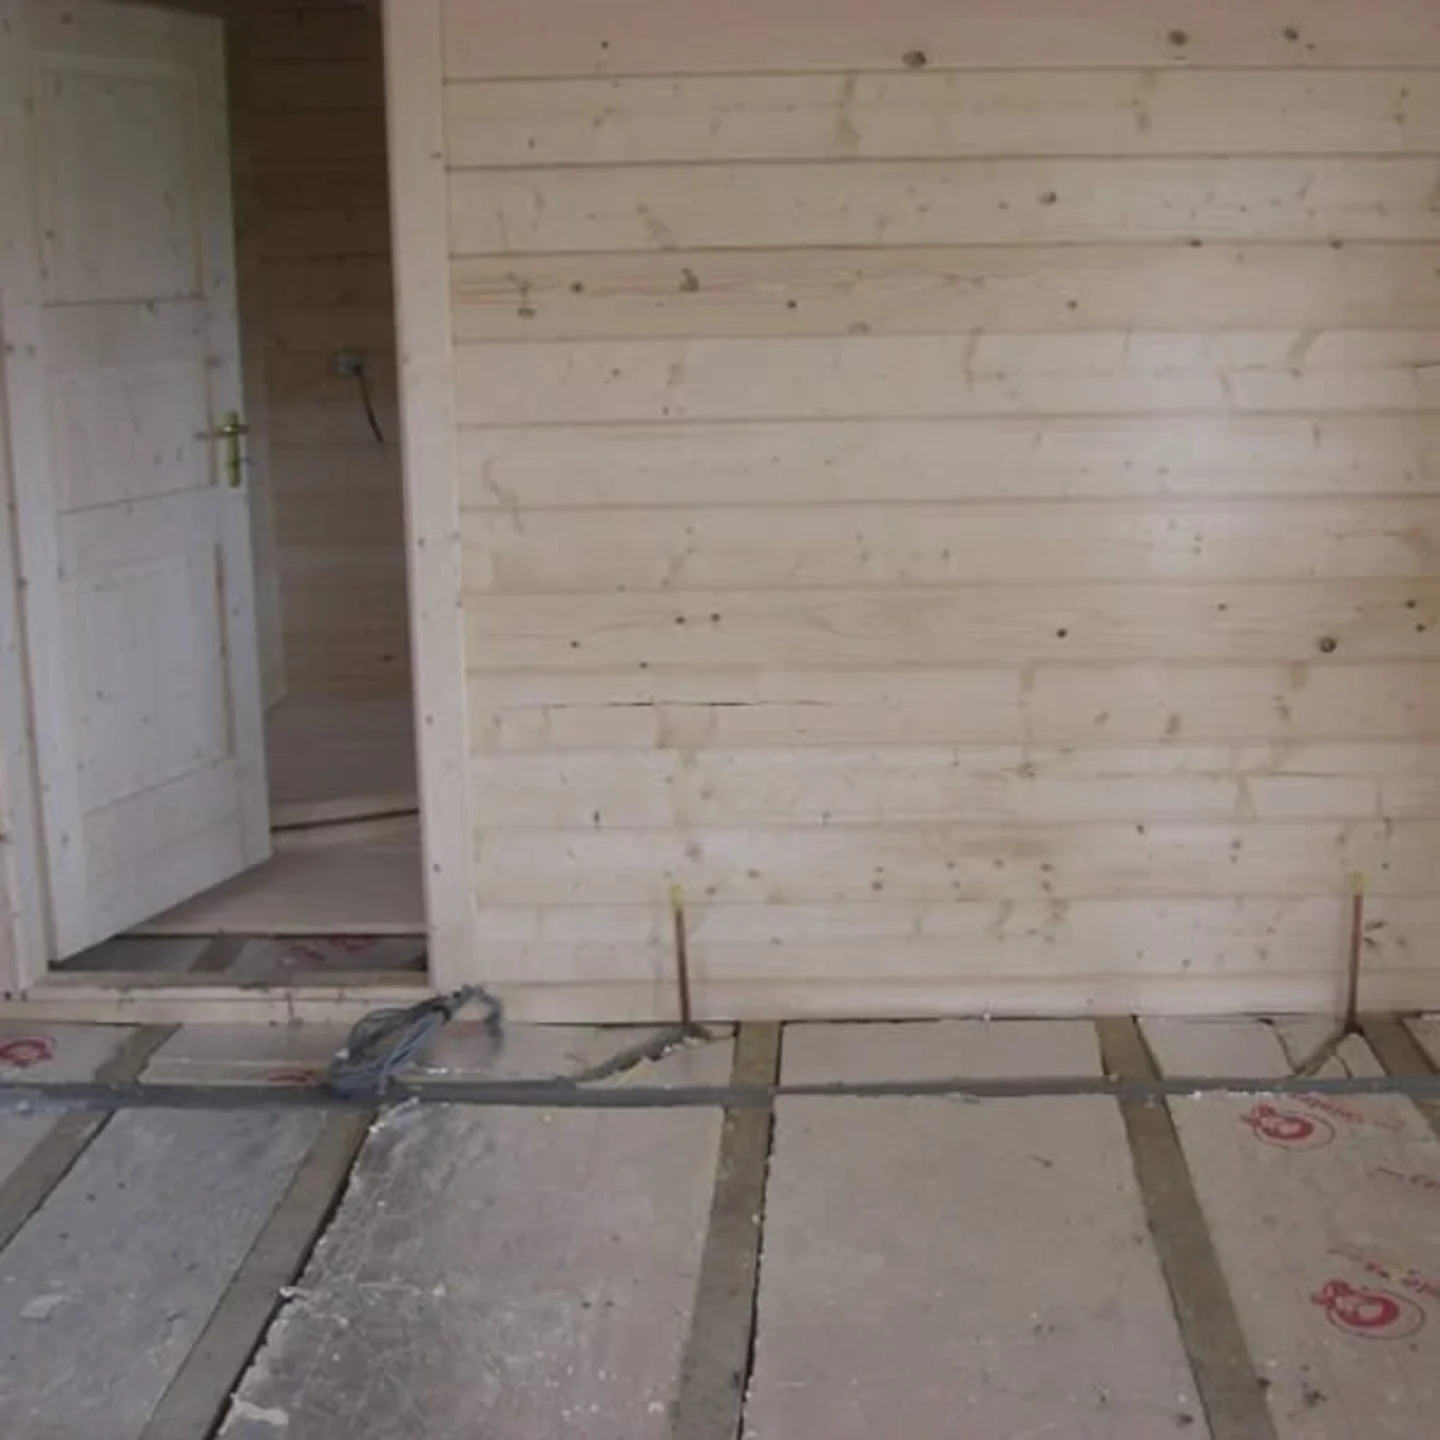
Now I simply lay my floor boards as normal, happy with the insulated floor.
Obviously you’ll need to work out how much board you need with a simple calculation of length x breadth to find the square meter and order the equivalent from your local builders merchant.
Insulating the roof of your log cabin
The roof is a little trickier to do and takes a little more work. Before we start you need to decide what thickness of insulation board to use. 50mm, the same as the floor is very convenient and often used. You could also go up to 70mm to gain the same R value. I have also used 100mm when specified by planners. Regardless the same principle applies.
Work out how much you need by calculating one side of the roof area and times it by two. As well as the insulation boards you will also need to order longer clout nails. These need to be long enough to go through the final roof surface, insulation and into the roof timber boards. If you’re using 50mm insulation then order 65mm nails for the flats of the roof and 70mm clout nails for the ridges.
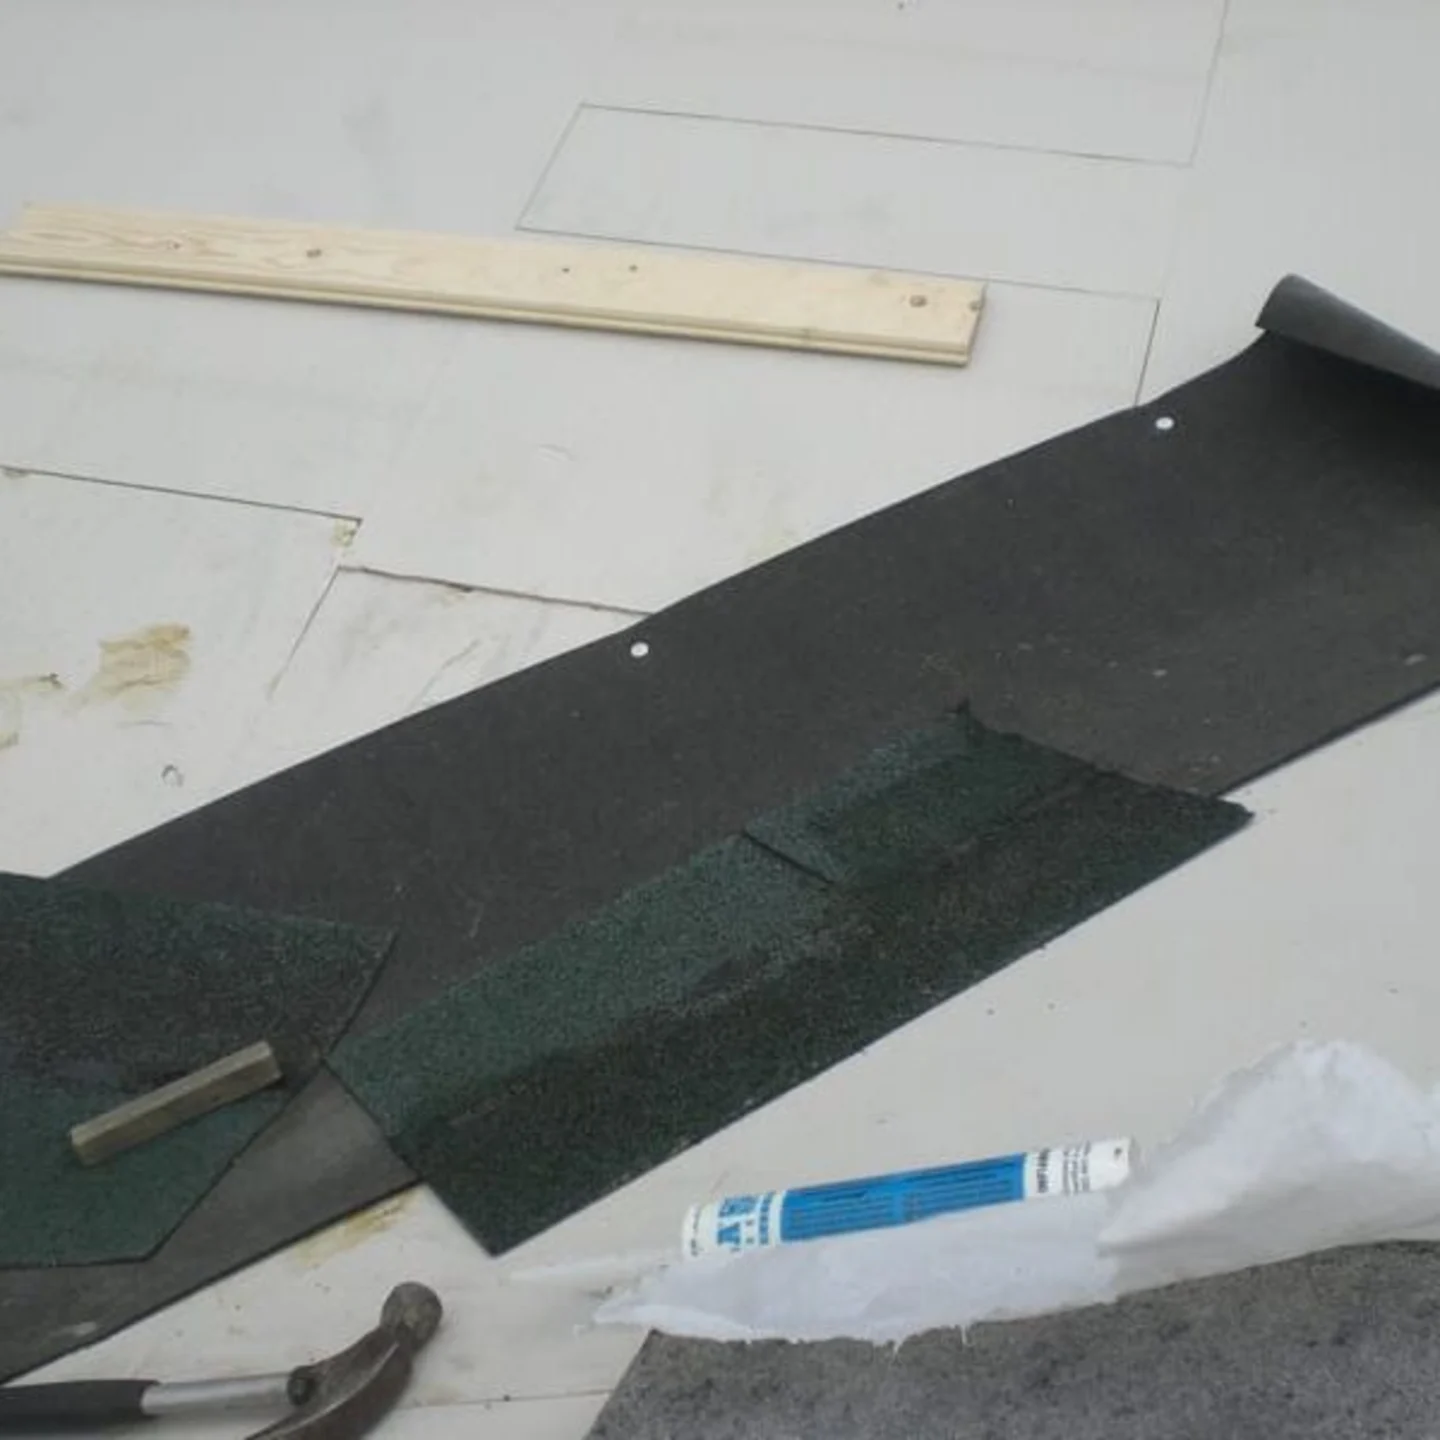
Lay the boards so they are flush with the leading edge. Bare in mind this is going to be exposed so consider how you’re going to cover it. In this example we were using 50mm board and turned the roof trim the other way up:
You can also cover this portion later with additional timber but it is worth considering it at this point. You may need to source locally the additional trim timber.
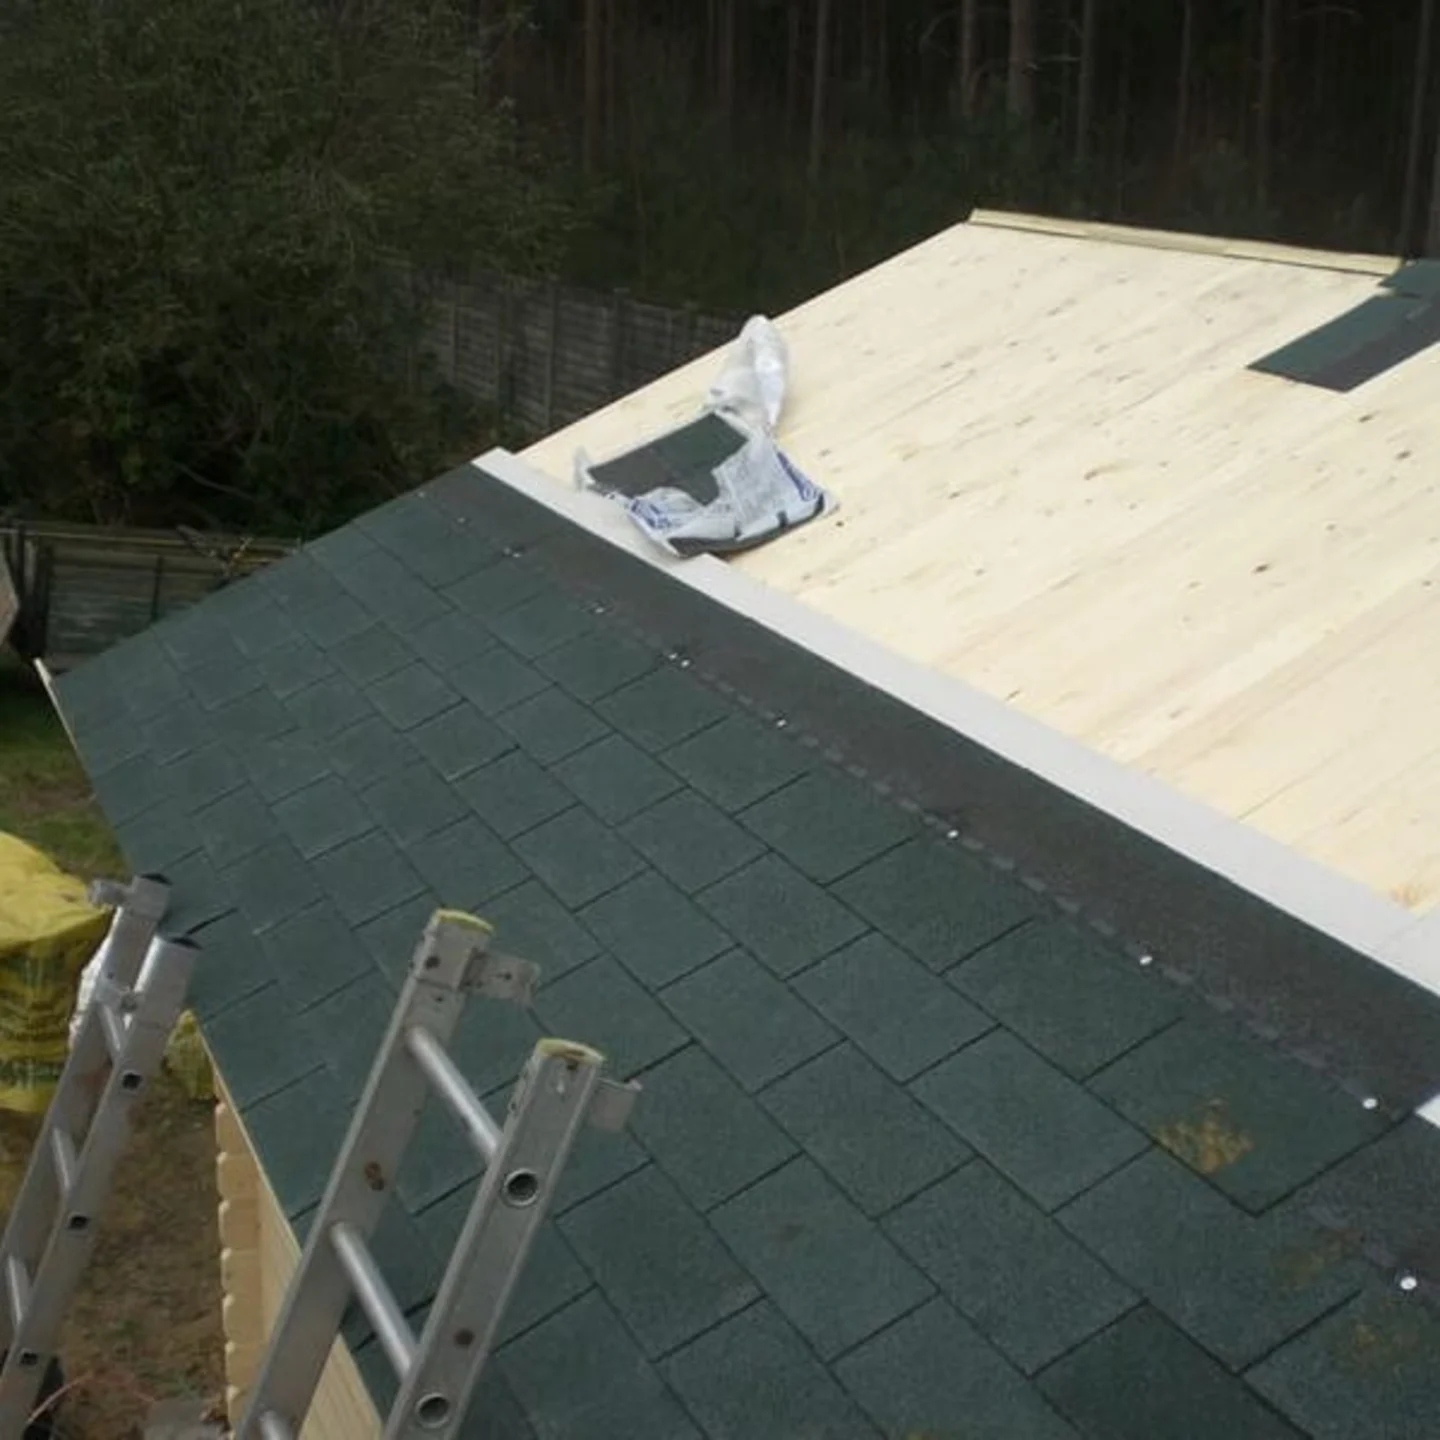
Now lay one layer of insulation boards and fix into place using one clout nail in each corner and one in the center. You can then felt or shingle it up to that first board. Don’t be tempted to do the whole roof with the insulation as you will eventually have to get on the roof to tile or felt it and with the whole roof done it can be very slippery.
Once a board is complete with tiles or felt move on to the next and carry on adding boards and tiles until you reach the top.
For tips on shingling your roof please see this post: Tips on how to fit Felt Shingles on your Log cabin
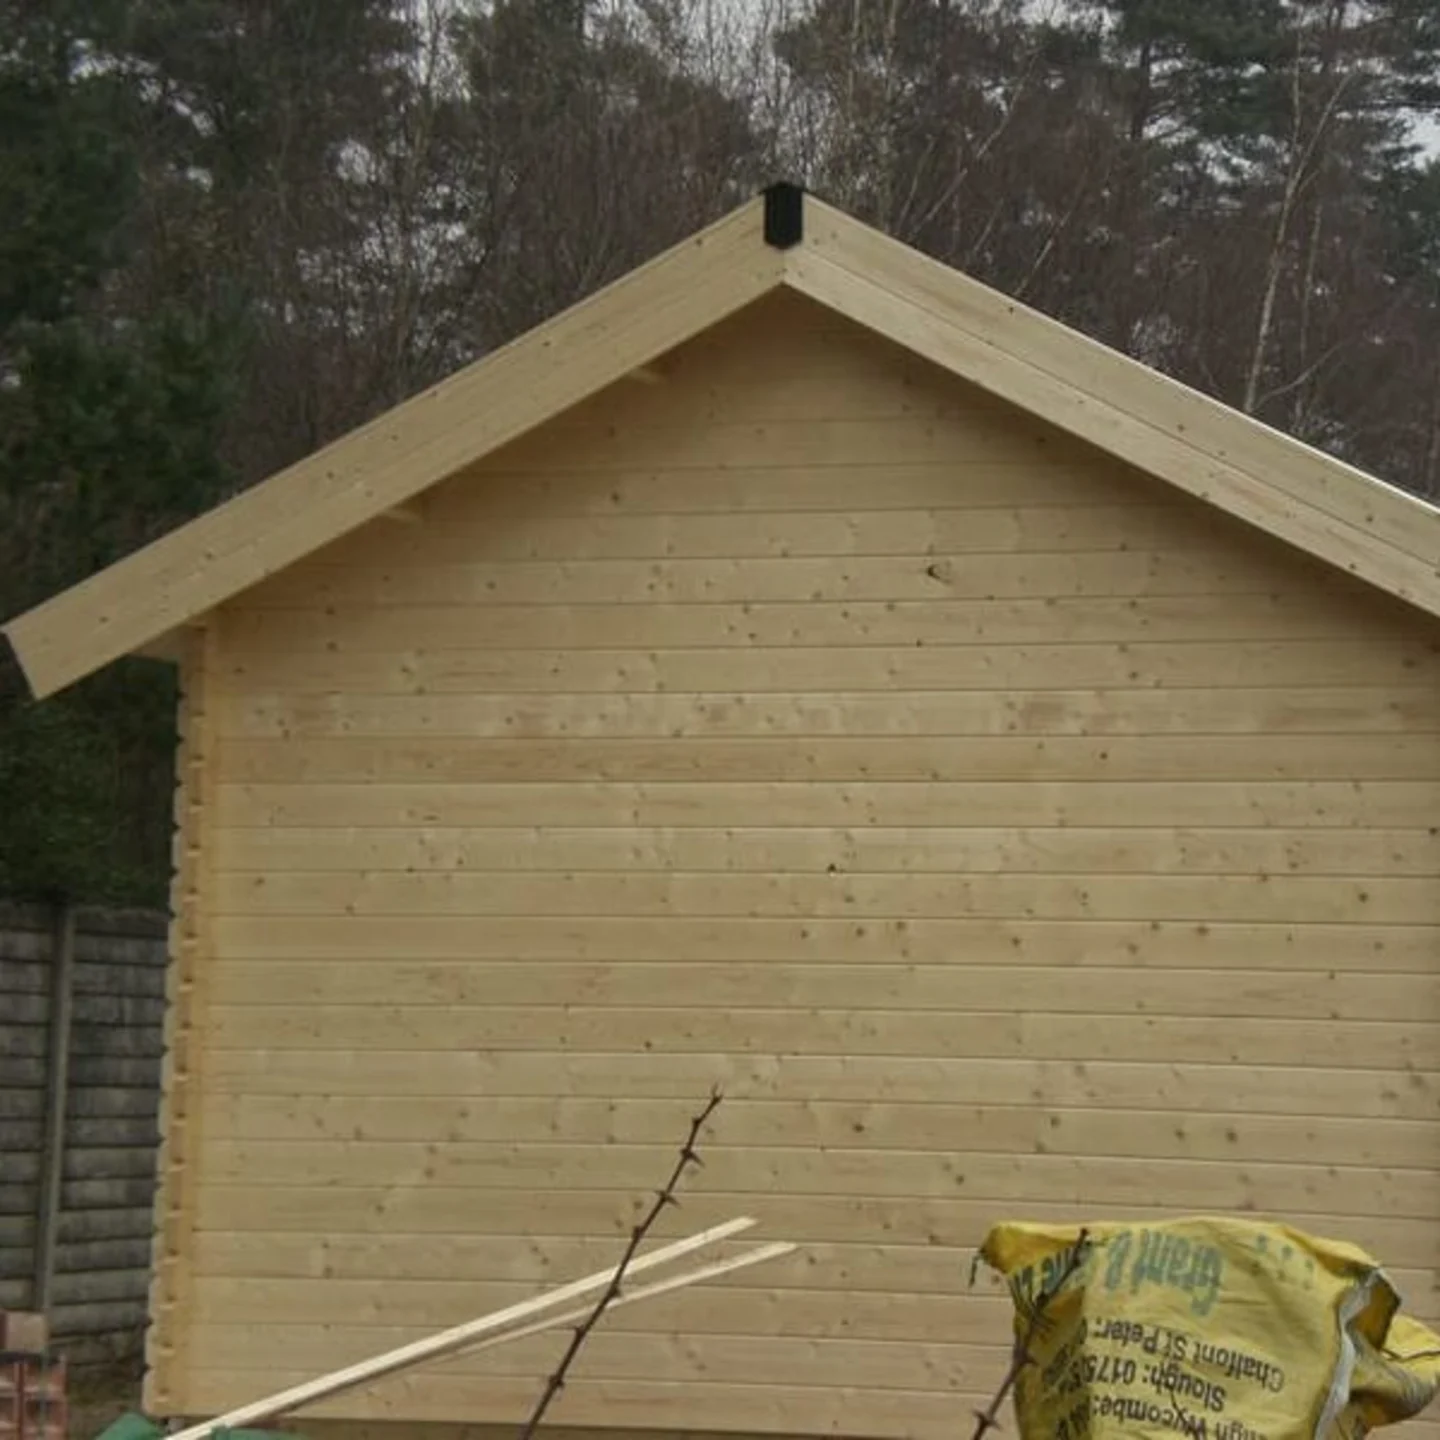
The last consideration is the bargeboards to the front and back. You can either move the supplied one up or double up the barge boards as below. Again you may need to source this additional timber locally:
The same principle also applied to hipped, octagonal and hexagonal roof. The only slight difference is that you will finish the corners of the ridges slightly differently where by you will cut them flush with the end of the roof boards. You will then cut a fillet to fill in the ‘v’ that naturally forms.
One last tip, if you haven’t got a timber saw or a proper board saw, your wives bread knife works a treat for cutting the insulation boards!
You may also be interested in this post on double glazing, R and U values and Log cabin thermal properties: Double Glazing in Log Cabins
Please see the following article of how to make insulated walls, partition walls and how to use thicker insulation in the roof: Dealing with expansion and contraction in Log Cabins
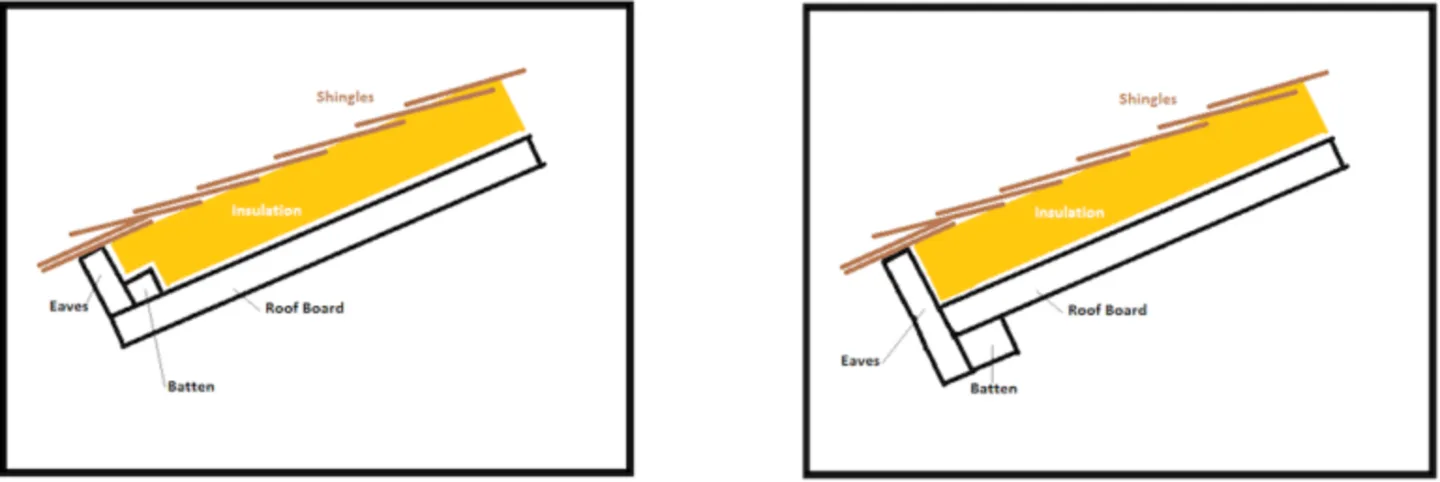
Finishing the leading edge
Recently I have been asked for more details on how to finish the leading edge of the roof, hopefully this sketch will give you some ideas:
If you have enjoyed reading this page then please come and take a look at the log cabins we sell. If nothing else, it will help you understand the possible designs.