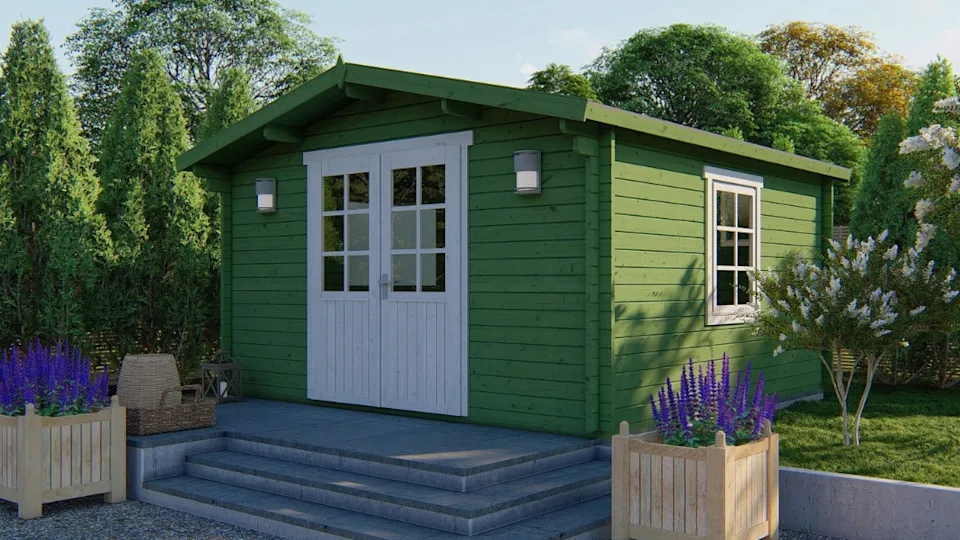
Laying EPDM on log cabin roofs
For flat or sloping roofs on our Log Cabins we normally supply roofing felt. However as an option we do have the far more superior roofing material of EPDM.
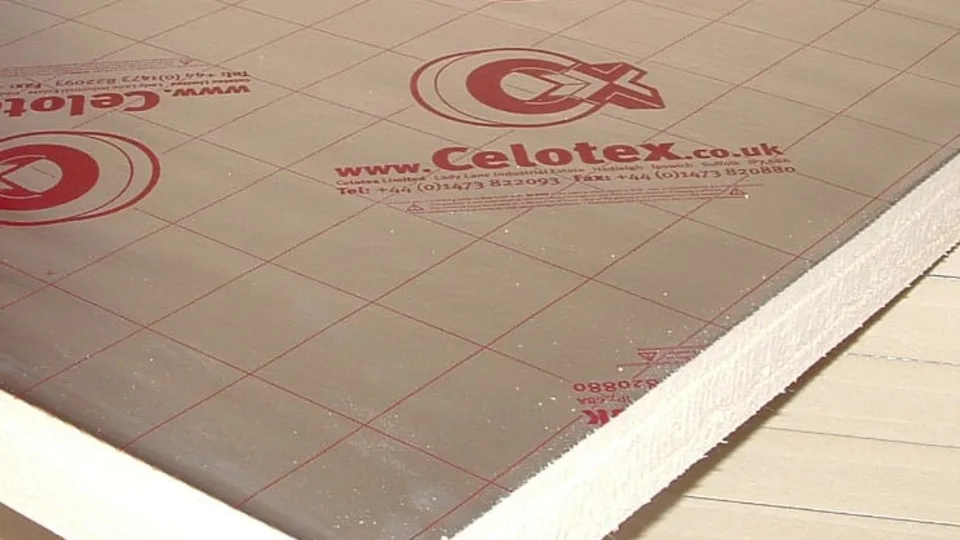
What is EPDM
EPDM is a highly durable synthetic rubber roof membrane.It’s posh name is Ethylene Propylene Diene terpolyMer. It’s two main ingredients are Ethylene and Propylene which come from oil and natural gas. EPDM has been used on flat roofs for over 40 years. The main technical features of EPDM are:
Cyclical membrane fatigue resistance
Proven hail resistance
High resistance to ozone, weathering and abrasion
Flexibility in low temperatures
Superior resistance to extreme heat and fire
Thermal shock durability
Ultraviolet radiation resistance
High Wind Resistance
Why use EPDM on your log cabin?
Roofing felt is an ideal solution for a flat or gently sloping roof. However it’s life expectancy is not that high. Ordinary felt has a lifespan of about 5 years. Laying EPDM lasts for thirty years without concern. For a long term economic prospect it is good value for money.
The benefits of laying EPDM on your log cabin roof
Cut to size for your building so no joints (except modular buildings)
Inert and UV stable
Will not crack or Perish
Environmentally friendly
Applied cold
Virtually maintenance free
Long Life Expectancy
Economical when compared to re-felting every few years
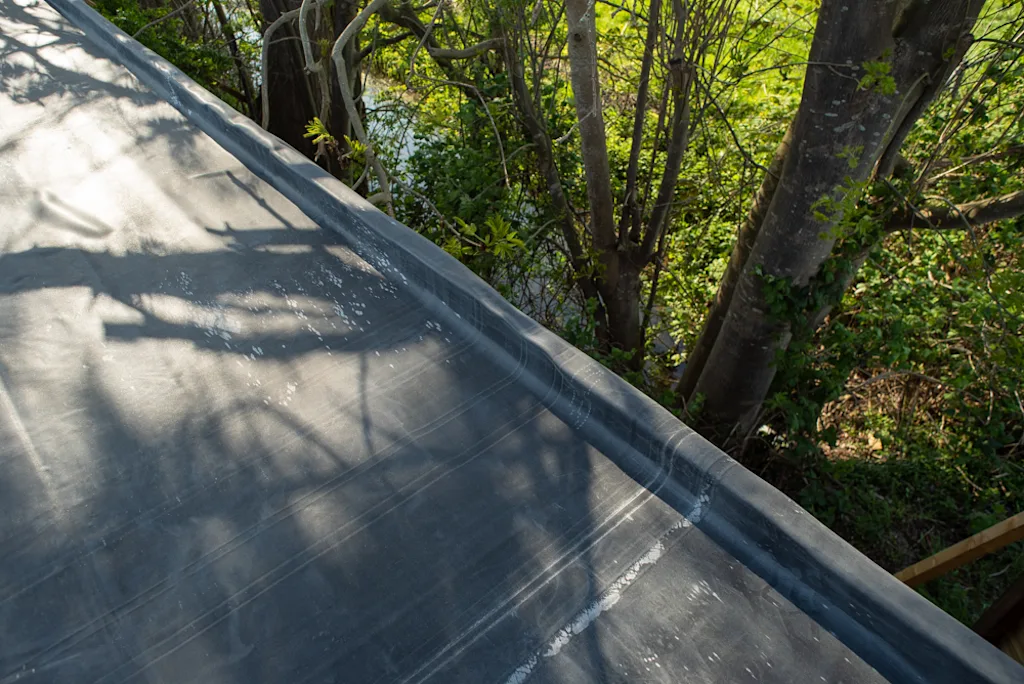
Laying EPDM
There are three ways to fit EPDM, this includes Ballast, Mechanically Attached and Adhered.
The Adhered system is the one we will use and is used by many roofing companies. Basically it is glueing the membrane to the roof and is pretty easy to do.
Log cabin roof variations
Before reading too much further all this article is going to do is tell you the basics on how to start laying EPDM to your log cabin roof. Simply put the membrane is:
Rolled out
Allowed to settle
Glued down
Trim as you wish
On the other hand, the trim is the bit that’s left up to you. There is no hard and fast rules for this. You can either finish as you would with roofing felt and tuck it behind your barge boards. You may want to trim it flush with the roof boards. Or maybe do a little more. Overall, this is all up to your preference, requirements and skill set.
Also, bear in mind this is my own personal recommendation on how I do it. I’m sure other fitters, roofers, builders etc will have their own take on it. Some may even say I’m wrong which wouldn’t be the first time.
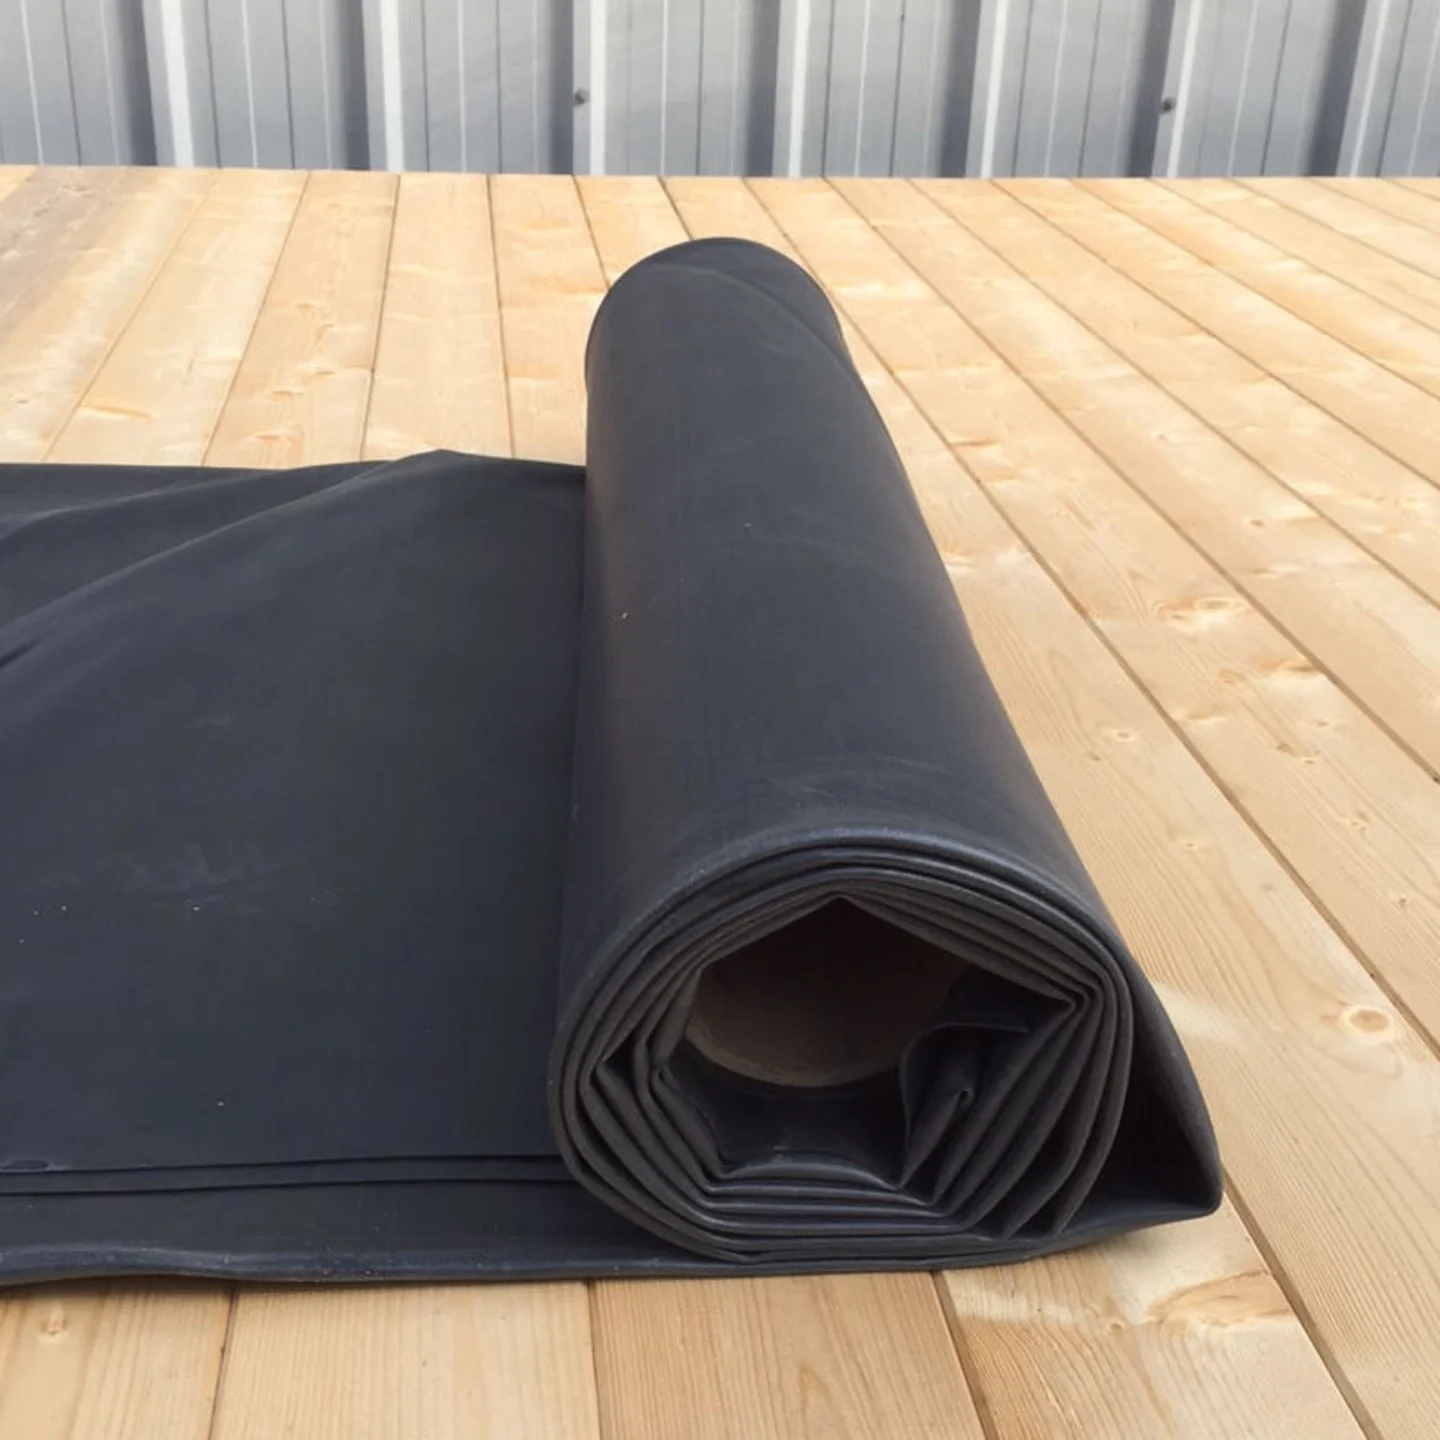
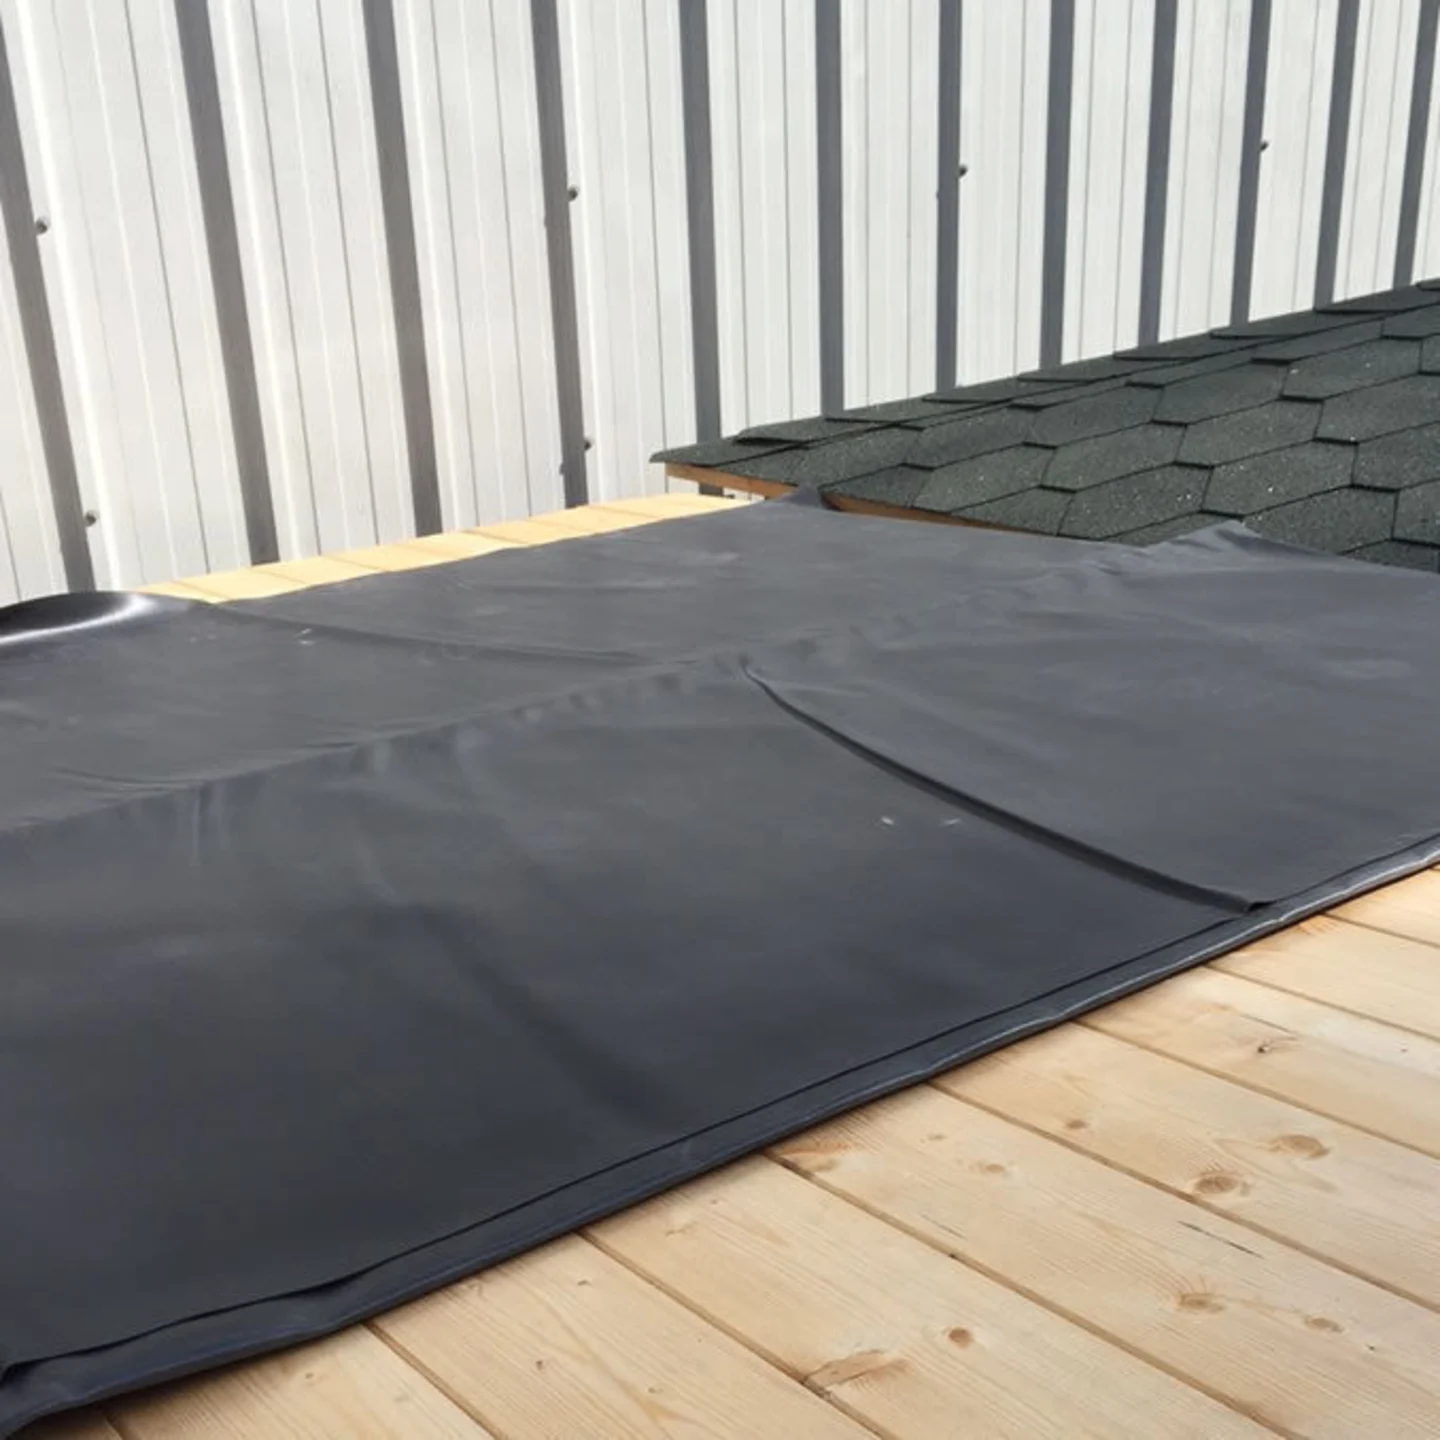
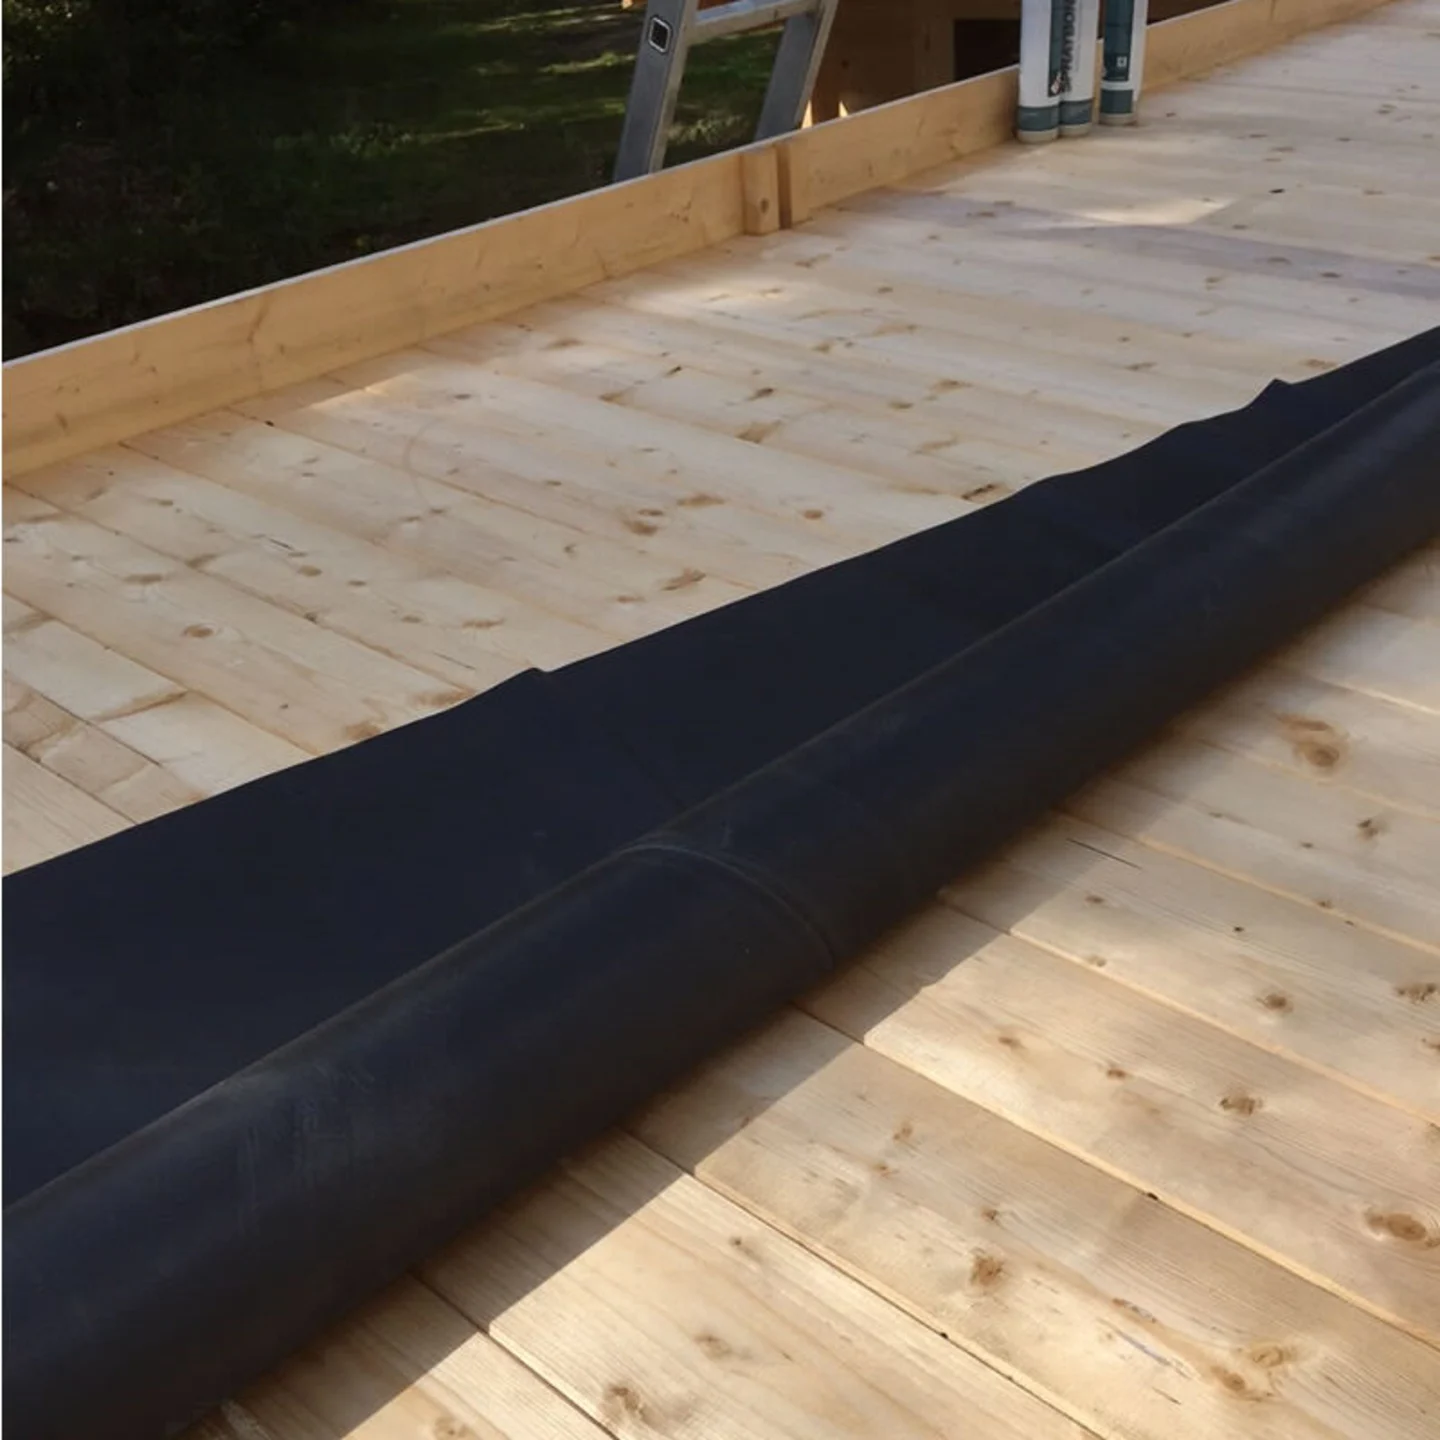
Roll out the EPDM on your log cabin roof
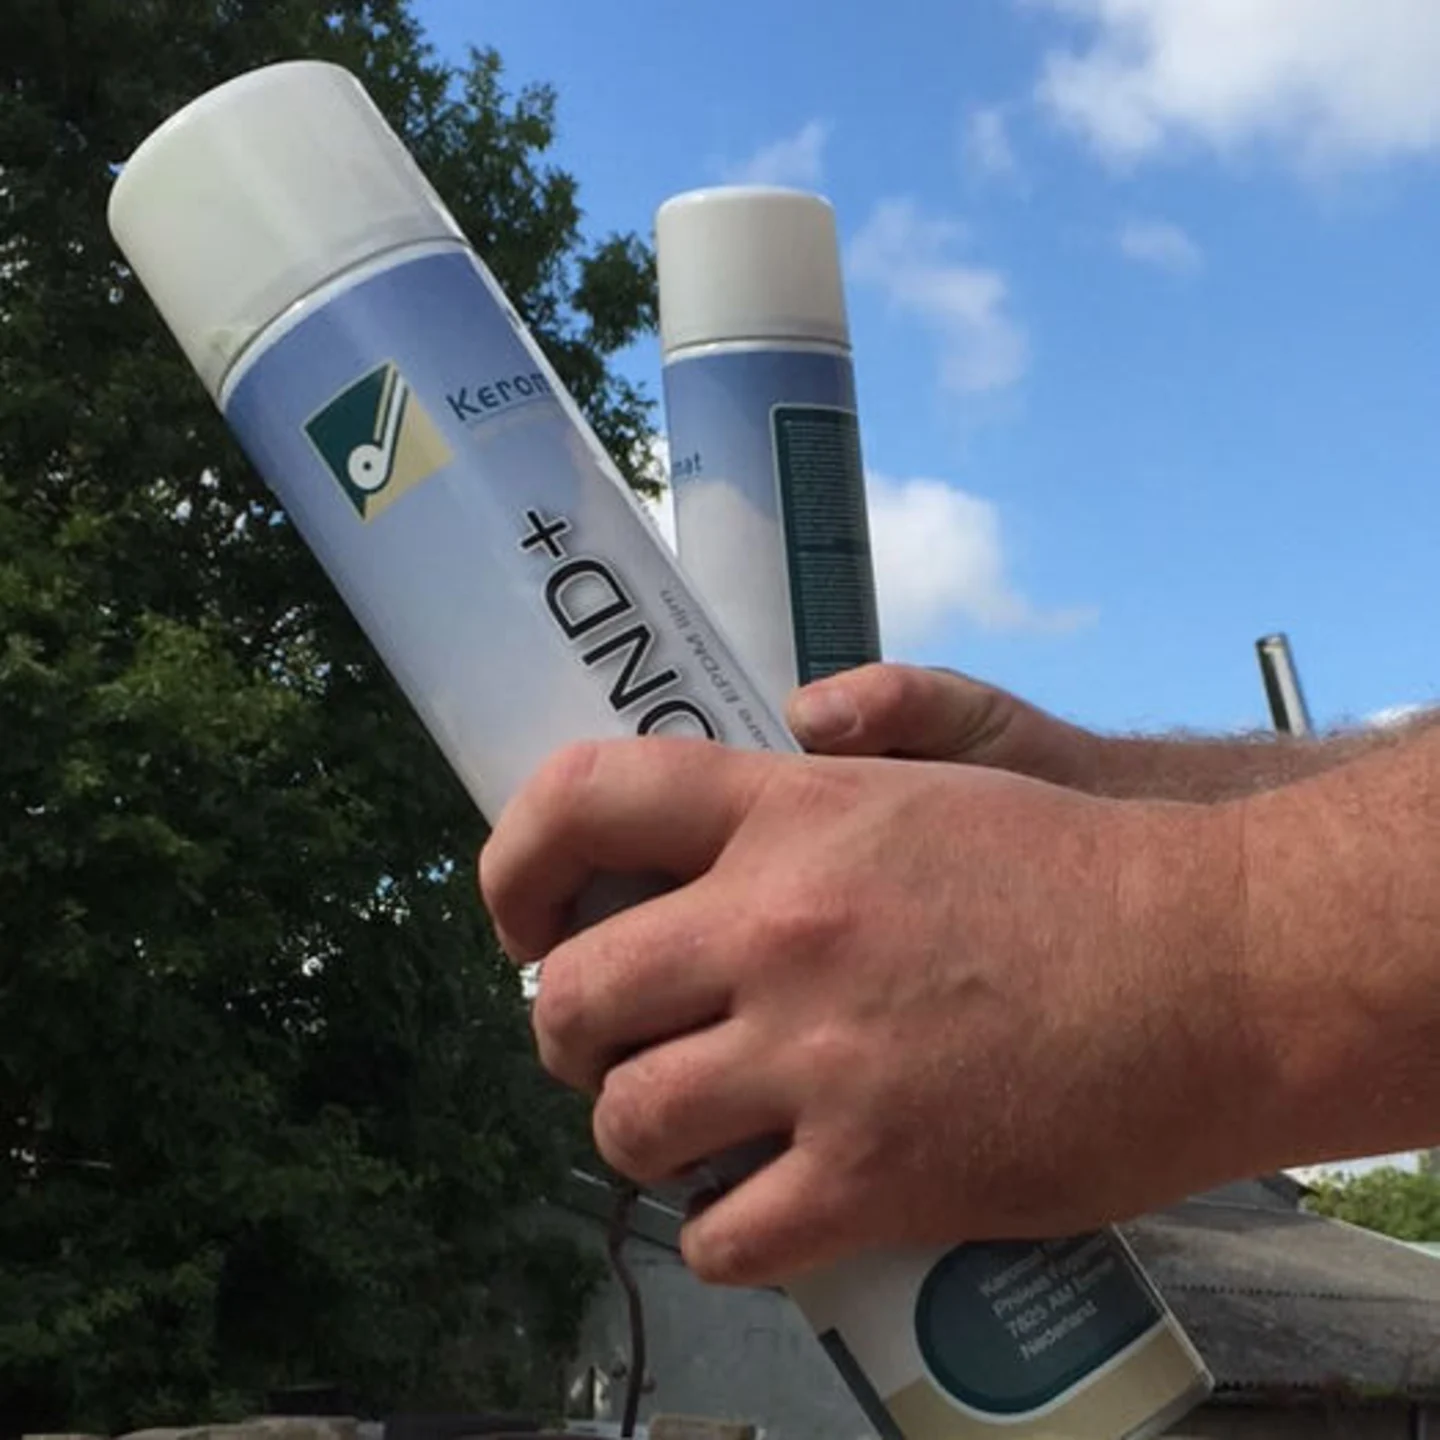
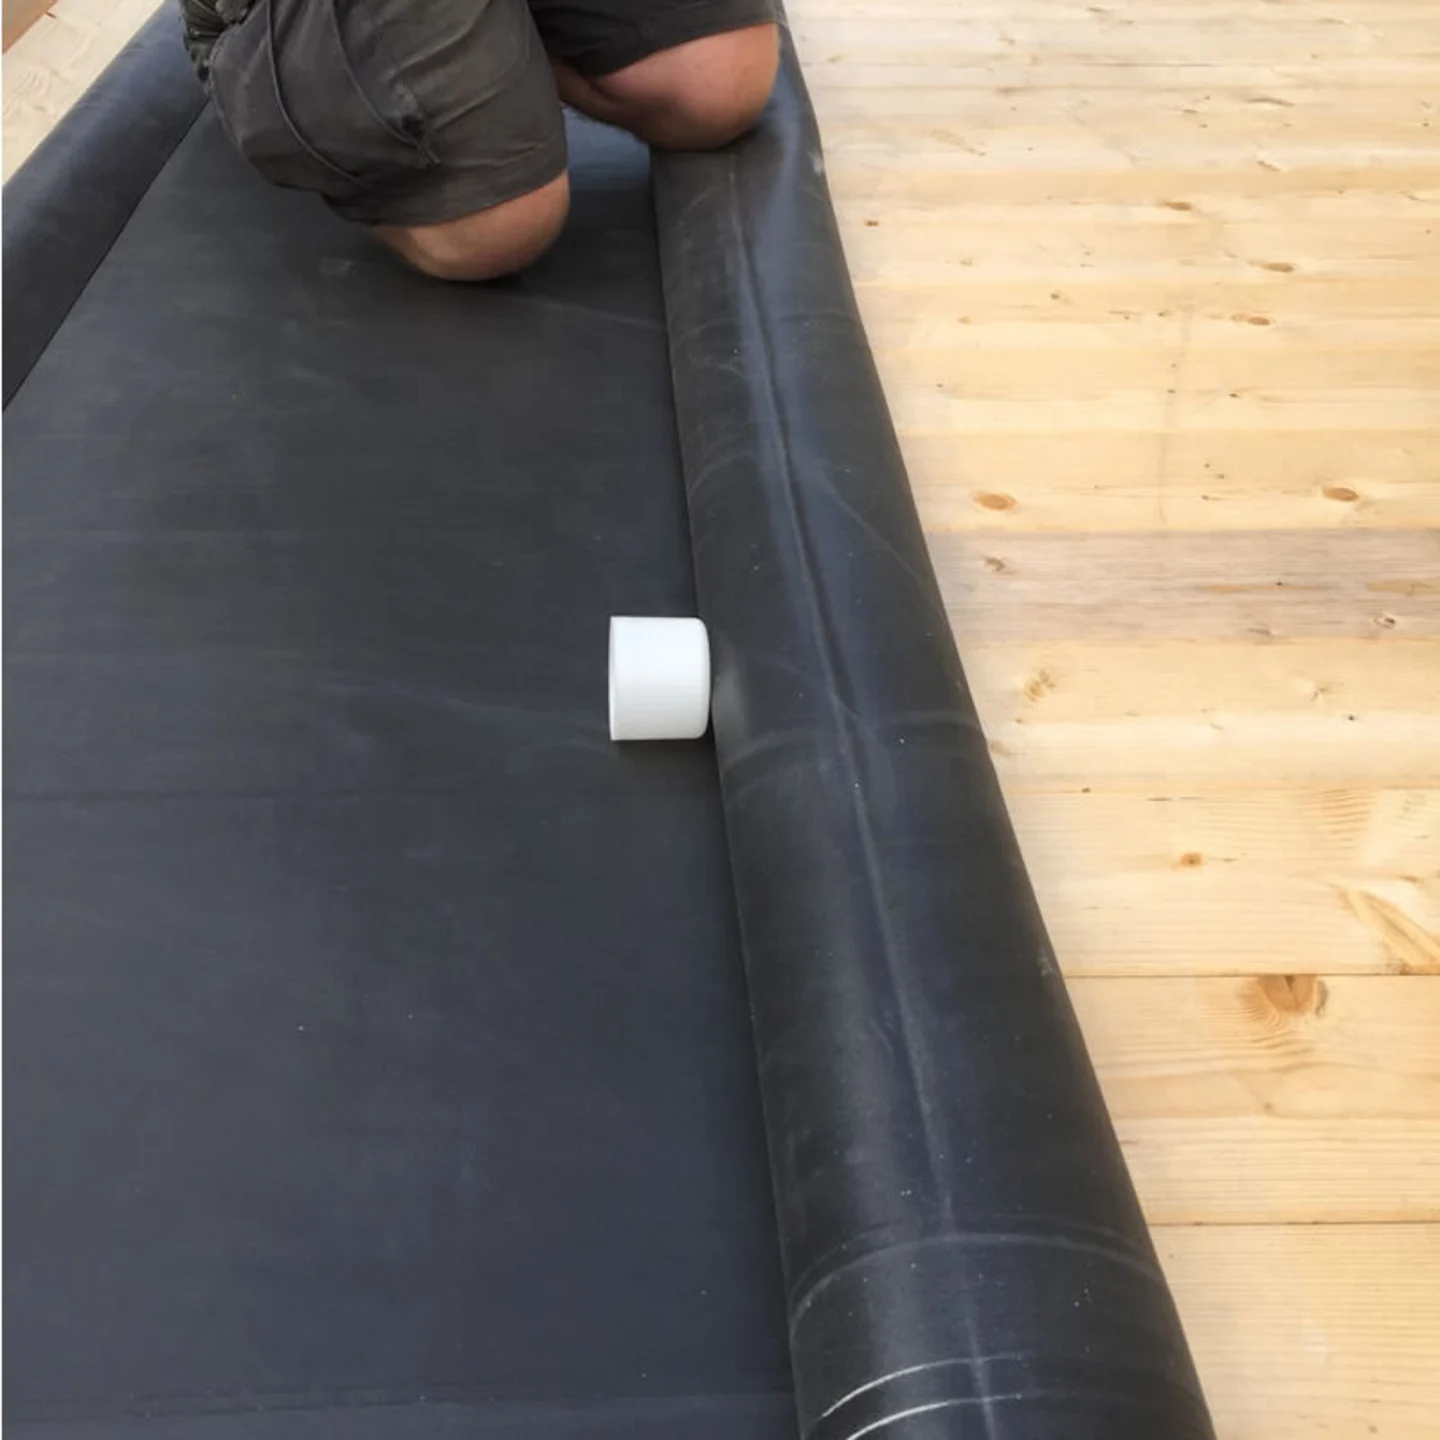
Take the roll up on to the roof and undo the ends. You should find some glue inside in the form of spray cans.
Normally hidden inside is enough cans to glue your roof down. It’s very unlikely you won’t have enough but any contact adhesive also works if you run out and need it quickly.
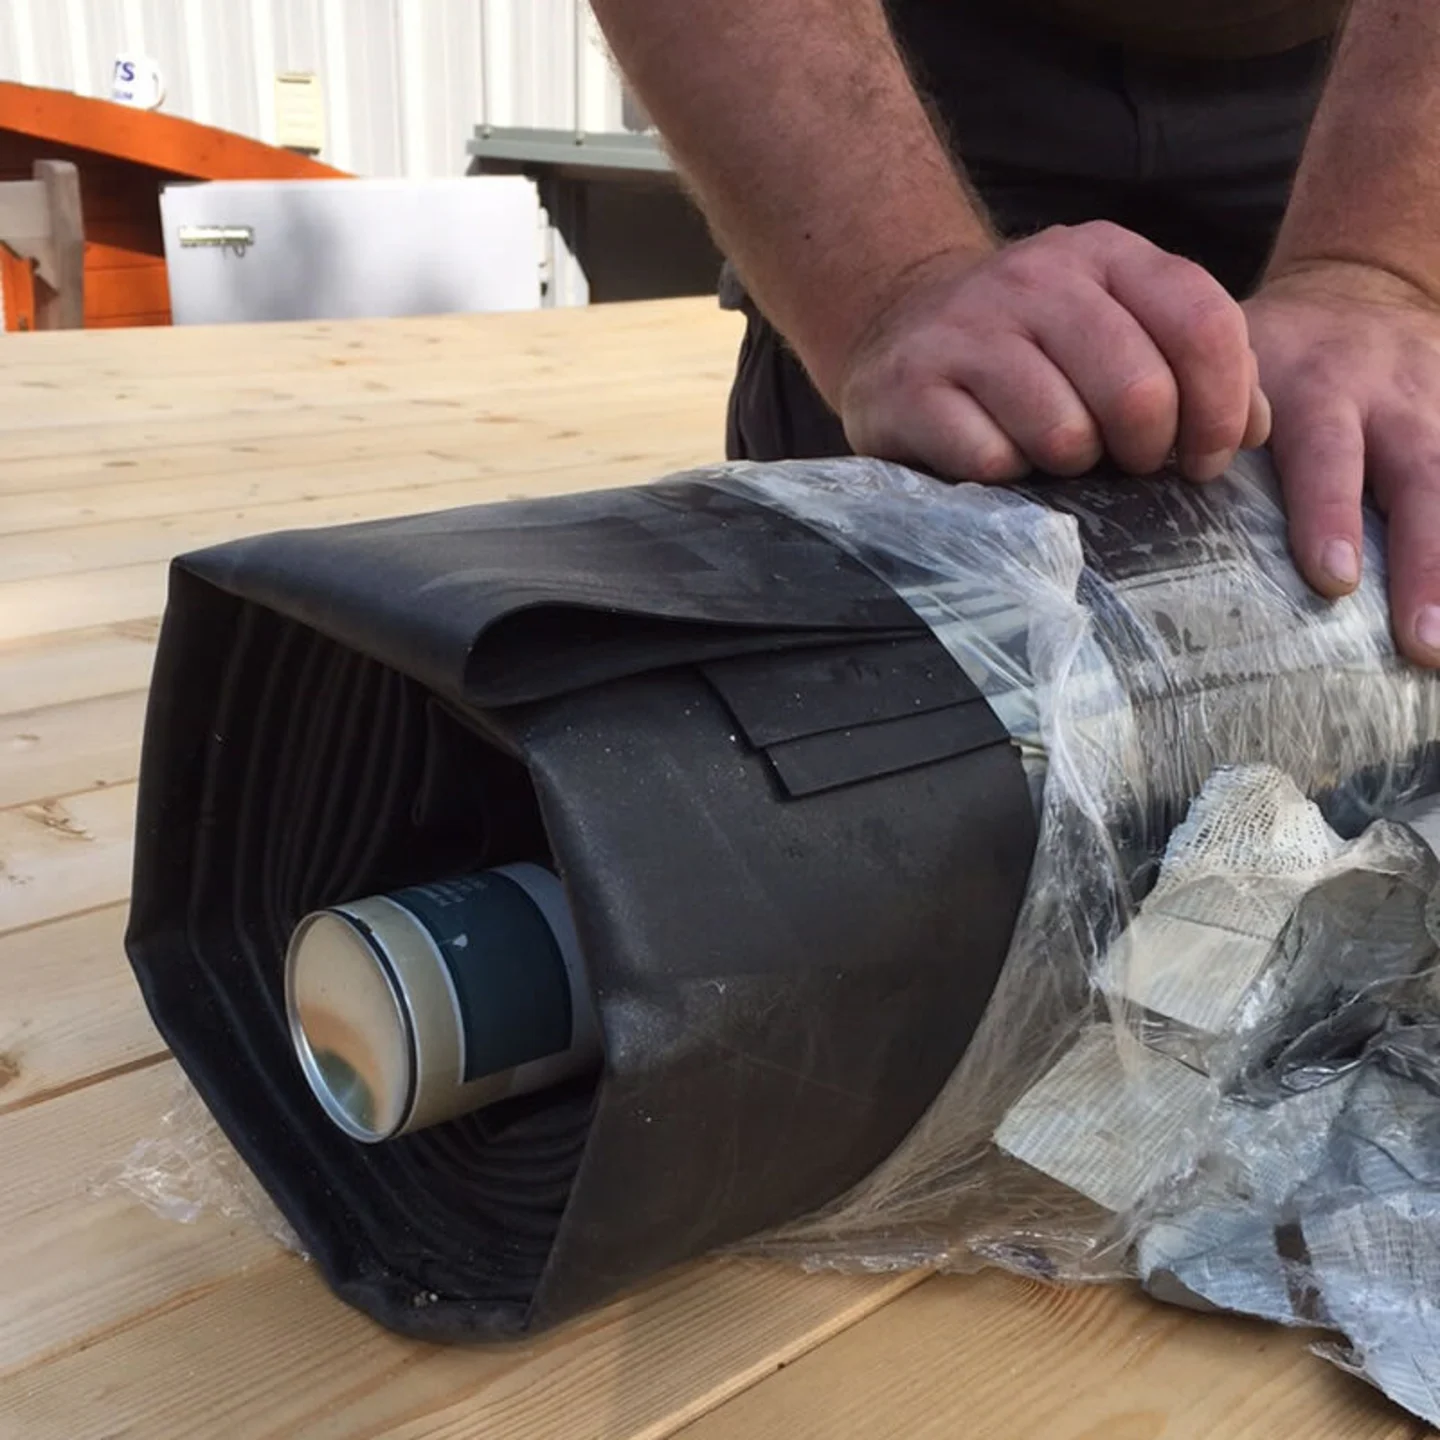
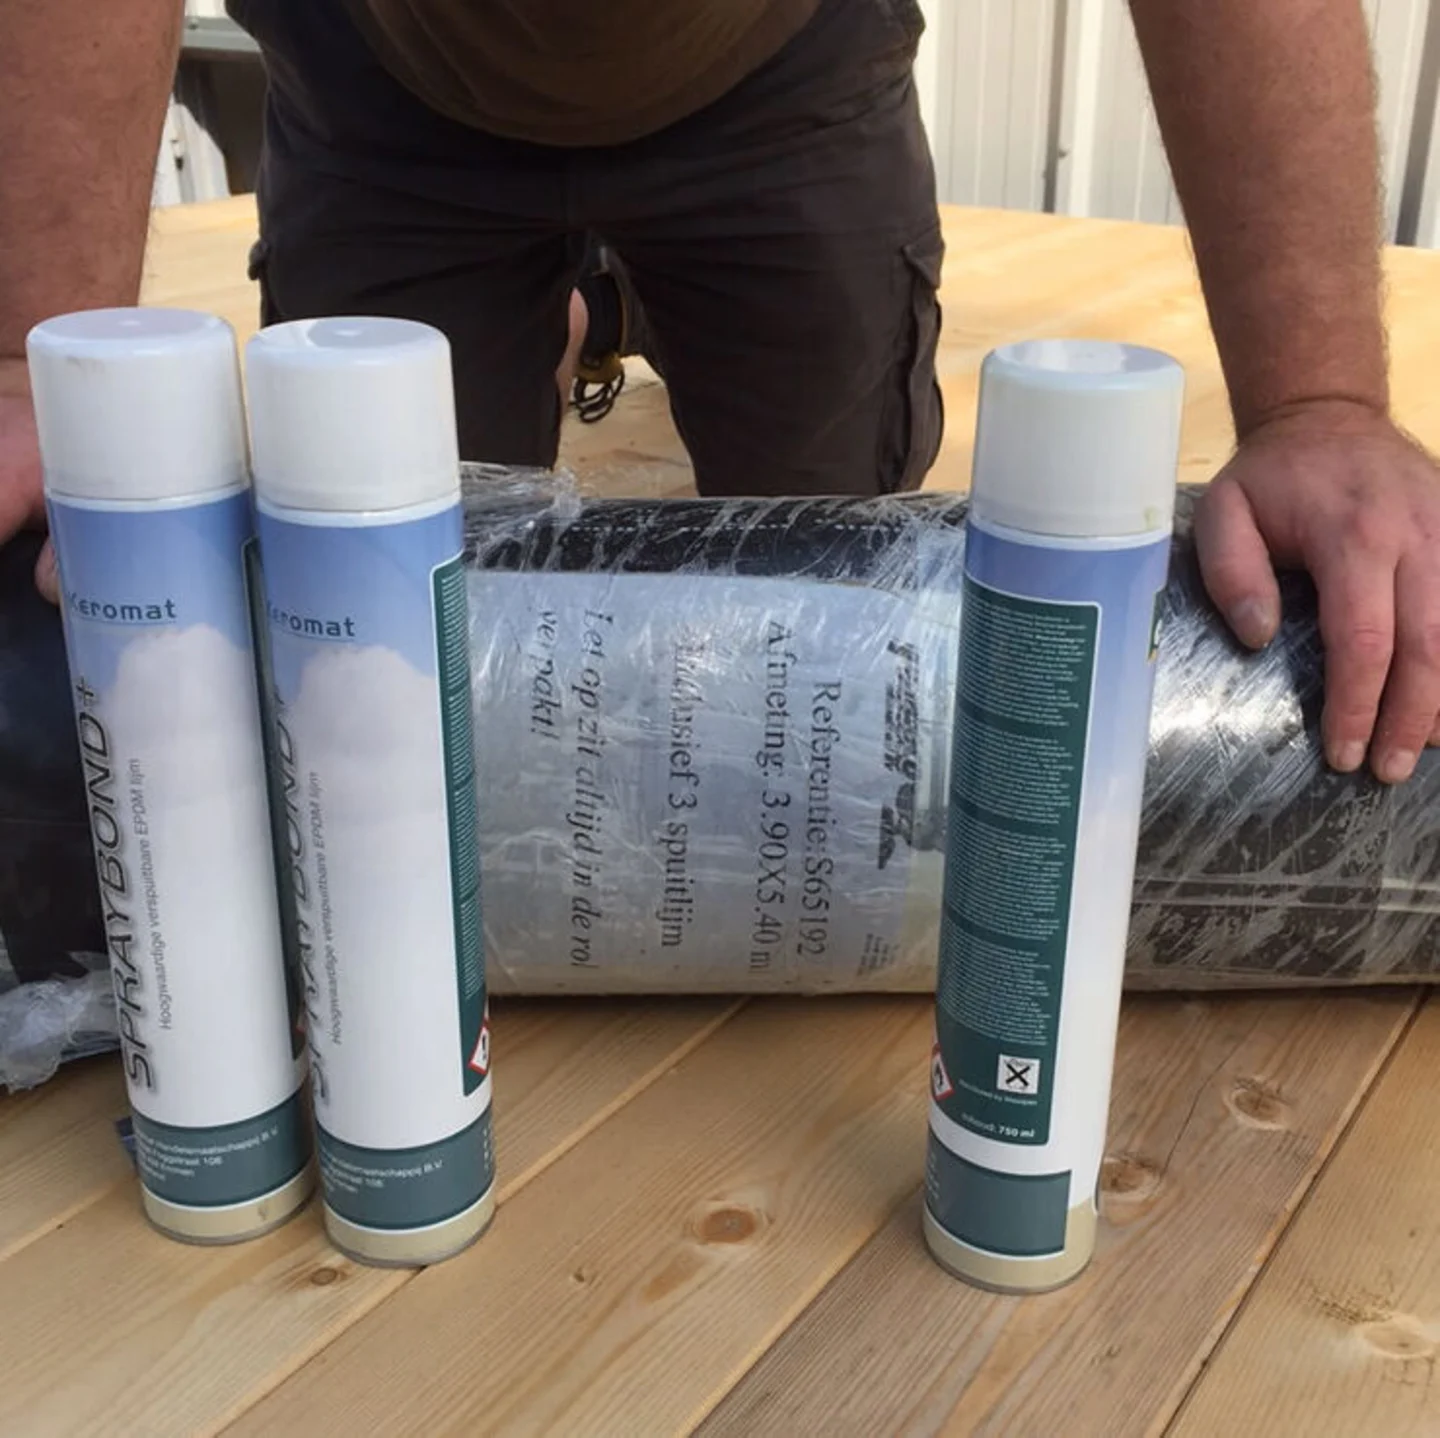
Three cans were found in the depths of the roll. The EPDM is cut for your building, this membrane is 3.9m x 5.4m. Three cans was more than enough. This is where I may differ from all the advice you see from the roofing people, they always say to unroll it, layout flat on the roof and then allow it to settle as it is.
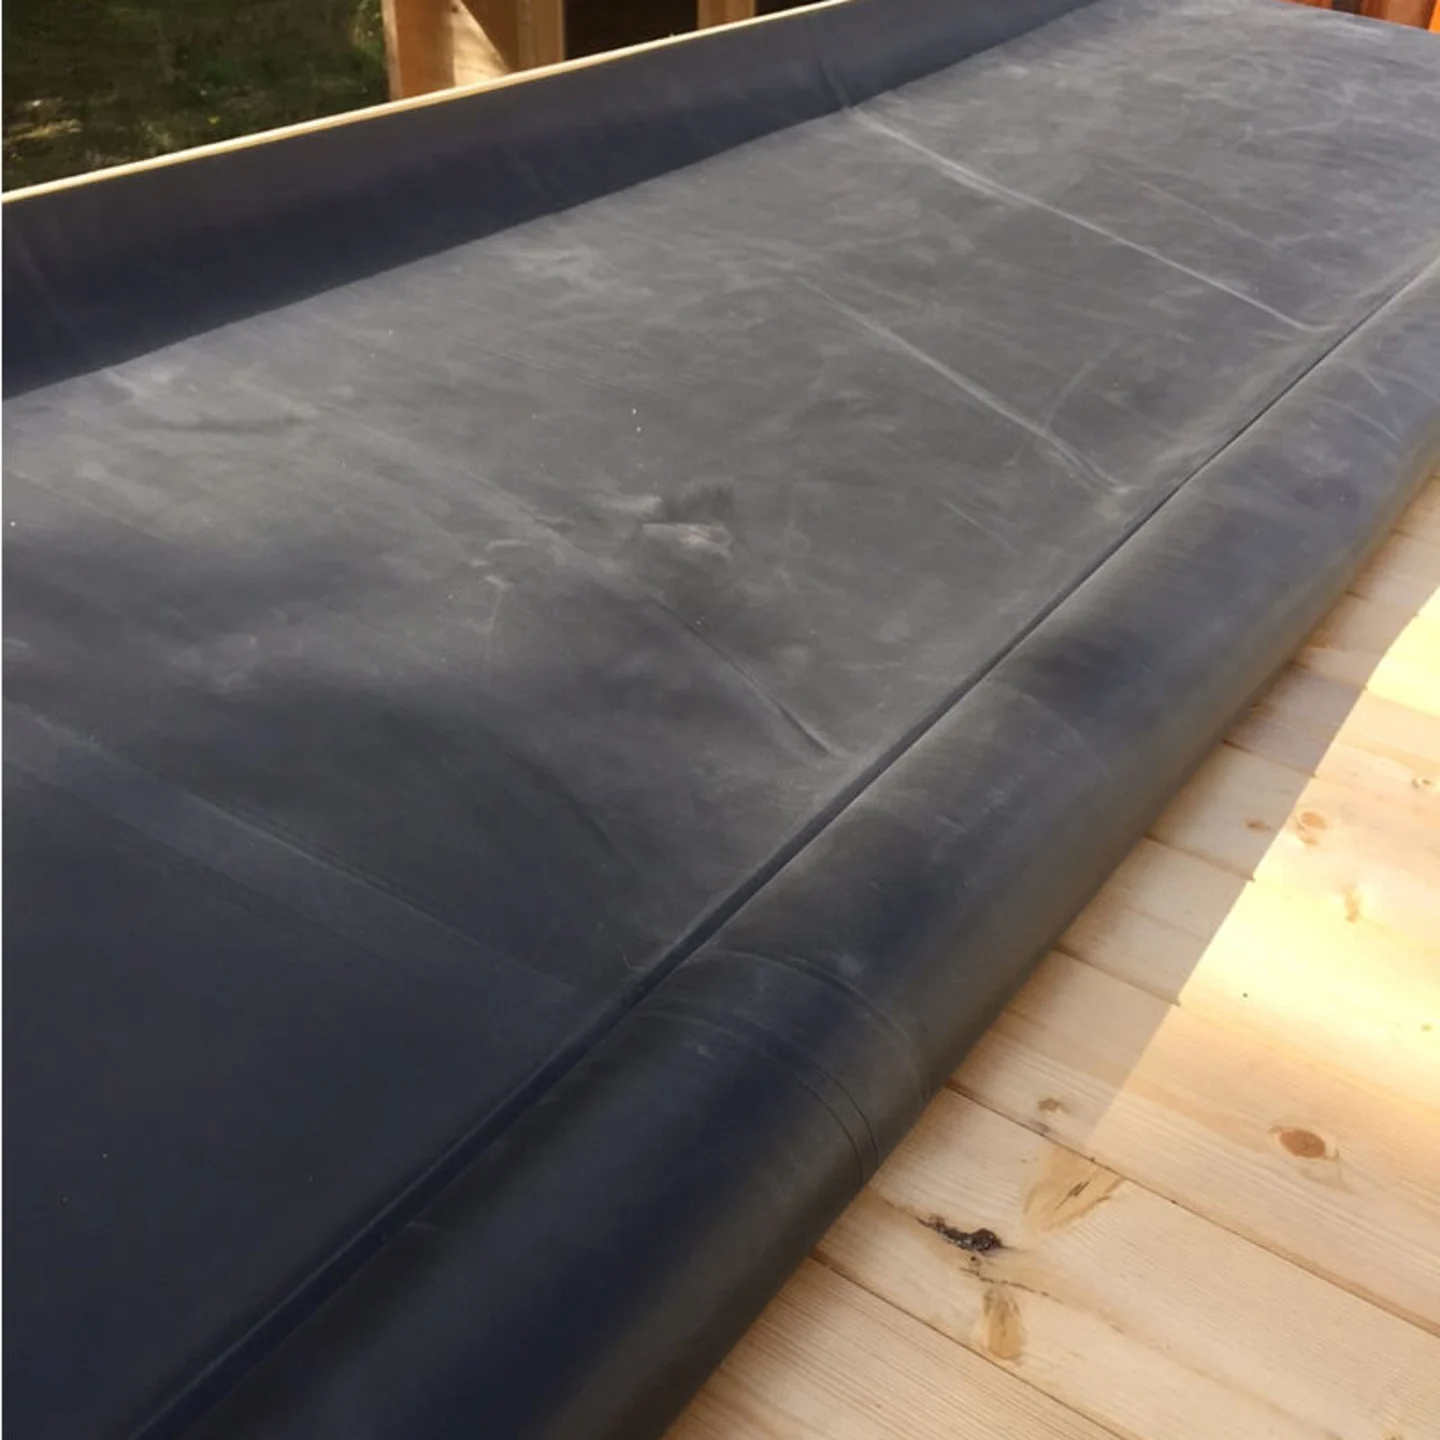
I have done it this way and it works on a hot day but I still prefer my technically named sausage method:
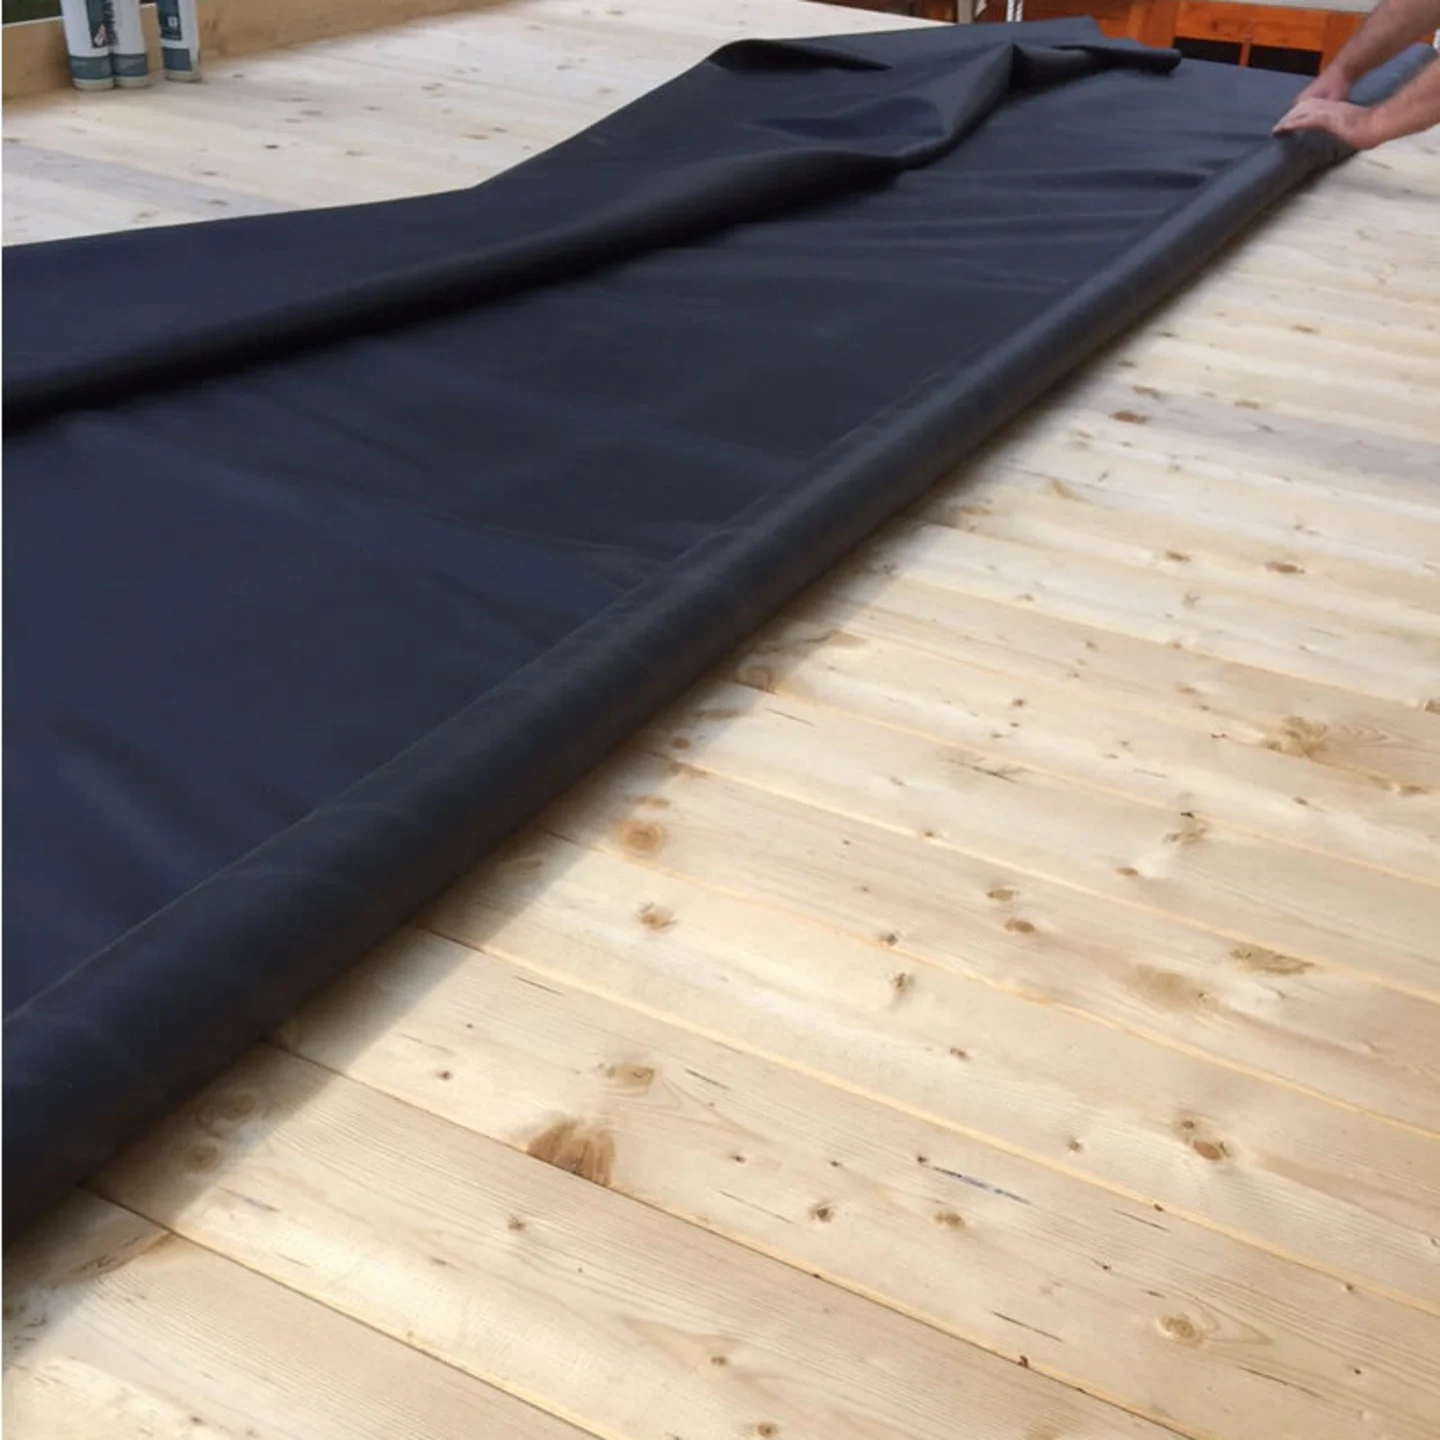
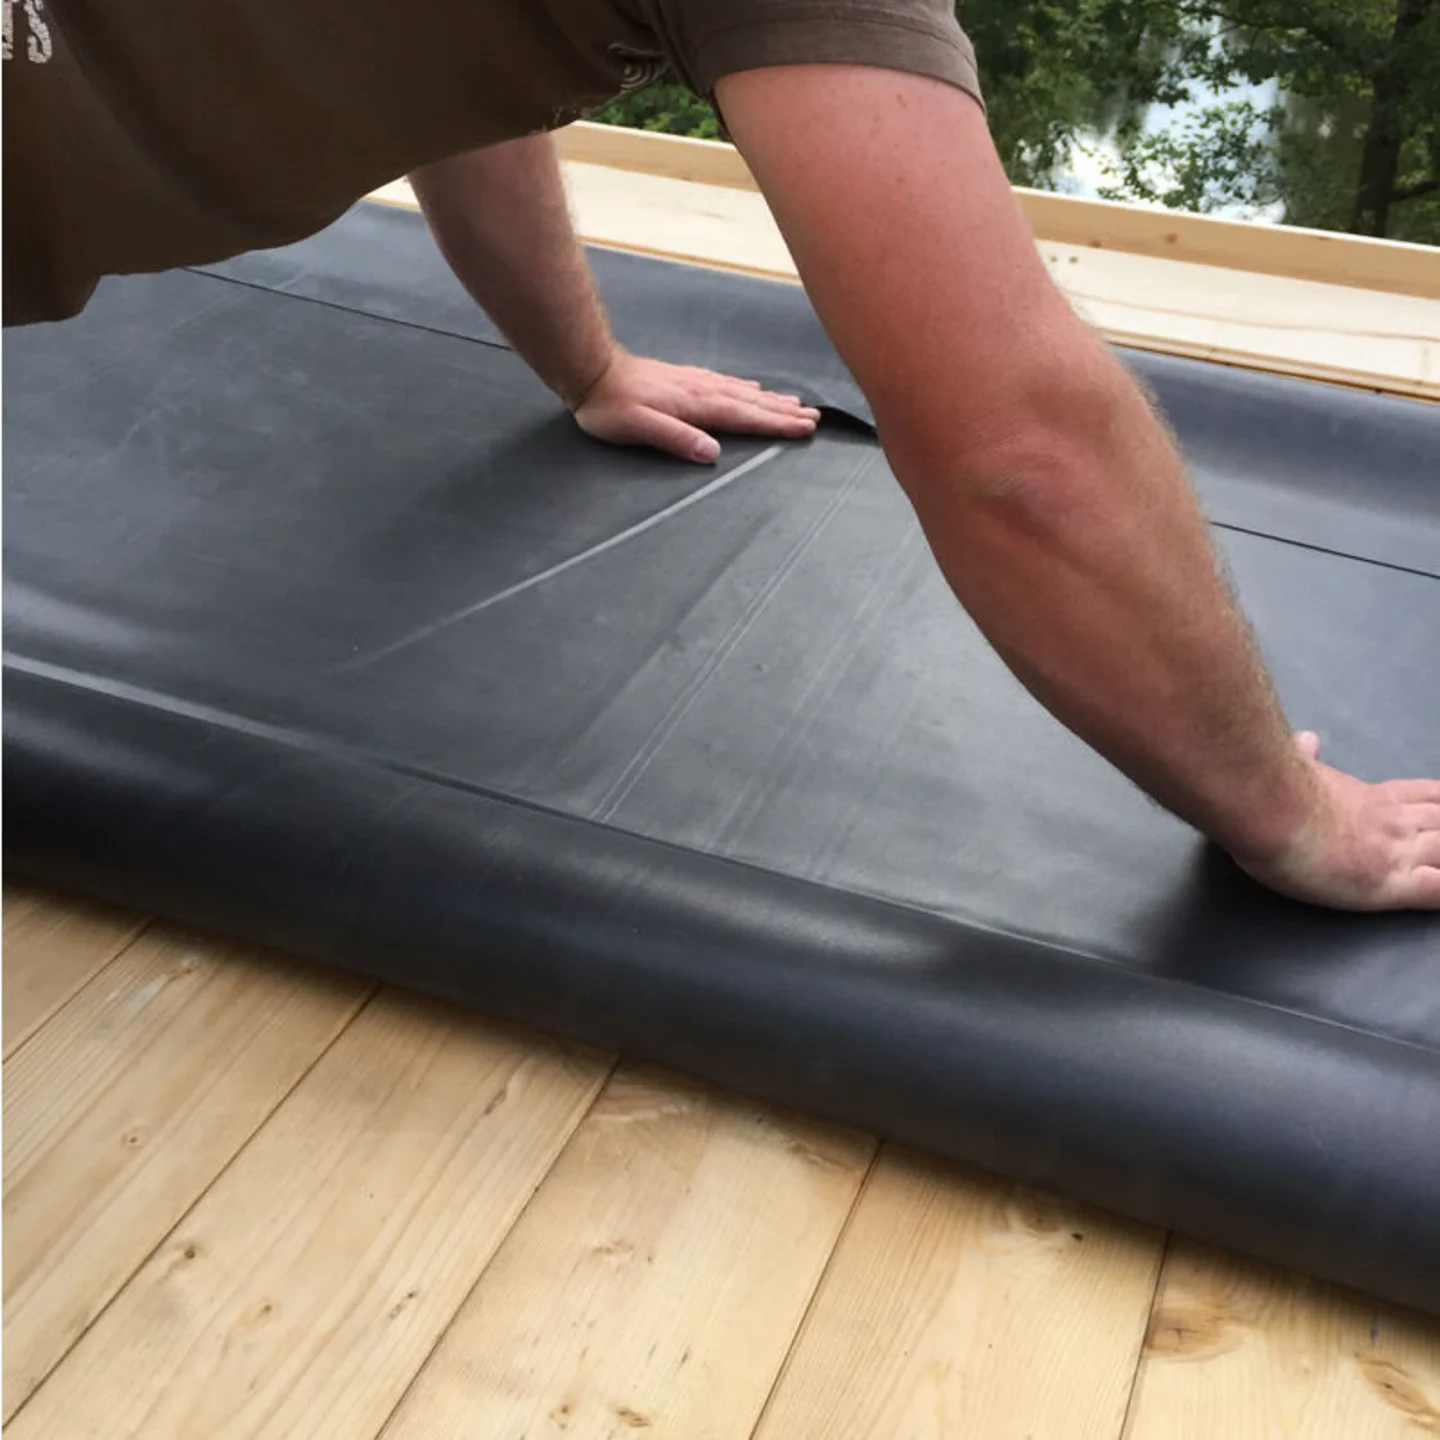
Roll the full length out across the roof and start to fold it out flat across the whole roof. Then, start to roll it up again lengthways, try to do this reasonably tightly, it does help if there is two of you and try to keep it as level as possible. Keep rolling together with your partner, keep it level and quite tight!
At the end you’ll end up with a sausage!
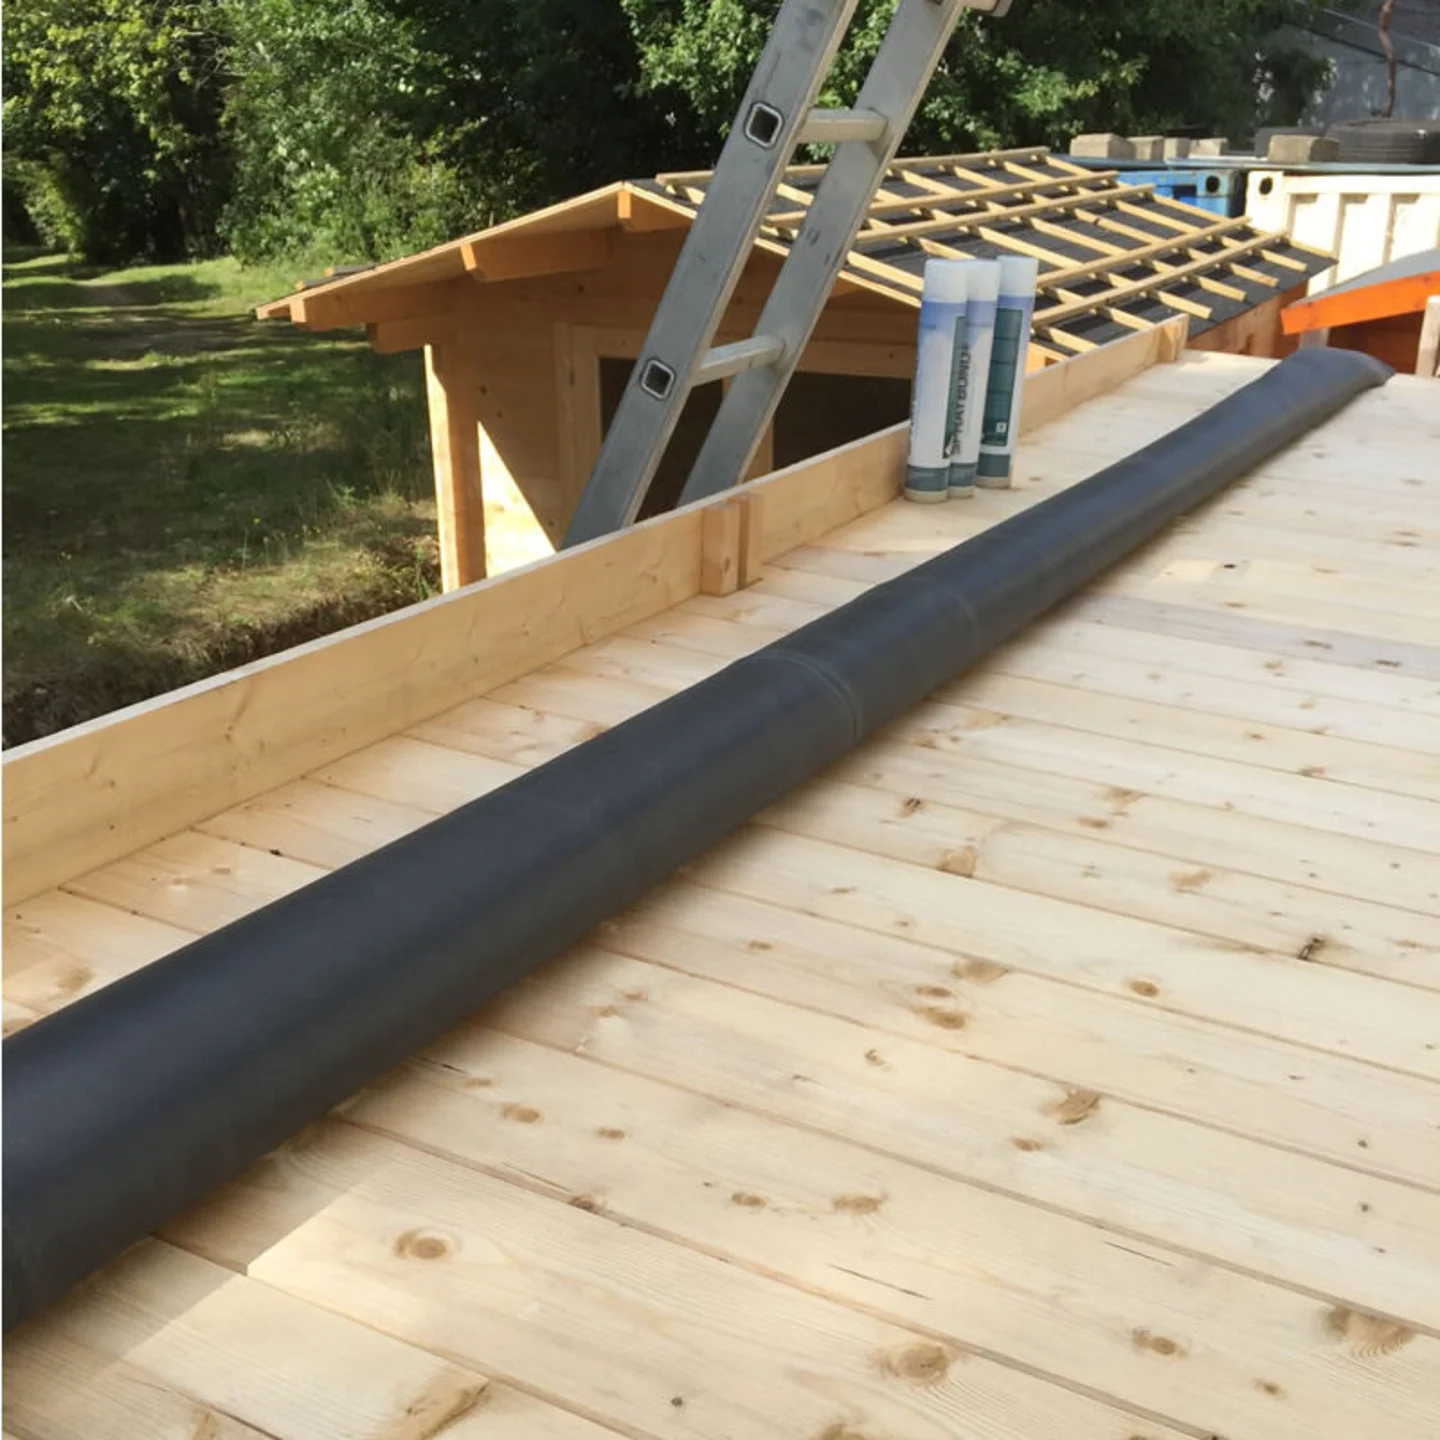
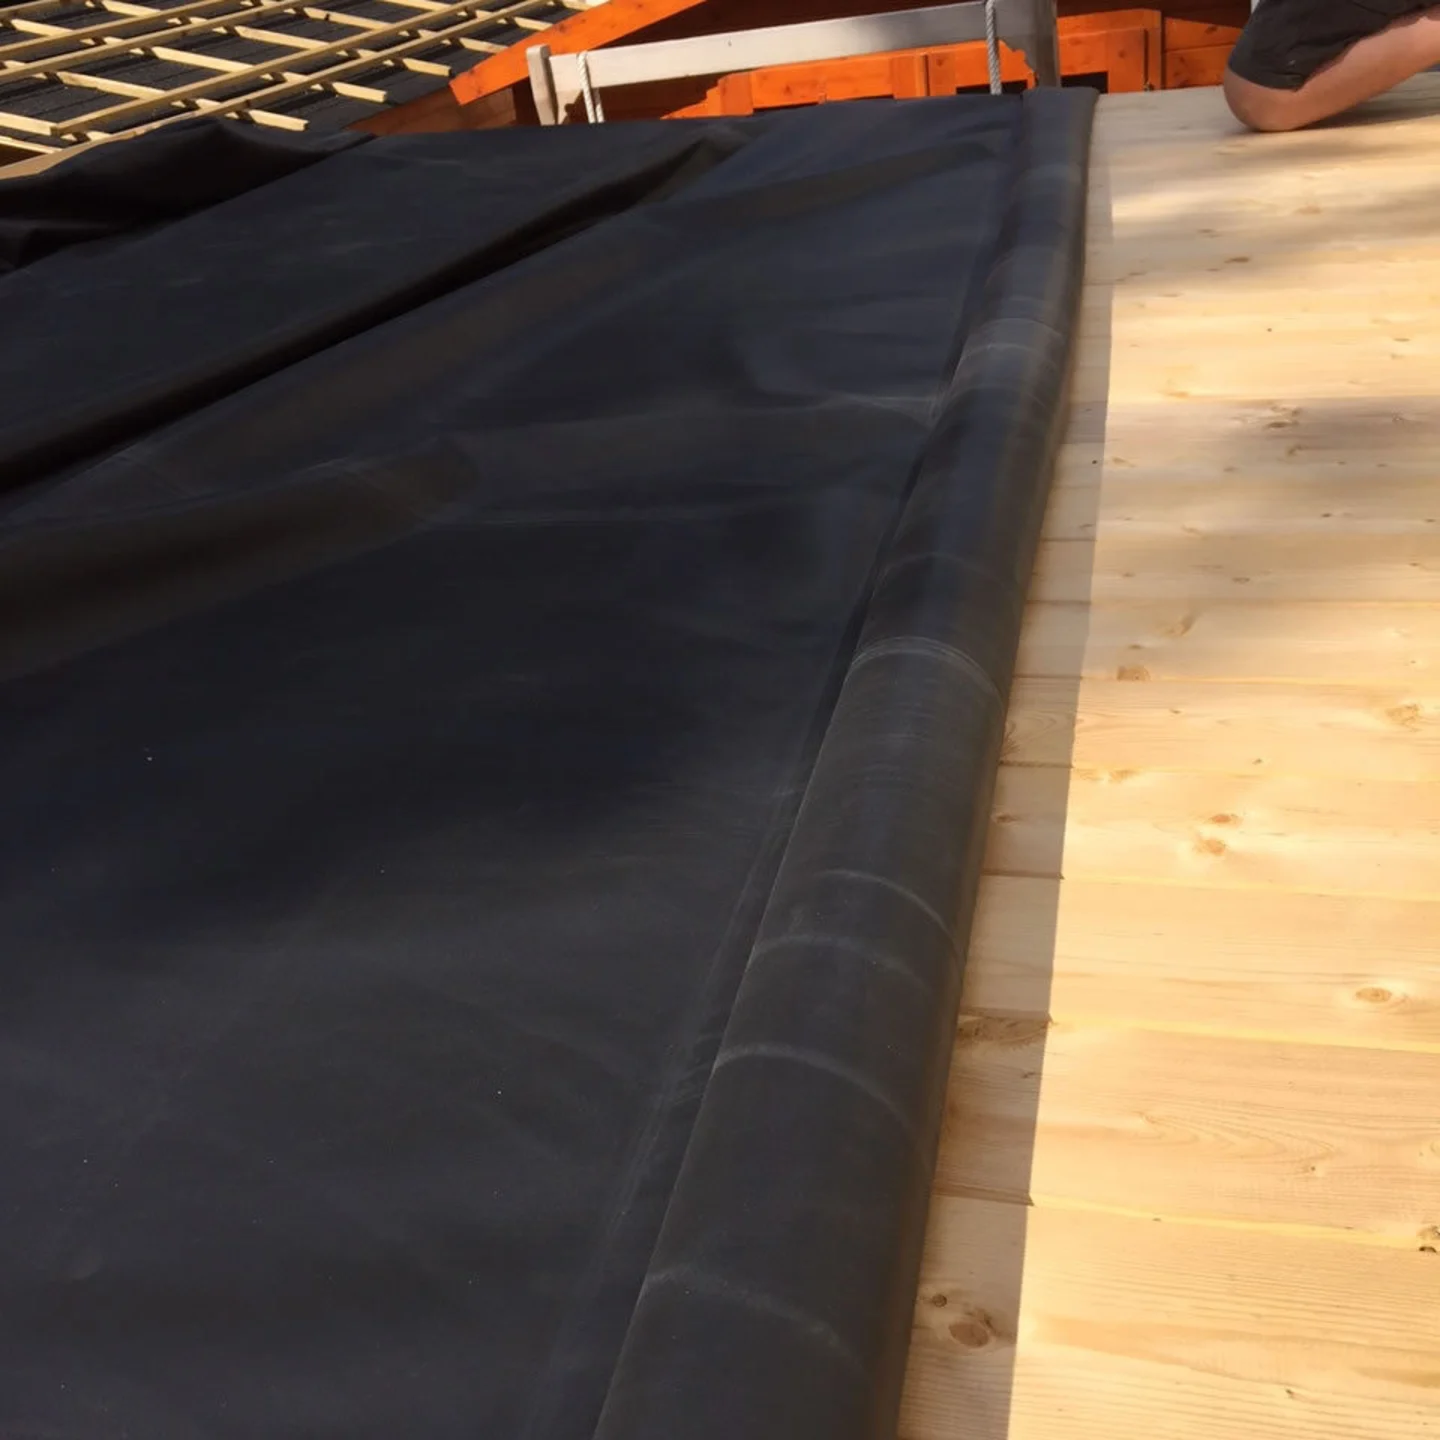
Allowed to settle on the log cabin roof
When complete you’ll end up with a sausage sat at the start of your roof. I will always start at the highest point and work backwards.
I mentioned trimming earlier and you’ll notice where we have set the barge boards. This is just my preference, there is no right or wrong way. I wanted to give a little extra clearance for headroom below. It does not matter though how you do these.
It does help though to only start with the front ones on. Then add the side and rear if applicable later.
Once you’ve made your sausage, leave it for a little while on the roof. As it’s rolled so tightly, a lot of the creases from storage will disappear. The sun will also make it a little more pliable.
I’ve mentioned it already but it really helps if the sausage has been rolled level as you will use it’s edges later on to check you are rolling it out on the log cabin straight and true.
If you end up with a wonky sausage unroll it and start again. Nothing worse than a wonky sausage!
Glue the EPDM down
This part of the install on your log cabin is exactly what it says, we are just glueing it down on to the roof. How you want to trim it is up to you, I may have mentioned this.
The principle is how I’m glueing it.

This is something I do, you do not have to do this unless you want to.
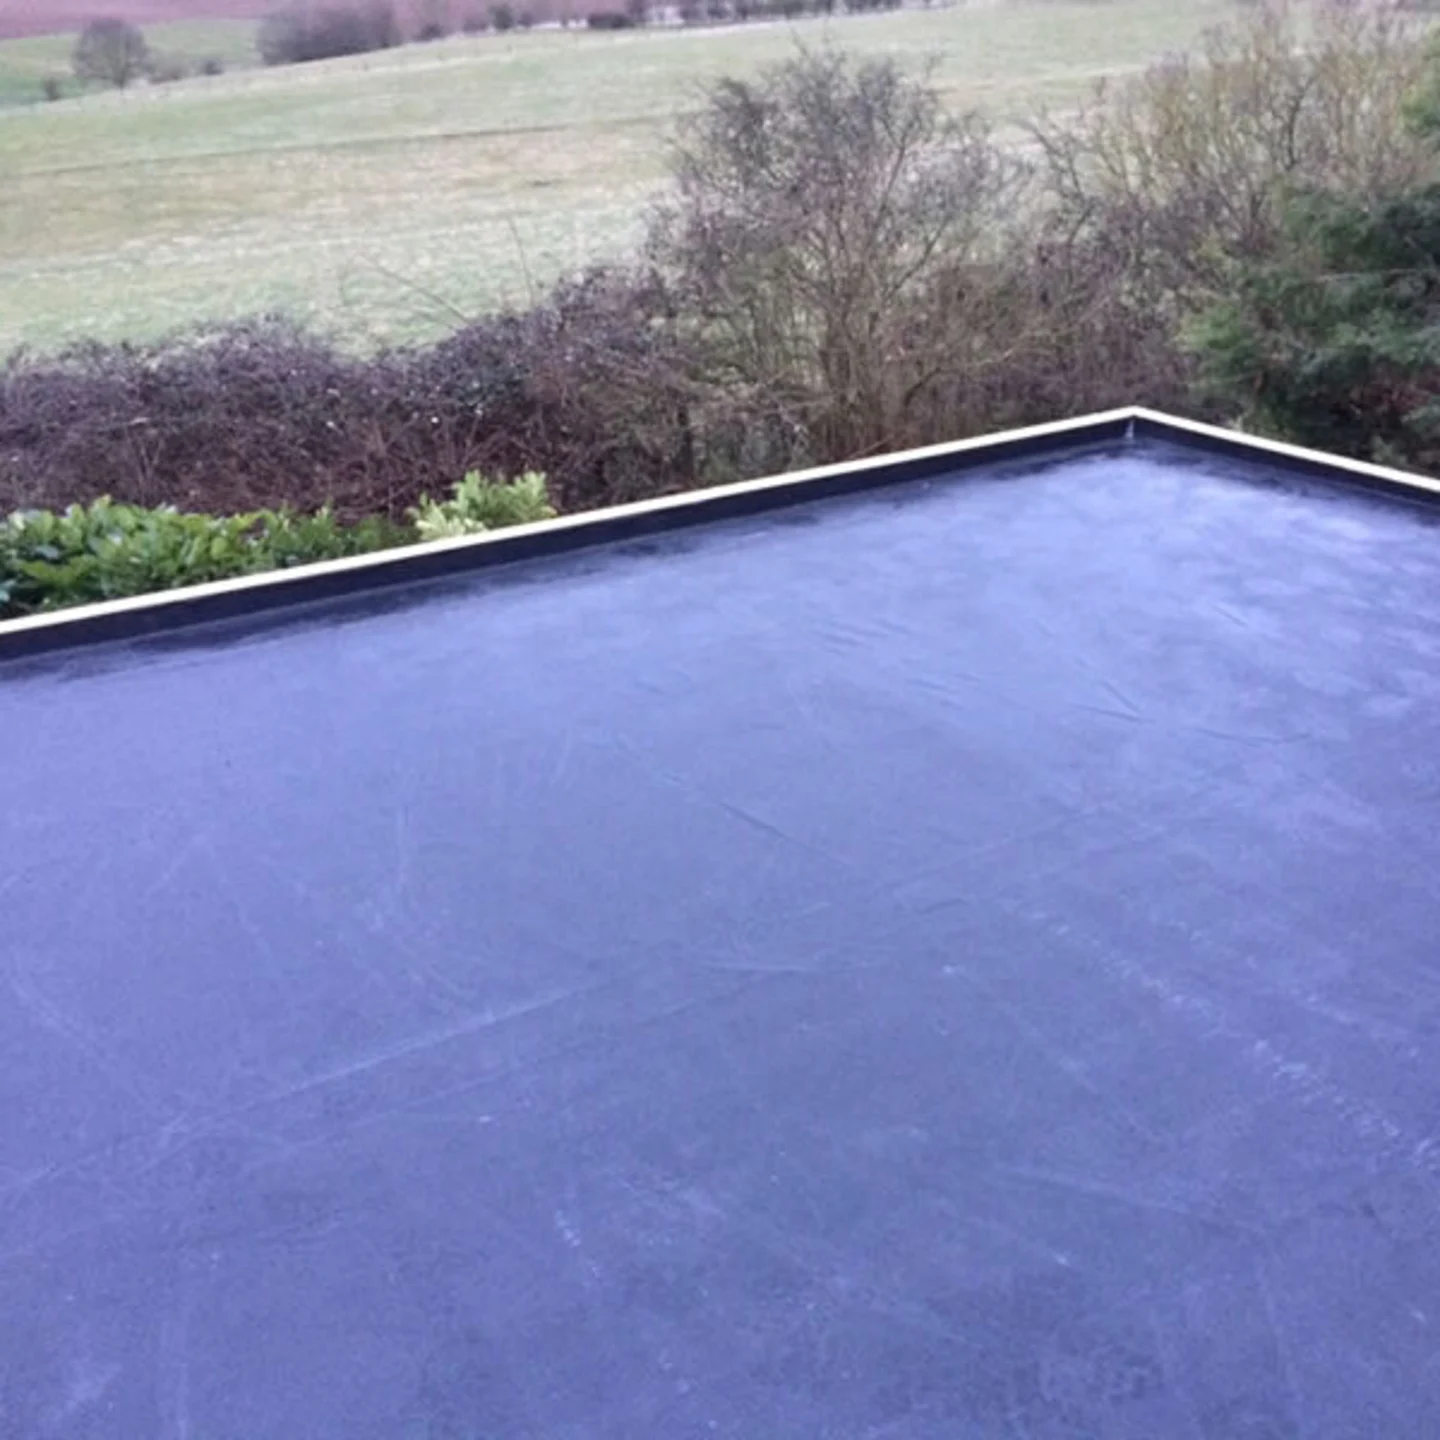
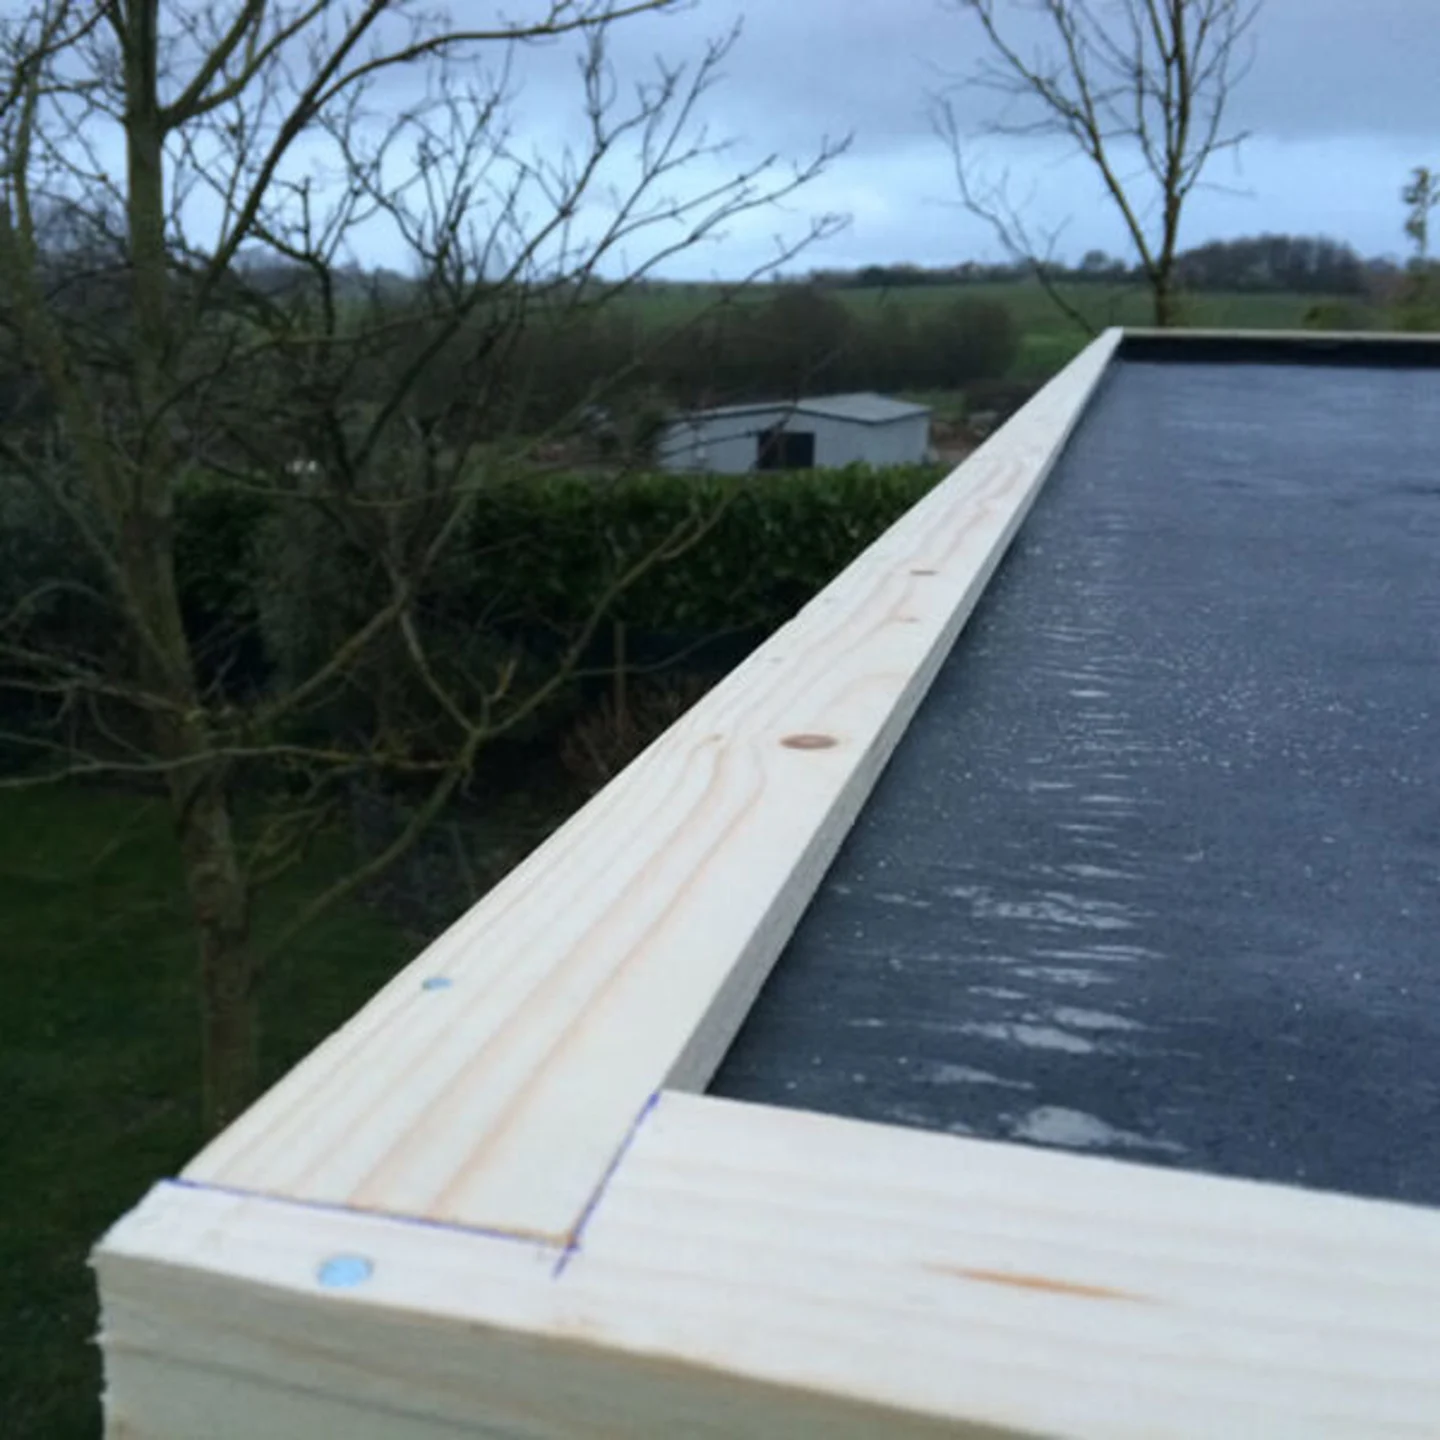
As you will see from this picture I have used a bit of timber to create a slope against the barge board. You do not have to do this, you can finish it as you want, tuck it behind the board, glue it directly to it, however you wish.
I’ve done this though as I think it looks nicer, it also stops water going behind the barge board. Due to the height I raised the boards I was able to use a floor board to create the slope, if I had less of a height I might use a trim from skirting or roof boards or even a packing piece laying around. There is no hard and fast rules on this, other than it needs glueing down.
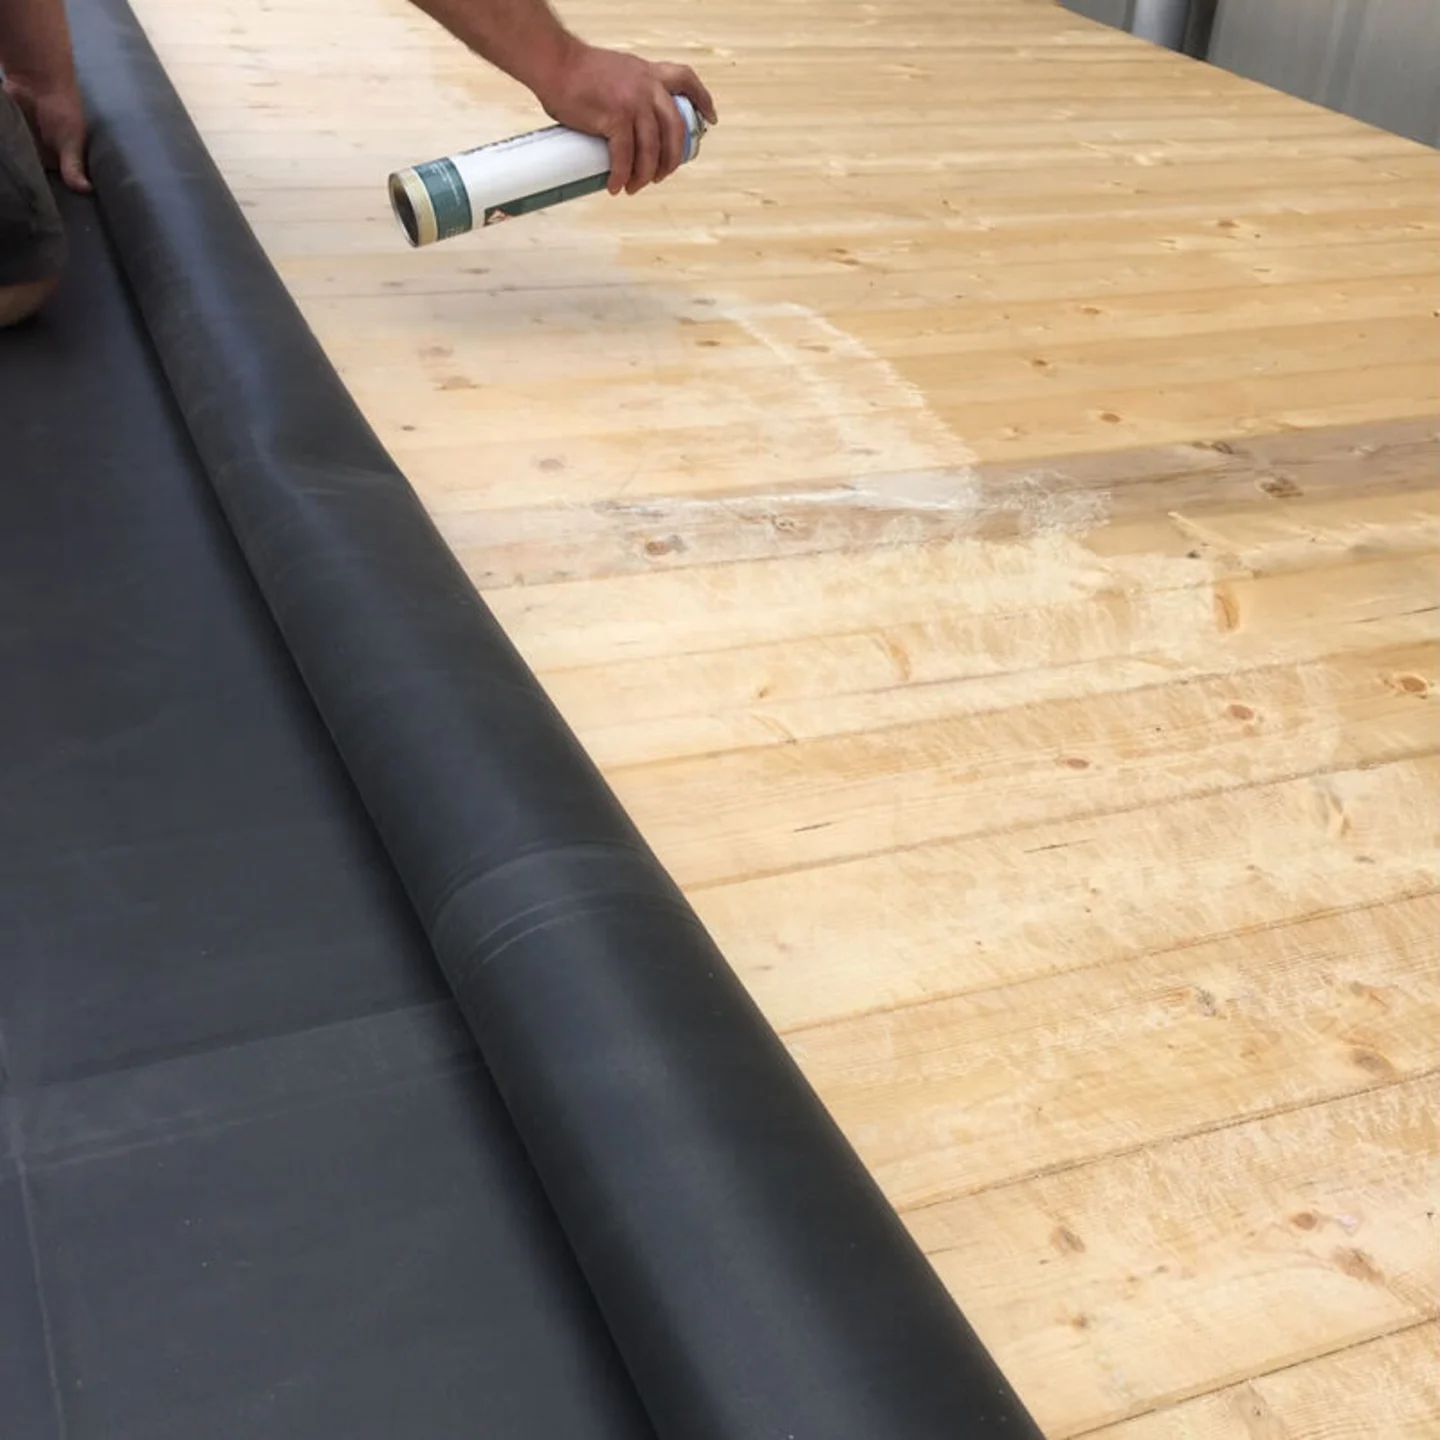
I now shuffle it forward, aligning the edge to where I finally want it to finish. Give the cans a good shake, I think they advise two or three minutes of vigorous shaking, I can’t remember but give them a good shake for a while.
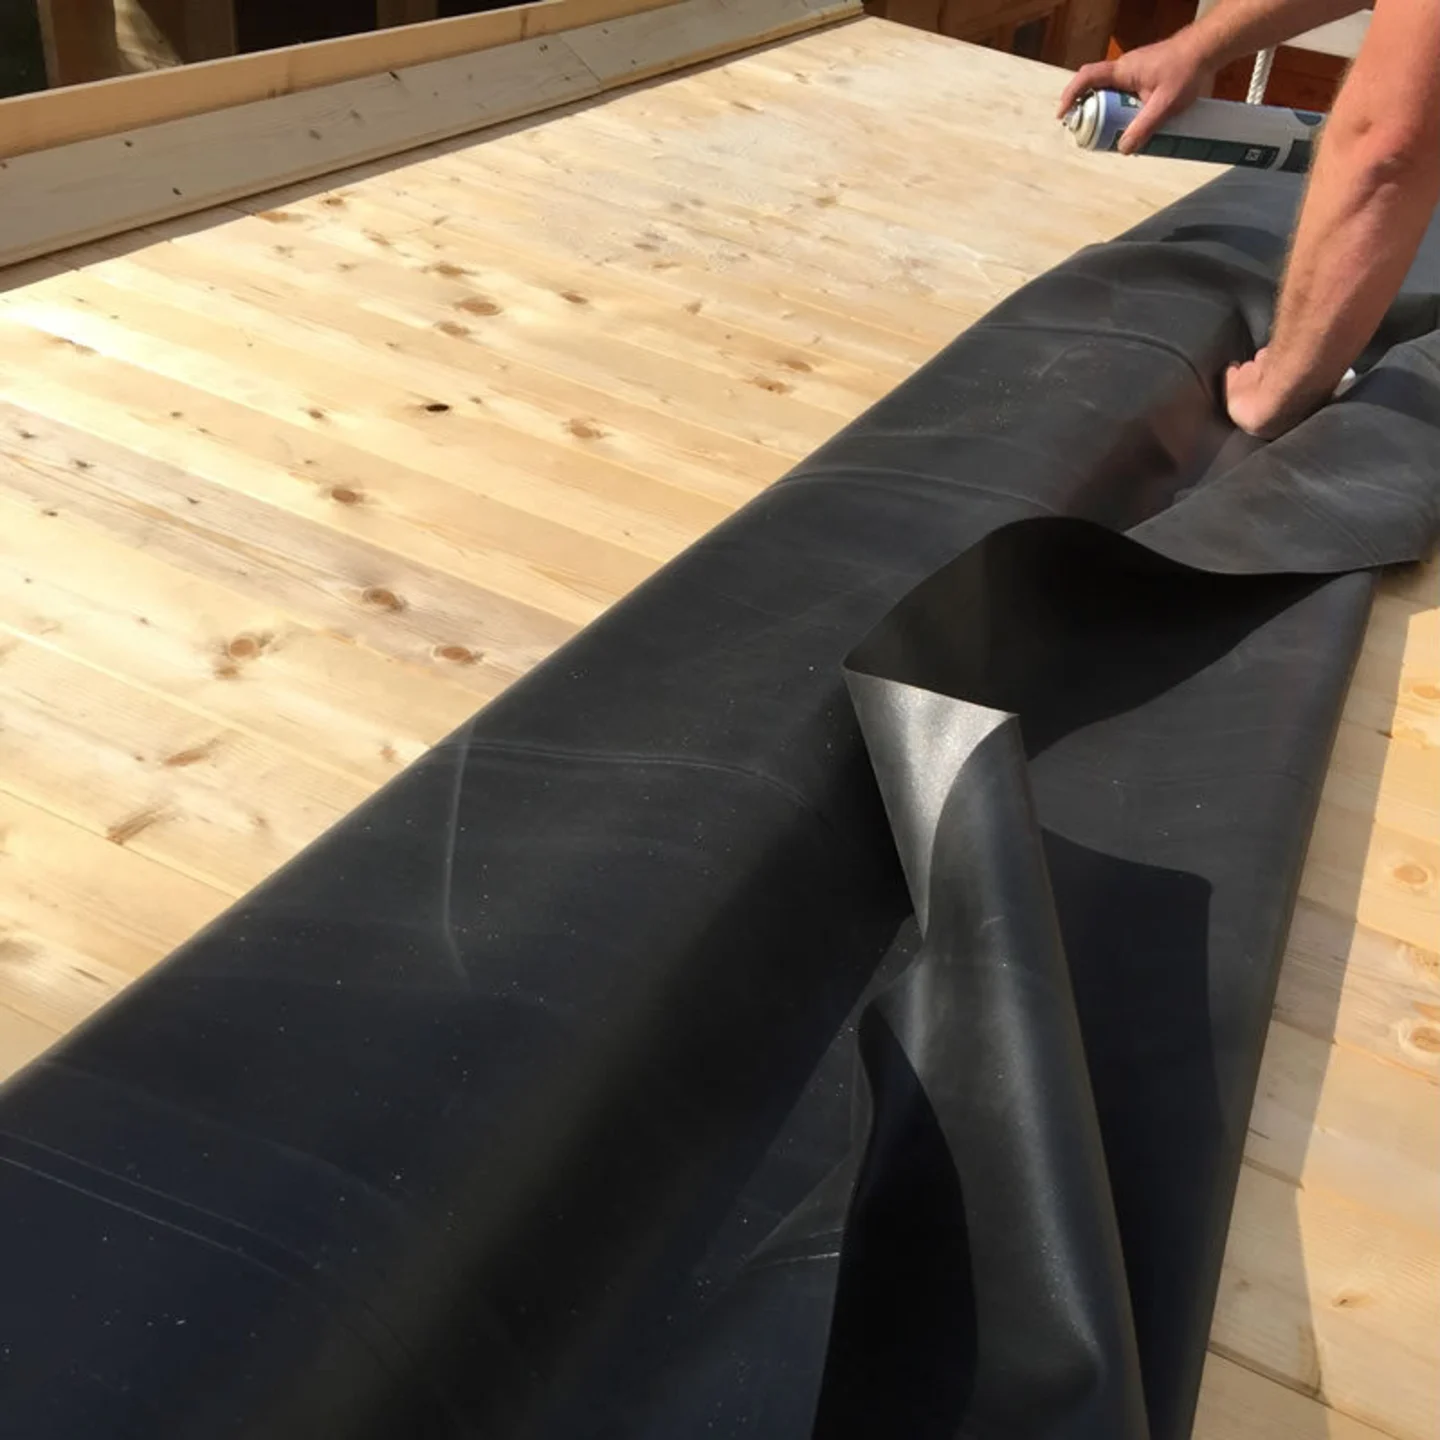
Once everything is aligned and the cans have had a good shake then roll the sausage back slightly. With the sausage rolled back a little you can take the front and uncover the area to be glued. Then spray the glue evenly at a length of about 50cm all the way along the roof, it does start to go off pretty quickly. You don’t need to apply it really thickly, too thick and you fight against the glue itself.
Don’t spray right to the ends or right to the front at the moment. Glue all the way along the roof at about a depth of 50cm so the glue does not go off too quickly. Then fold the membrane forward and start to smooth out.

I’ve seen videos and instructions and professionals and all sorts of recommendations on how to smooth out the EPDM, they’re probably really good and certainly give them a go and let me know how you get on but I still prefer to use my hands and push out the bubbles of air, smoothing the membrane as I go.
Note though I haven’t glued the edges yet as I may want to still much about with this. This is particularly the case at the sides as the barge boards are still not on.
Once the first part is done, now knell on it and roll out the reast, glueing every 50cm as you go, smoothing out as much air bubbles as you can.
Glueing ever 50cm and then rolling out
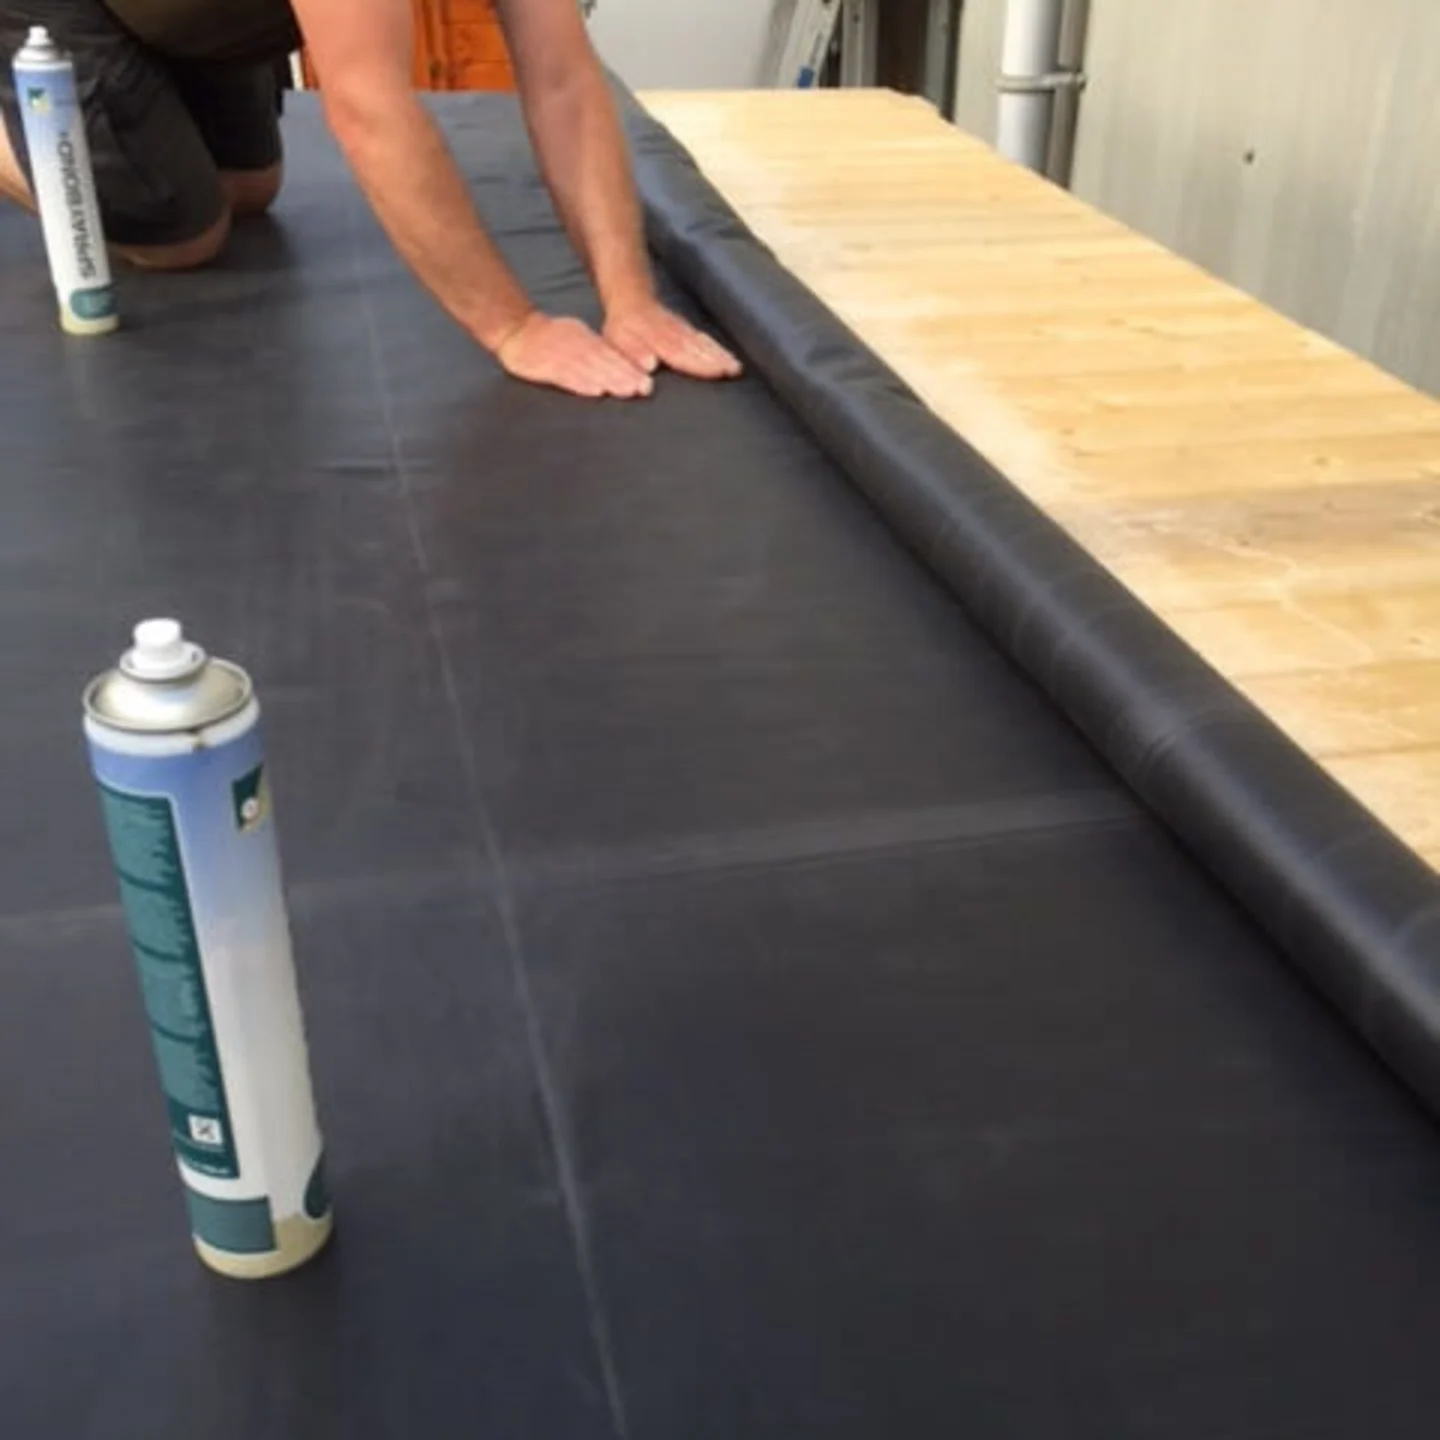
Smooth as you go
I use my hands but you may have a better idea or system or received better advice.
Another 50cm and the roof is glued down and that’s as far as this advise goes on laying EPDM. It’s really quite straightforward, we’re unrolling it, then glueing down, and smoothing it out.
When the main body of the roof is down you can then work on the edges and fit the barge boards and trims as you require and completing the final glueing stage in these areas.
Afterwards, the rest is up to you.
Trim your lof cabin EPDM roof as you wish
I’m often asked what is supplied as regards trims when laying EPDM. I answer there is nothing extra and nor does their need to be you can use this exactly as you would felt. You can though utilise offcuts and produce slopes to ensure all the water is taken away and make a really professional job of it.
You can also use capping pieces on top to make it look nice or battens to secure it fully so as not to rely wholly on the glue at that point.
I have the slope at the front you have already seen but I also did the same at the sides and added a capping piece to make it look nice. To the side I have added a batten to sandwich the EPDM so as not to rely completely on the glue at that point (in this picture I am yet to cut the batten flush with the barge board)

Overall, not a bad finish, most of the air bubbles came out and pretty smooth. Shame about my boot marks but they will wash off and the creases will disappear.
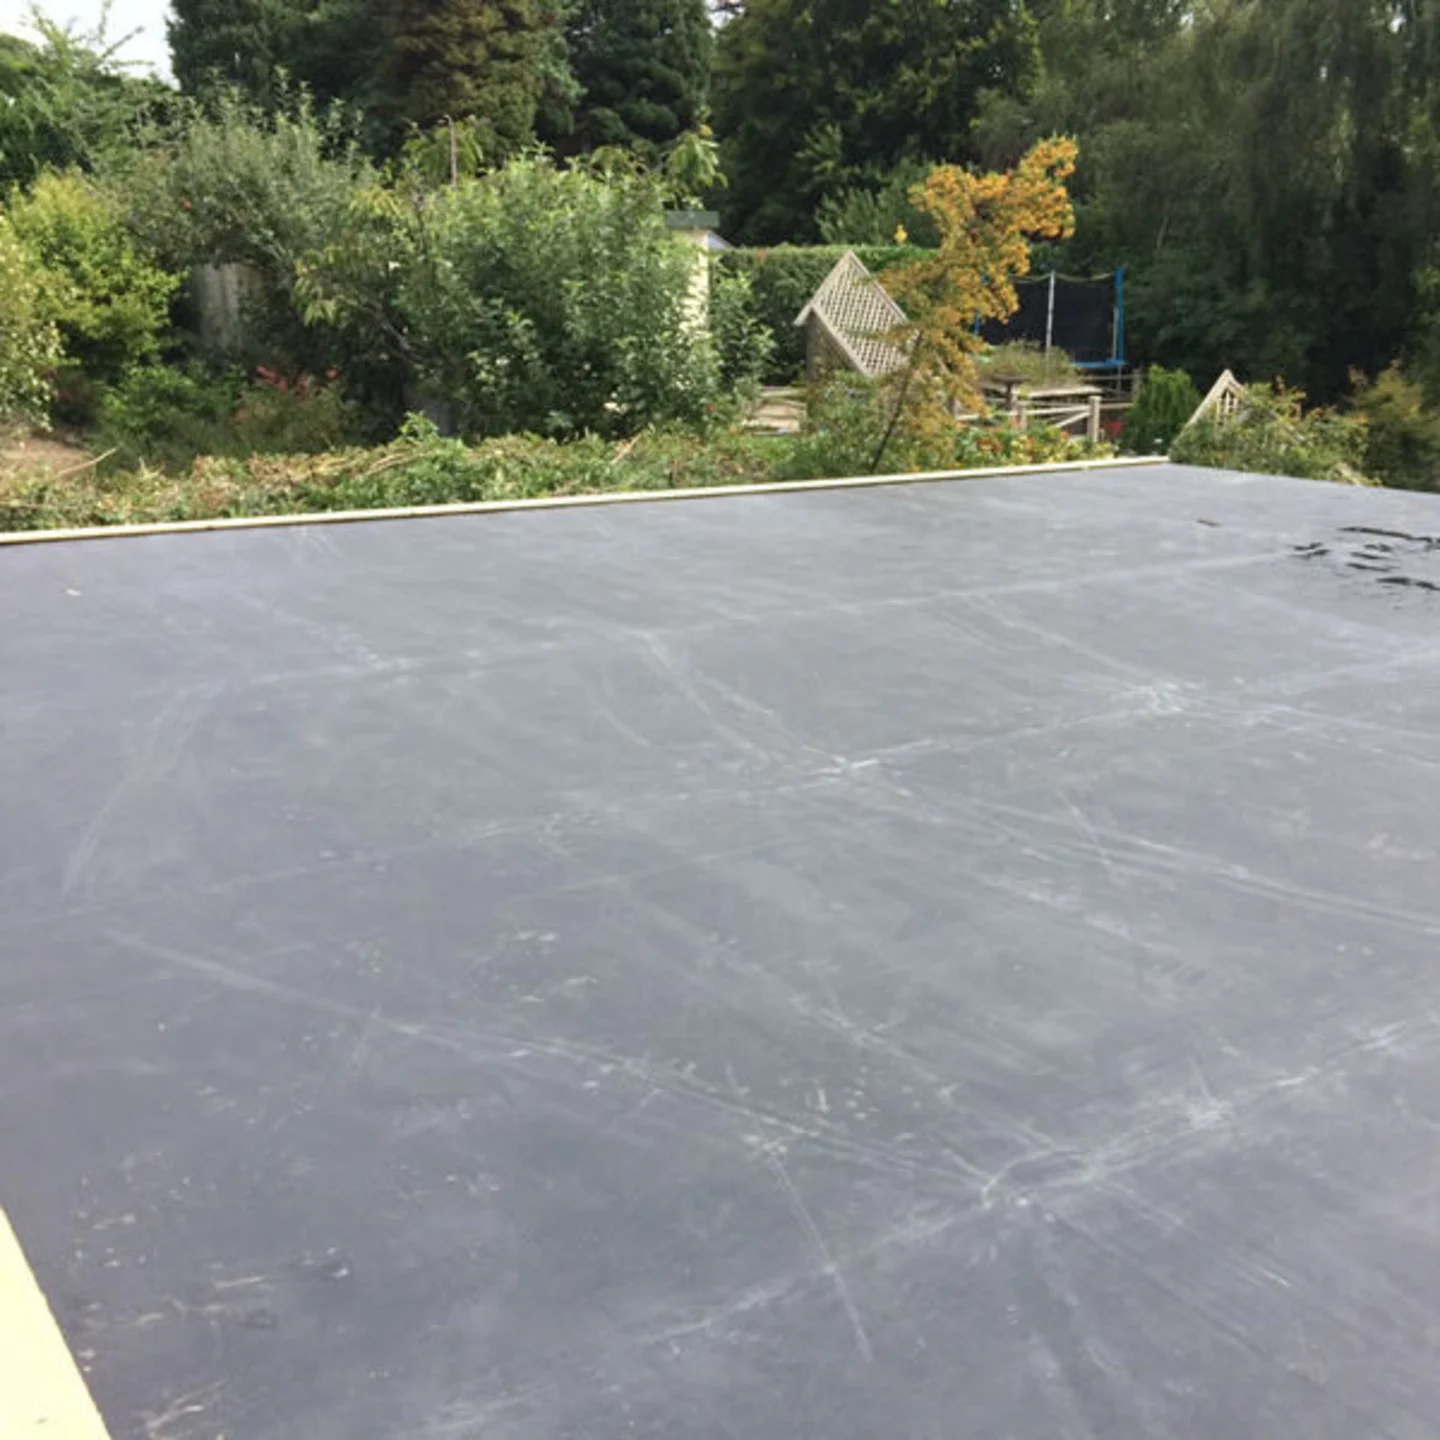
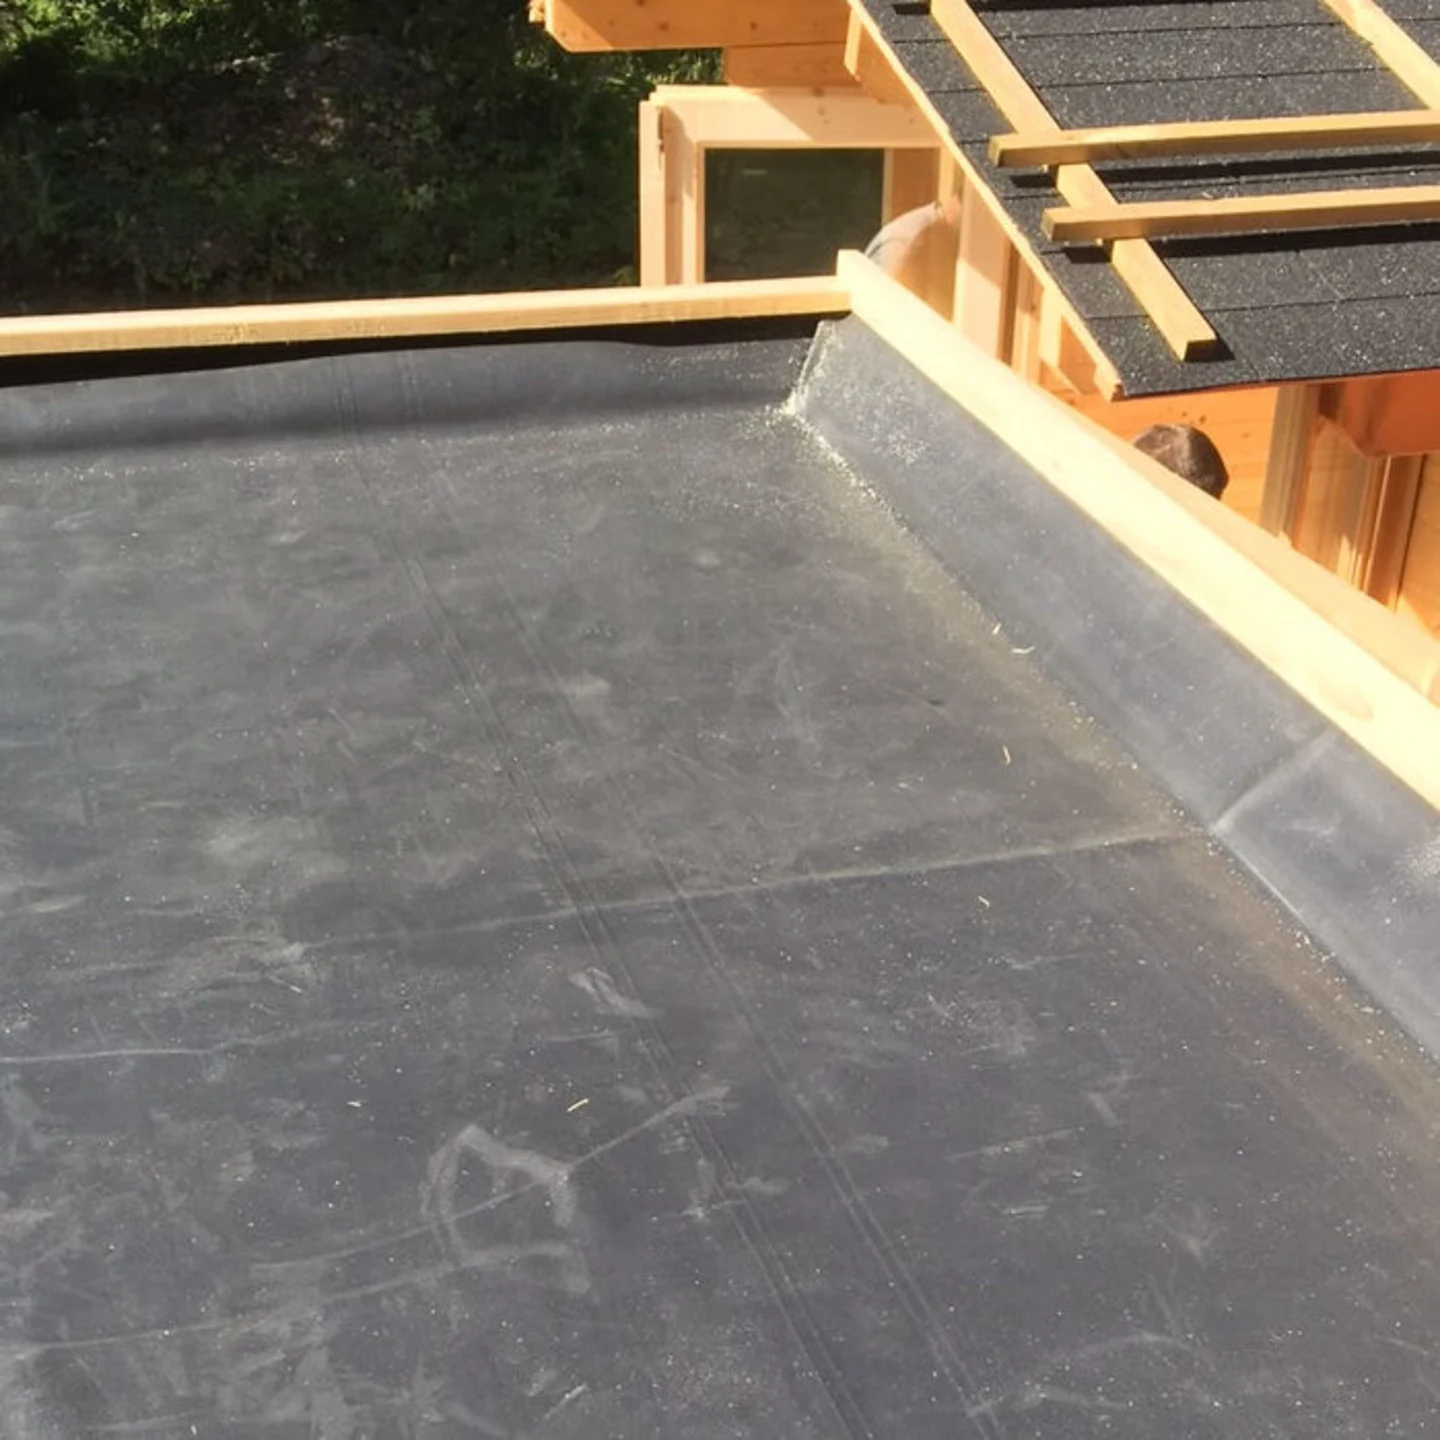
This is another fitters roof on a Yorick Log Cabin, he finished everything flush and that is his preference and still works the same in producing a secure roof for many years with water draining to the rear and following the slope. Upstands are always better though and prevents any rot to trims.
Another fitter has added a small up stand and uses a batten to fix the EPDM at the top. Whereas someone else has gone to town making top trim pieces. We also sell aluminium strips that can do this for the front of the cabin.
On the contrary, just fold it over the top of the barge boards. This is the Yorick Log Cabin and a customer chose to do this. Nothing wrong with is at all other than perhaps aesthetics.
Summary on laying EPDM
In summary all we are trying to do is glue down the membrane with as little bubbles in it as we can.
We also want the roof to drain well and if you wish, it’s nice to create slight slopes all around to encourage the water to flow. This is something the flat roof boys do on your house so we may as well do it on our log cabin. You don’t need anything special apart from a few off cuts of wood which you will have when you have finished your cabin.
Some customers worry about laying EPDM on their log cabin but it is far the quickest roofing method, it doesn’t rip, it’s quite forgiving and easy to work with unlike felt which can be a real pain especially in very hot weather. Plus in the past 17 years now I have never had to re-meet a customer to re-do his EPDM, I’ve met a few to re-felt though!
Trimming is easy but have a ponder on how you would like it to finish before you start and make sure water drains away if the roof is totally flat on your log cabin.
For our modular buildings there will be a join as each part of the building is a separate section, all you do is glue over the seam as you would the roof and as long as you are flat this is not a problem, professional flat roofers do exactly the same.
As always, if you have any questions, please let me know.