DIY Guide: How to Install Felt Roof Shingles on Your Log Cabin
When you invest in a log cabin, the roof is an important element to get right. The roof protects your building from the elements all year round so getting it wrong can lead to leaks, rots, mould and costly repairs. Choosing the right roofing material and installing it properly will provide durability, longevity, aesthetic appeal and cost-effectiveness.

While there are several different roofing options available for log cabins, at Tuin, we recommend felt roof shingles so that you have the highest quality material to protect your garden building for years to come.
Why felt shingles are the perfect option
When compared to standard roofing felt which is commonly used for shed roofs, felt roof shingles offer a more durable, weather resistant and long-lasting solution for your log cabin.
Installing a premium roofing material ensures that your log cabin stays in the best possible condition for years to come.
Here are the key benefits of choosing roof shingles:
Cost-effective option
Flexible and easy to shorten
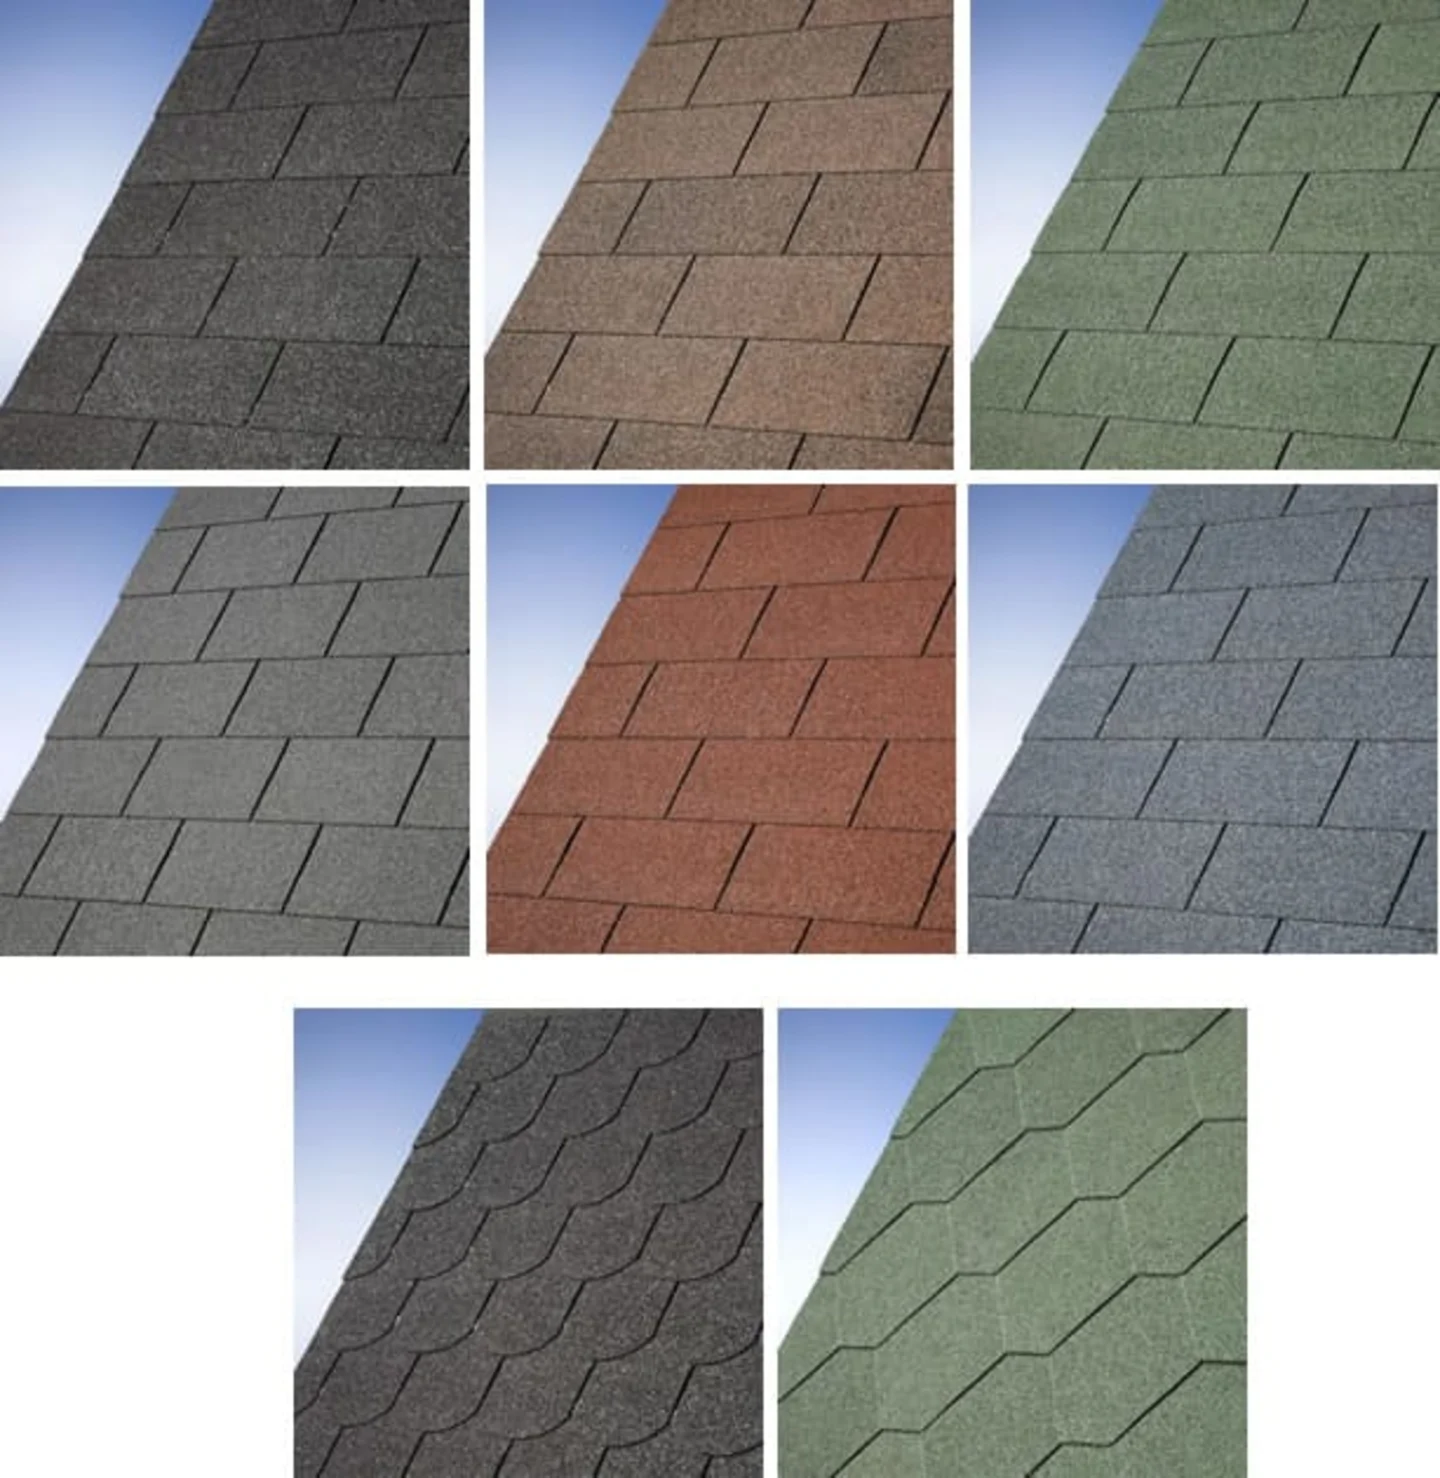
Available in a range of colours
Available in a range of shapes
For more information about why you should install shingles on your log cabin, please read our blog: Why shingles are the superior roofing choice for your Tuin garden building.
What you’ll need
Before you start installing your roof shingles, gather everything you need:
Felt shingles (supplied in packs) – when you order your log cabin you will be provided with the correct amount
Roofing nails
Hammer or nail gun
Craft knife or scissors
Roofing felt adhesive or bitumen glue
Measuring tape and pencil
Ladder
Protective gloves and safety equipment
How to install felt roof shingles: A step-by-step guide
Our roof shingles are provided with full instructions, but it can be confusing if you’ve never installed this type of roofing before. So, let’s have a look at exactly how to install roof shingles.
Step 1: Preparation
Before you start installing your roofing material, there are a few factors to consider:
Check the weather forecast: Avoid installing on rainy or windy days. Roofing shingles adhere best in mild, dry conditions.
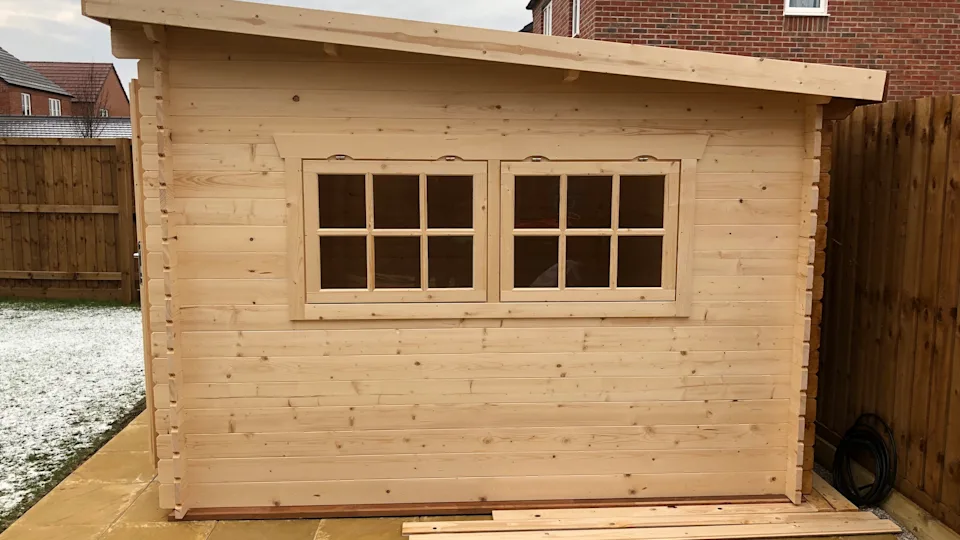
Inspect the roof surface: Ensure the roof of your log cabin is clean, dry and even.
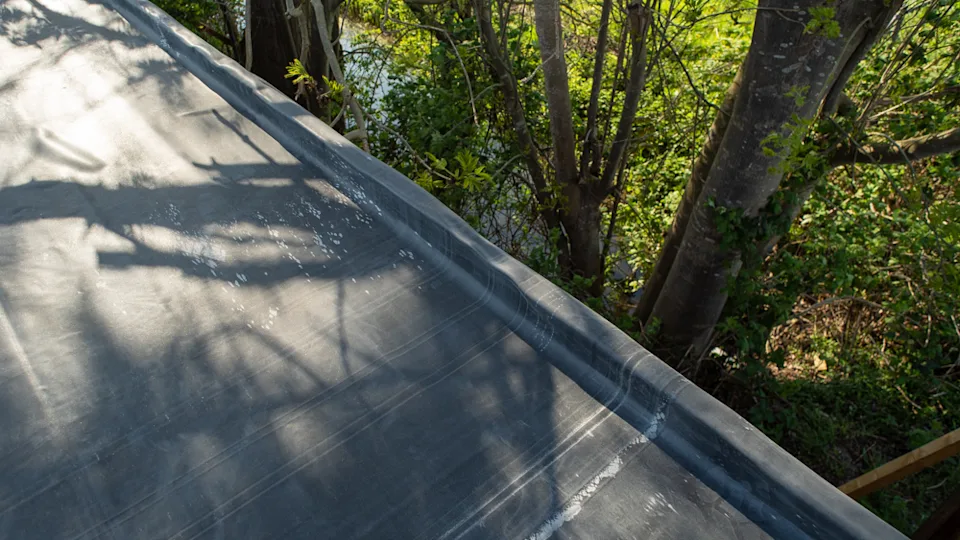
Optional underlay: For additional waterproofing, you can install roofing felt or an IKO underlay sheet beneath the shingles. We recommend doing this in coastal or more exposed areas.
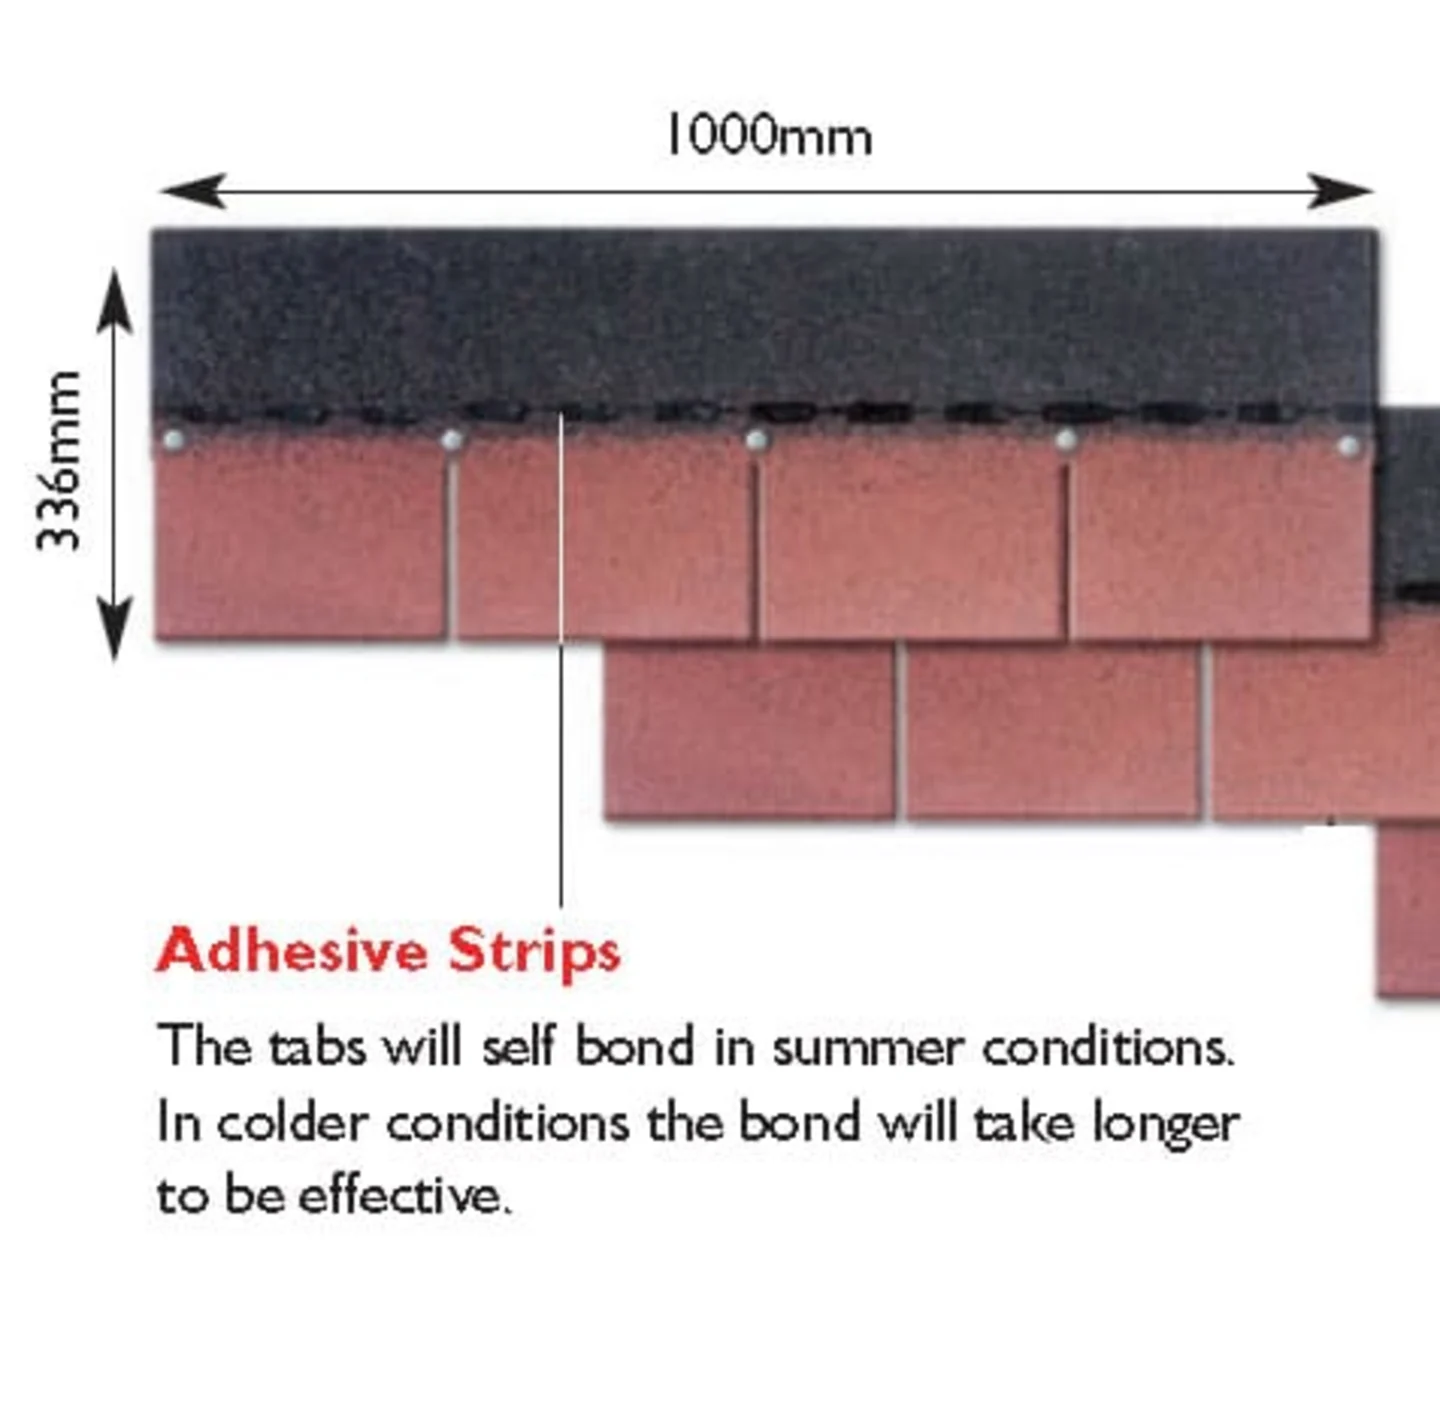
Storage: Don’t leave your shingles in direct sunlight before installation. They have a bitumen strip which is designed to melt and stick the roof together, so you don’t want the strips to stick together before you’ve installed them on the roof.
Mix packs: Mix shingles from various bundles to avoid colour blocks being visible once the roof is finished.
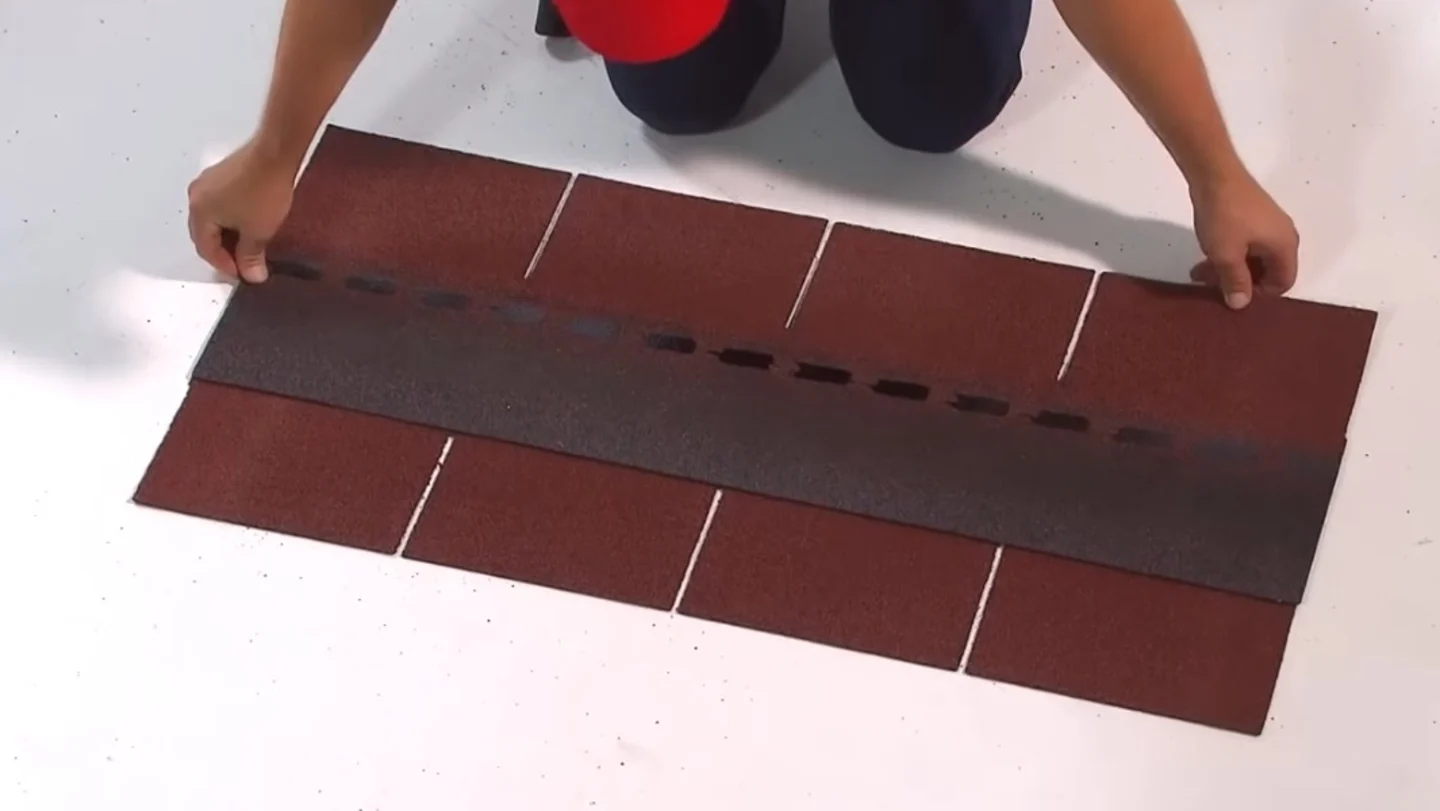
The shingles are provided in strips which contain three or four tiles in line depending on the type you have chosen. The strips are in 1m lengths.
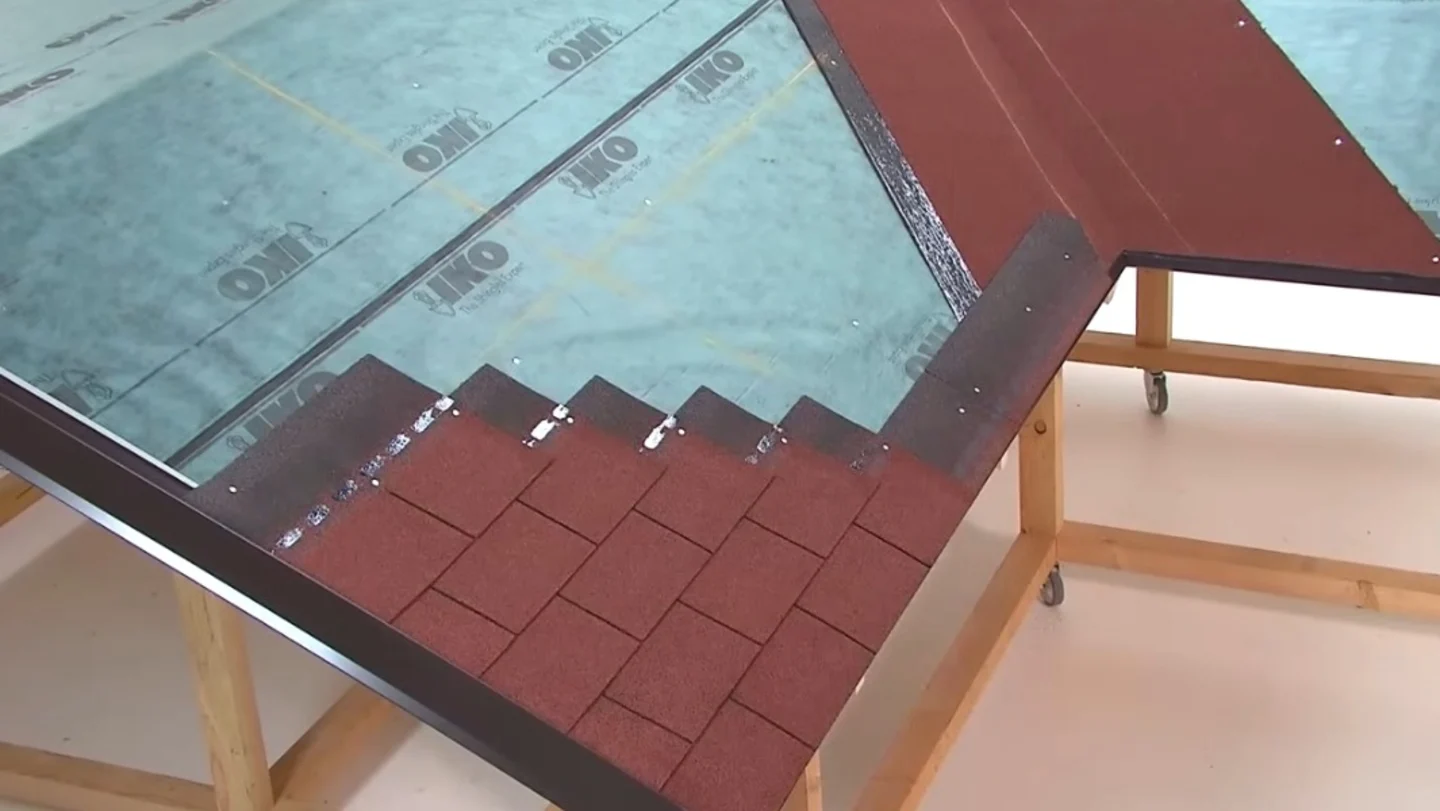
Step 2: Install the starter tiles
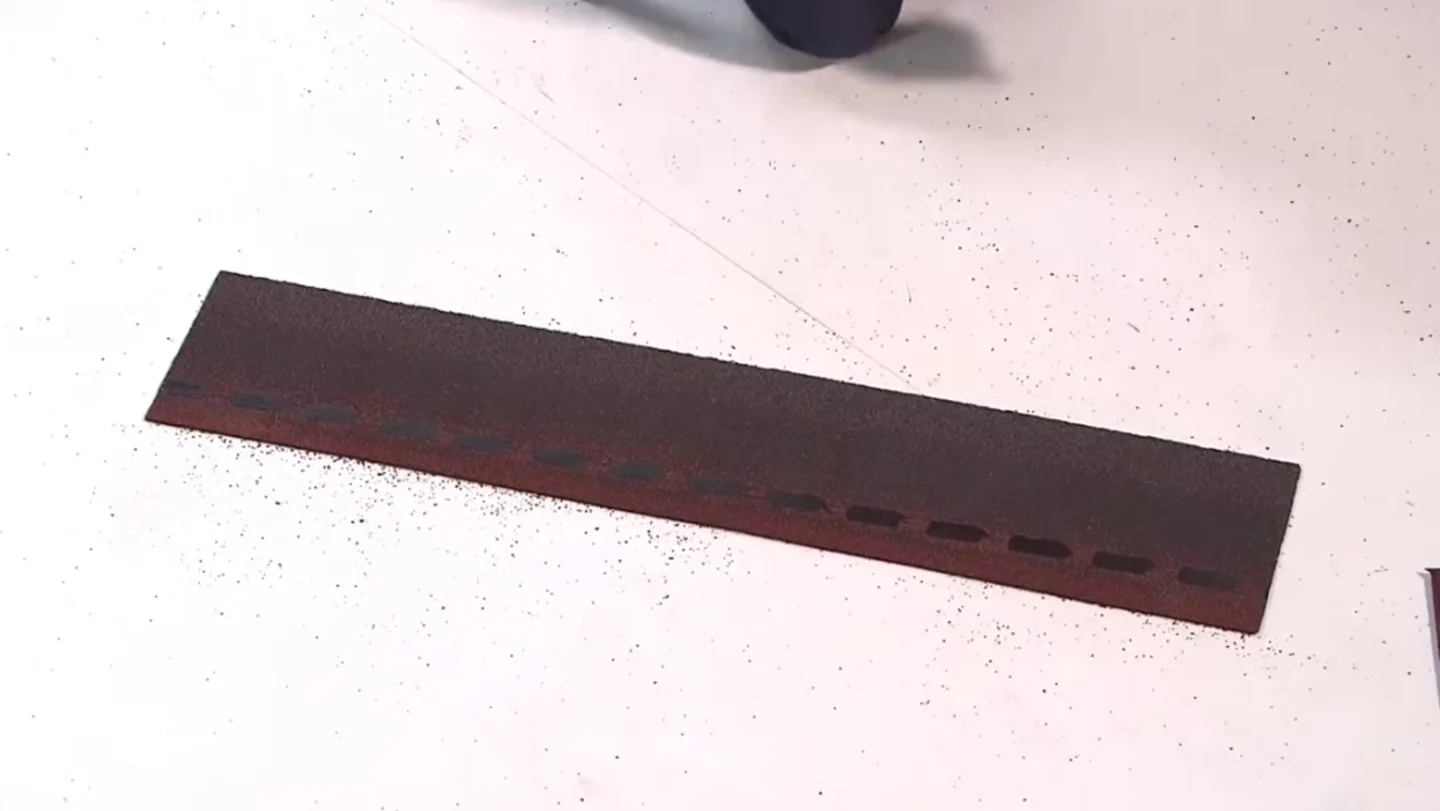
The starter strip is created by cutting the tabs of the shingles off, leaving only the solid backing and then cutting half a tab off the starter strip to ensure that the seams of the starter strip doesn’t coincide with those of the first row of shingles.
Ensure the starter strip hangs around 1cm over the eaves. The adhesive will be sealed after installation using solar heat, but you will also need to nail just above the cut outs in the nailing strip.
Step 3: Lay the first row of shingles
Place the first full shingle strip directly above the starter strip. The tabs should extend beyond the roof edge by 1cm. Nail into the nailing strip using four nails per shingle and, in exposed areas, use six nails. Make sure the nails are hammered flush but not piercing the shingle.
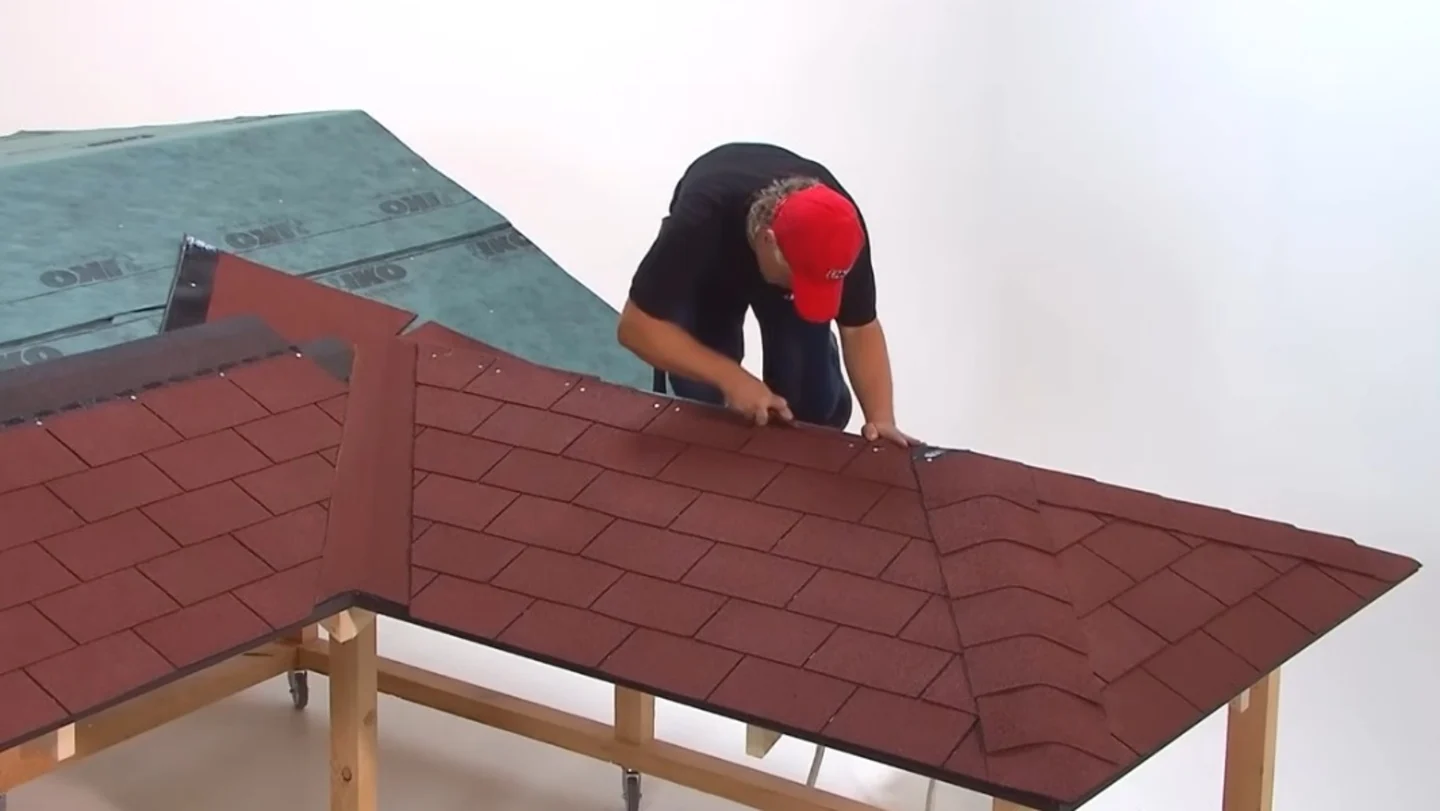
Step 4: Continue up the roof in rows
Once the first layer has been installed, work up the roof in rows. For the second row, cut half a tab off the first shingle before laying and for the next row, cut a whole tab off, continuing up the roof. This creates a brickwork effect.
Each new row should overlap the one below, fully covering the nails of the previous row. Nail each strip in the same way, keeping spacing consistent.
Once you get to the other end of the roof, cut the tile flush with the roof board. Make sure it’s flush otherwise the bargeboard will not fit once you come to install it.
Stop periodically, especially on large roofs to check that the tiles are still in line so you can ensure the tiles are still straight as you install.
Step 5: Work around the ridge
Once you reach the roof’s ridge, fold the tiles over so they look neat and trim if necessary. To finish the ridge or, in the case of a hipped roof, the corners, cut the pieces from the shingles and use a chalk line to install them along the ridge. The shingles should be nailed 2.5cm under the adhesive dots and 2.5cm from the edge.
Step 6: Inspect and seal
Once you’ve installed all shingles on the roof, walk around the building to check all edges, valleys and ridges. Add adhesive under any tabs that feel loose and sweep the roof to remove shingle offcuts or nails.
Step 7: Ongoing maintenance
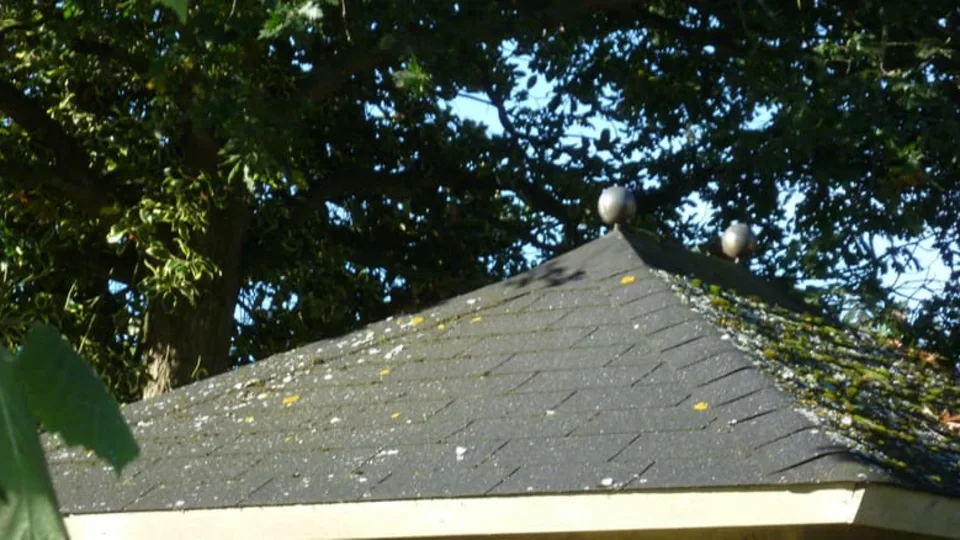
To ensure that your log cabin remains protected and the roof watertight, inspect the roof annually, particularly after winter storms and replace or repair any damaged or lifted shingles. Check ridges too as these are the part of the roof that take the most stress from the weather and may need extra adhesive over time.
Ensure you regularly remove leaves, moss and debris that can trap moisture to protect your roof and prevent mould or rot from being able to set in.
The process differs slightly for different shaped shingles and different roof types. You can find full video tutorials here:
Installing shingles on an apex roof:
Installing shingles on a pyramid roof:
FAQs
A durable, attractive roof for your log cabin
Fitting felt roof shingles is one of the most effective ways to protect your log cabin or garden building. By preparing the roof surface carefully, following a structured installation method, and using the right materials, you’ll create a watertight, durable roof that not only keeps your log cabin protected but also adds to its overall appearance.
With minimal maintenance, your shingle roof can last 15-25 years, making it a cost-effective investment and protects your log cabin over the long-term.
Take a look at our full range of felt roofing shingles to find the perfect option for your log cabin and create your dream garden space today.