Transform Your Garden: Build the Ultimate BBQ & Dining Shelter with the Florida Gazebo
Creating a dedicated garden BBQ and dining shelter is a great way to elevate your outdoor space. Whether you’re planning to host weekend family barbecues or summer dinner parties, a gazebo offers the perfect blend of shelter, style and practicality.
In this blog, we’ll show you a real customer build using our Florida Gazebo, share tips for roofing options and explore how you can create a long-lasting outdoor cooking and dining area, whatever the British weather throws your way.
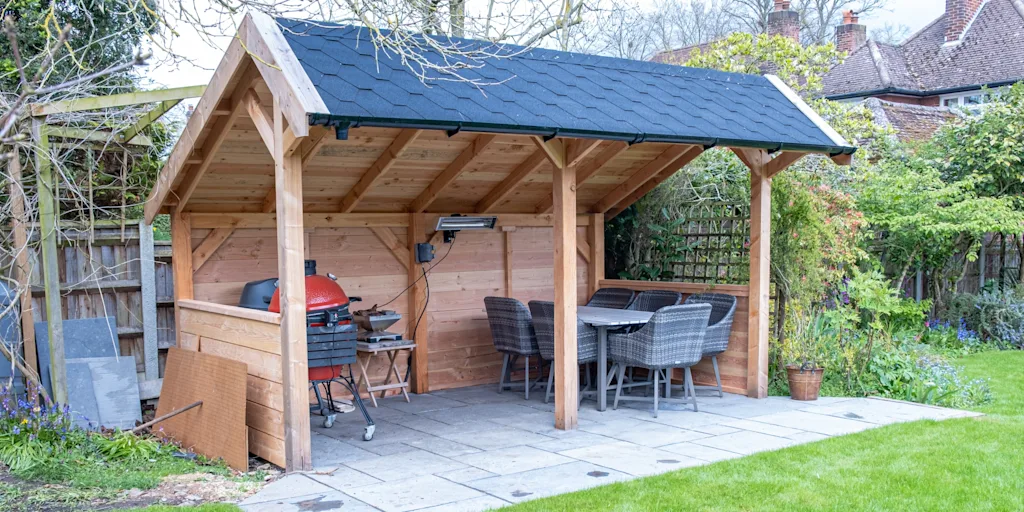
Why add a BBQ shelter to your garden?
A timber BBQ shelter provides year-round flexibility and transforms your garden into a multifunctional space. From grilling under cover to dining alfresco in style, a gazebo provides the following benefits:
Weather protection (sun and rain)
A permanent base for BBQ kitchens or pizza ovens
Defined dining zones providing shade and privacy
A focal point for your garden
If you’re planning to build an outdoor kitchen, make sure you choose a gazebo with enough head height and open ventilation like the Florida Gazebo.
Real Customer Build: Florida Gazebo DIY Project
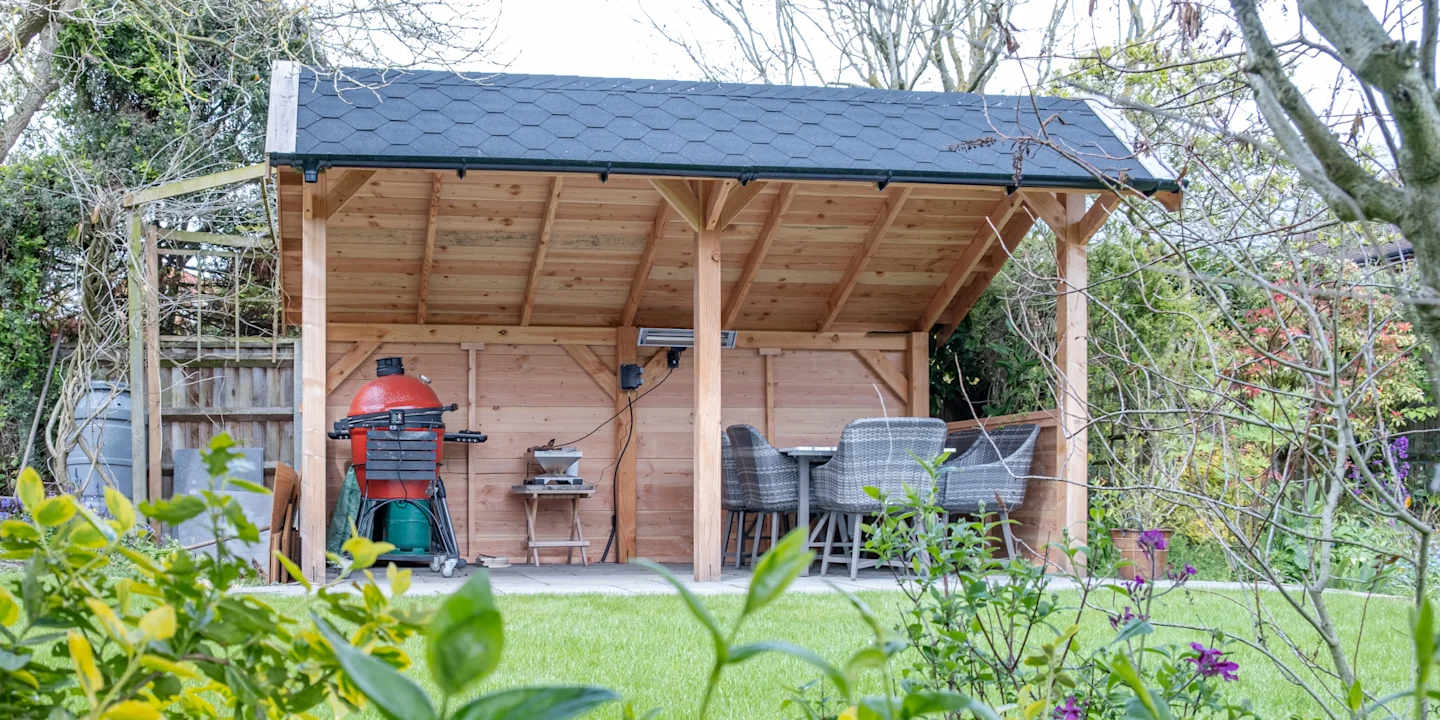
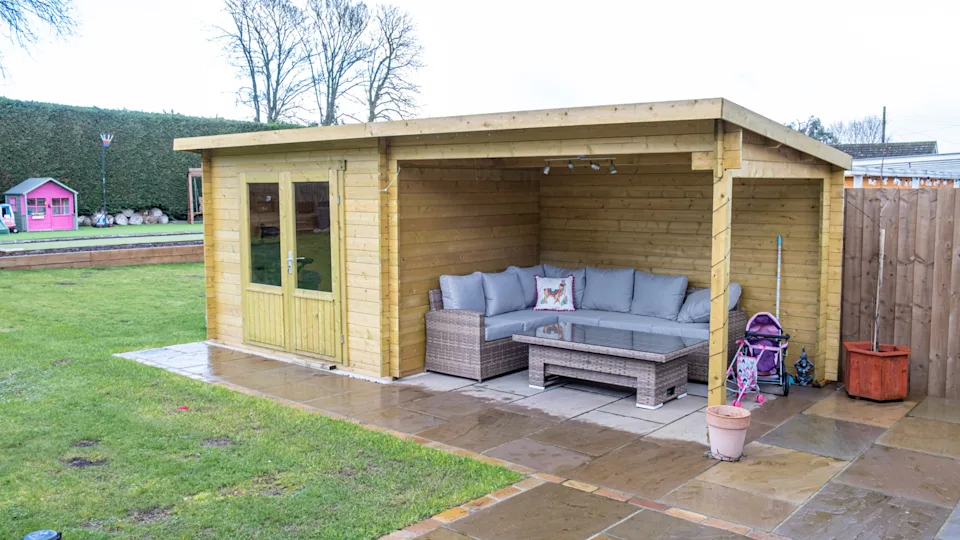
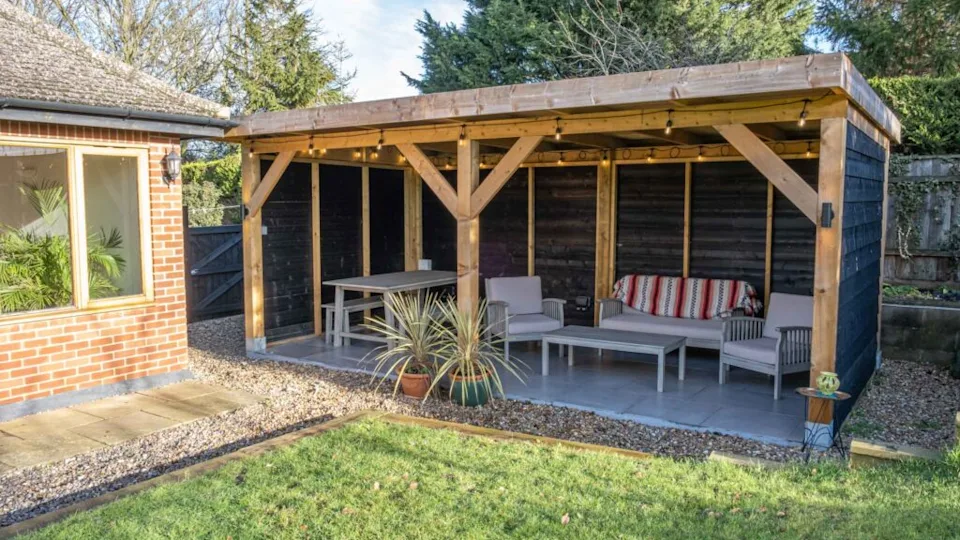
We love seeing our products in action, like this Florida Gazebo proudly on display in our customer Rob’s back garden in Norwich, Norfolk. Seeing our products being used for different purposes is a great way to get inspiration for your own garden.
Rob and his partner have decided to use their gazebo as a shelter for summer (or even autumn and winter!) BBQs with an added dining area. With the UK weather being so unpredictable, a shelter for outdoor cooking and dining is a must have!
Here’s how Rob constructed his Florida Gazebo as a BBQ shelter in his garden.
Step one: Site and base preparation
A solid, level foundation is key to a long-lasting, established and firm timber structure. With this knowledge, Rob went ahead and laid a robust base of patio slabs. The base size was tailored to slightly exceed the footprint of the Florida Gazebo, providing extra drainage and room for edging.
Step two: Install post anchors and fixings
Adjustable post anchors are set into concrete footings. These anchors are perfect for stability and protecting the timber posts from ground moisture which can eventually lead to rot (not ideal when you want to enjoy your gazebo for years to come!). Each corner post was securely bolted and levelled before the frame was installed.
Step three: Frame construction
Our Florida Gazebo is a DIY build so only needs basic knowledge and tools. Due to the simplicity of the design and Tuin’s interlocking system, it can be adapted very easily on site to suit your own preferences. The only limit is your imagination!
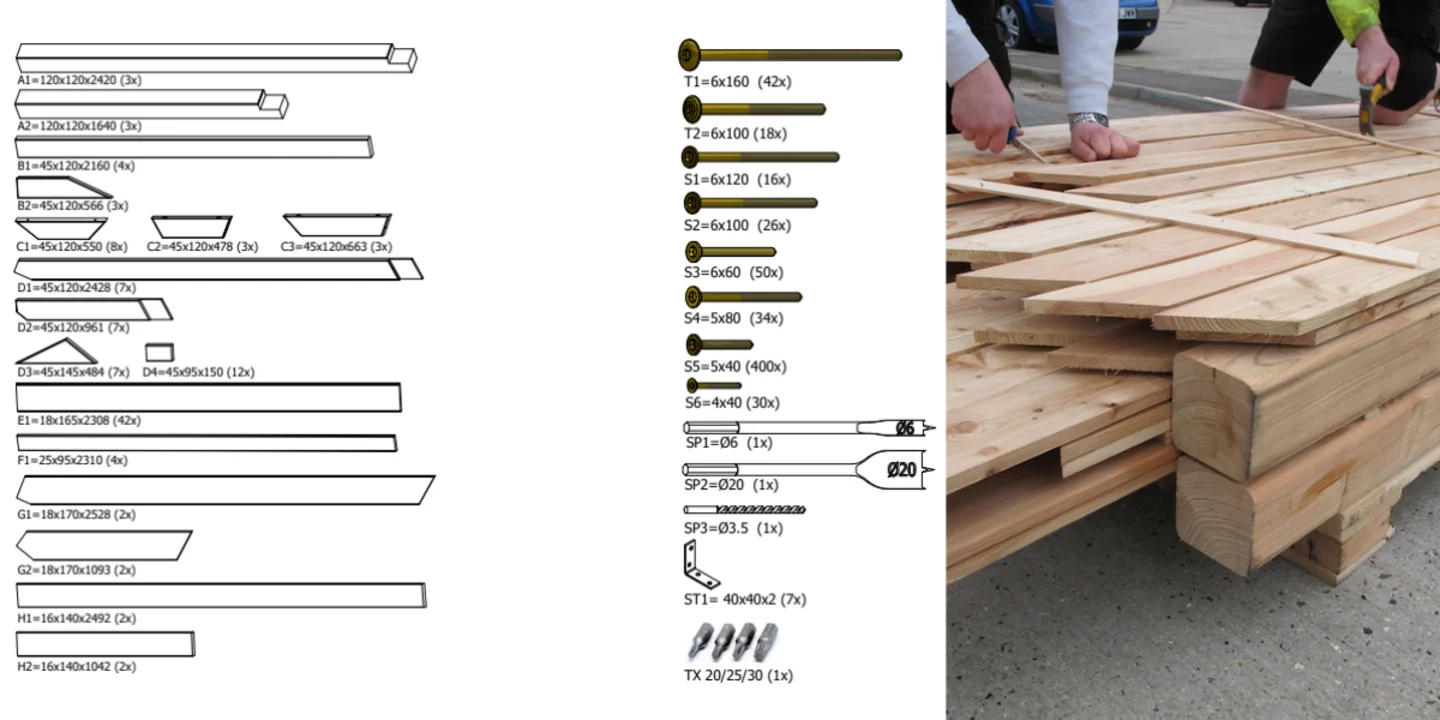
Everything needed to construct the frame is included with the kit. This even includes all the drill bits and screws! Find out more about constructing your gazebo in our blog on gazebo installation advice.
Using easy to follow plans and drawings, this process is a straight-forward one in which Rob had no issues with carrying out. Before completing any work, Rob familiarised himself with the gazebo plans and instructions that came with the gazebo. The assembly instructions can be found on this PDF download.
The first page of the instructions contains the parts and fixings list so when the gazebo arrived, Rob checked off everything on the list to ensure all parts were included before he began.
Step four: Roofing options
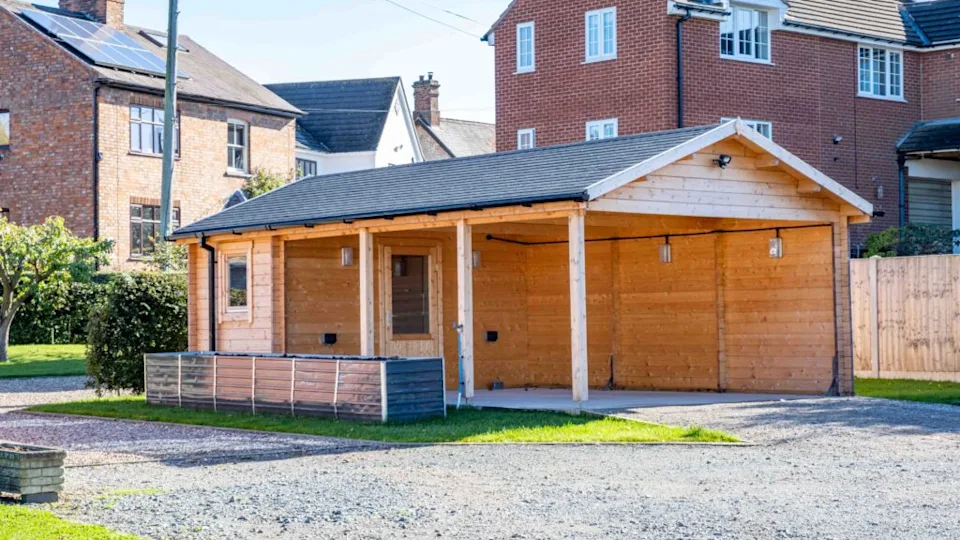
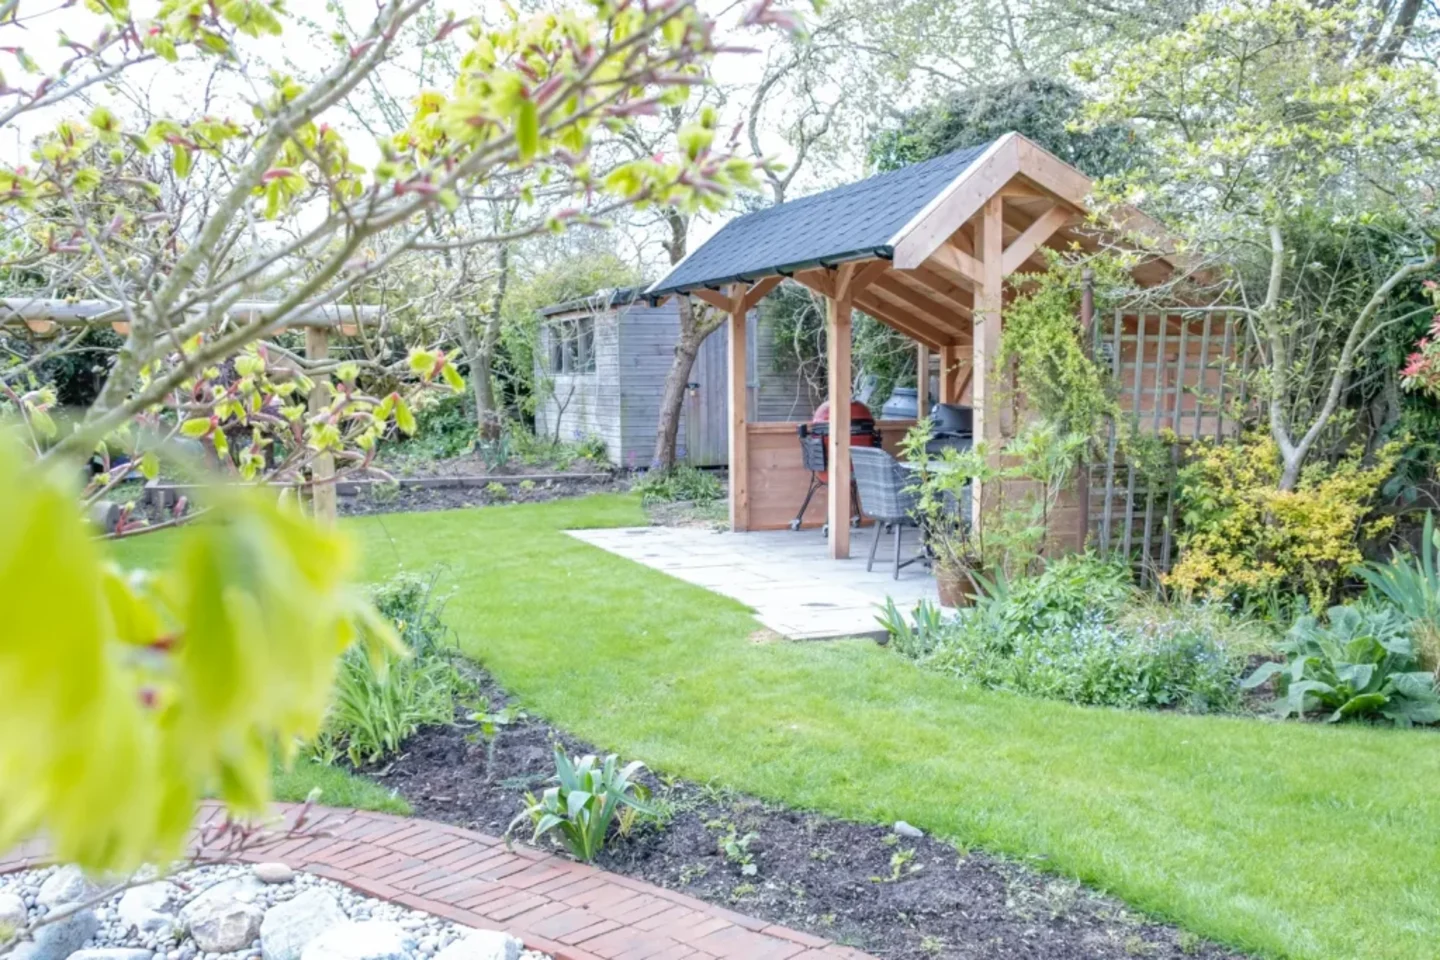
Our gazebos are available with a choice of roofing. Rob selected IKO roof shingles, which are included as standard with our range of gazebos. This option offers a traditional look and water protection for your structure.
Some customers opt for our metal roof tiles, which offer a different look for your gazebo or garden building.
Roofing comparison: Which is right for your gazebo?
Here’s a quick comparison of our roofing types to help you make the right choice:
IKO Shingles
Look: Classic, rustic
Lifespan: 15-20 years with proper maintenance
Installation: Hammer on with a bitumen underlay
Weight: Medium
Cost: Included with most Tuin gazebos
Metal Roof Tiles
Look: Modern, sleek
Lifespan: 25-30+ years as they have added weather protection
Installation: Quick-fit interlocking system
Weight: Lightweight
Cost: Additional cost as an upgrade to your gazebo
Step five: Add a BBQ, dining area and custom features
Rob’s setup includes a BBQ area and dining table and chairs so he can cook while entertaining friends and family, and then enjoy the food from the shelter of the gazebo. He has customised the gazebo with a small partition wall for added privacy and shelter.
You can enhance your own setup with:
Hanging hooks for utensils
Kitchen cabinets
Exterior power outlets for lighting or fridges
You can find more inspiration with another customer build: Outdoor utility room and shelter.
Step by step BBQ shelter build tips
Here’s a quick recap on how to build your own timber gazebo for use as a BBQ shelter and dining area. It’s all completely achievable with basic DIY skills but you might need another person around when building!
Check the kit: Unpack your delivery before you start construction and check off each component against the parts list. Familiarise yourself with the instruction manual.
Lay your materials out: Group similar items (posts, rafters, boards) and place them in the rough build location to reduce movement during installation.
Prepare the base: Ensure your base is completely level. Use a string line and spirit level to check. Minor dips can affect the whole structure.
Install post anchors: Secure your adjustable anchors into the base using concrete fixings or anchor bolts. Measure diagonals to ensure perfect square alignment.
Fix upright posts: Place and level each post, securing it temporarily with battens or props if needed.
Assemble the frame: Fit perimeter beams to the posts using the pre-cut notches and bolts supplied. Tighten the bolts gradually to avoid misalignment.
Add roof beams and apex: Slot the main rafters into place, starting with opposing corners. Ensure symmetry before fixing.
Install roof boards: Nail tongue and groove roof boards onto the rafters, allowing a small expansion gap between boards.
Apply roofing material: Whether you’re installing roofing shingles or metal tiles, start from the lowest edge and work your way upwards, overlapping each layer correctly.
Final treatment and inspection: Apply a timber preservative and sealer. Check all bolts, joints and roofing elements before use.
How to maintain your gazebo over the long-term
Once your gazebo has been installed, regular maintenance is key if you want to protect your investment and enjoy your gazebo for years to come.
Here are the steps you should follow to maintain your gazebo:
Annual timber treatment
Apply two coats of a high-quality timber treatment regularly. At Tuin, we recommend doing this on a yearly basis to protect your gazebo and your 10-year guarantee. Treatments such as our Carefree Protectant Timber Treatment.
Read more about choosing a treatment for your gazebo in our blog: The best log cabin treatments: Everything you need to know.
Inspect roof shingles or tiles
Look for lifting, curling or wear on your gazebo’s roof, especially after a storm and replace damaged sections promptly to avoid the timber underneath becoming water damaged over time.
Clean the roof
Remove leaves, moss and debris from the roof to reduce water retention and preserve the finish.
Check fixings and anchors
Re-tighten bolts annually and ensure the post bases haven’t shifted or loosened
Repaint or re-stain if needed
If you have a faded or patchy finish on any stain or paint you’ve added, sand it down lightly and apply a fresh coat.
More ideas and real customer stories:
Build your dream BBQ shelter with Tuin
The Florida Gazebo is a versatile shelter, perfect for dining, barbecuing or relaxing in style. You can view our full range of gazebos here and create your perfect outdoor retreat today.
If you still have questions, you can contact our support team or visit our inspiration section to see what others have built!


