Top 5 log cabin treatment mistakes: How to avoid common problems
Treating your log cabin is essential if you want to preserve its beauty and structural integrity. However, many owners unknowingly make mistakes that can lead to premature deterioration, discolouration, or even structural damage.
Whether you’re getting ready to treat your new log cabin or you’re maintaining your existing log cabin, this guide will talk through the top 5 most common log cabin treatment mistakes, and most importantly, how to avoid them.
1. Treating the cabin too soon after installation
One of the biggest, and most frequent, mistakes when treating a log cabin is applying the treatment immediately after it has been built. While the wood may feel dry to touch, the timber can often contain high levels of internal moisture from storage, transport or machining.
High moisture content prevents the treatment from being able to soak in properly. Our blog on understanding moisture content in timber covers more on this. This can lead to peeling, flaking or blistering within weeks, affecting the look of your log cabin. Trapped moisture can also lead to internal mould, staining and rot.
How to avoid this problem
Wait two to four weeks after installation (or longer during wet weather, before applying your treatment.
Use a moisture meter to test the timber and only treat it when the moisture level is below 20%, ideally between 12-16%.
Let your log cabin ‘breathe’ by opening the windows and doors and ensuring airflow.
2. Using the wrong type of treatment
Not all wood treatments are suitable for log cabins. Many people choose standard fence paint or low-cost wood stain without checking whether it’s appropriate. Unfortunately, this often leads to poor results.
Mistakes include using non-breathable coatings (such as garden paints) that trap moisture, using single-coat products that offer inadequate protection, or using cheap stains that fade quickly or never cure.
How to avoid this problem
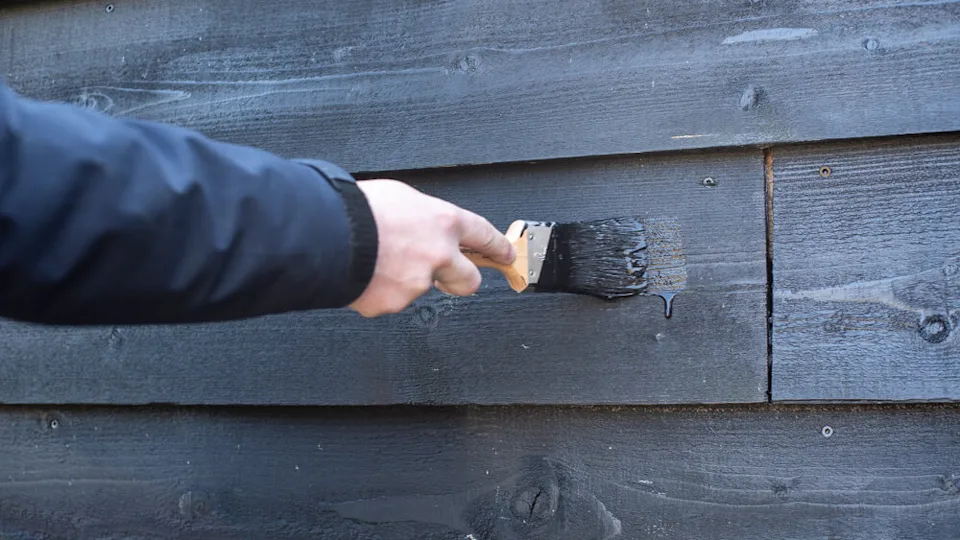
Choose a high-quality, breathable treatment designed specifically for log cabins. Such as Carefree Protectant Timber Treatment.
Use solvent-based or water-based microporous products that allow the wood to breathe while keeping water out.
Look for products that offer UV protection, water protection and deep penetration.
3. Inadequate surface preparation
Even the best treatment won’t work if the surface isn’t prepared correctly. Many people skip cleaning, sanding or priming which can lead to patchy results and treatments that don’t work properly. This is an essential step because dust, dirt and natural oils can prevent penetration of the treatment, uneven surfaces cause streaks or blotches and any residual moisture can lead to peeling or bubbling.
How to avoid this problem
Thoroughly wipe down all surfaces to remove dirt and sawdust before applying treatment.
Lightly sand rough areas or mill glaze (the shiny, smooth surface left after machining).
Let the wood dry thoroughly before applying primer or treatment.
4. Applying too few coats
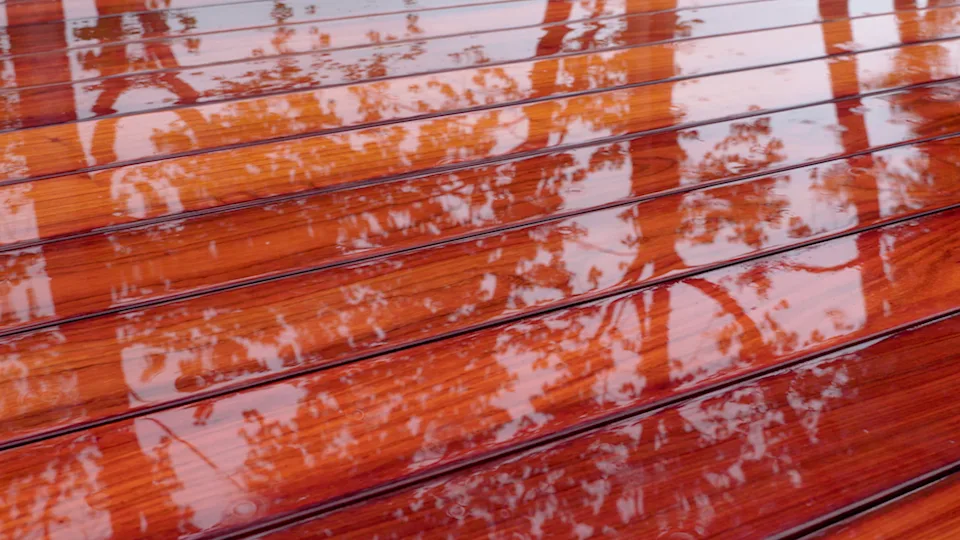
When you’re busy and keen to start using your log cabin, it can be tempting to put one coat of treatment on and leave it. However, your log cabin needs multiple coats to build up a durable and effective barrier against weather and UV damage. You can see more on the effects of adding a number of coats to wood in our blog on the best types of log cabin treatment.
If you don’t treat your log cabin effectively, rain can soak into the timber, especially in the corners and base logs, your log cabin will fade, stain or weather unevenly and the lifespan of the protection is drastically reduced.
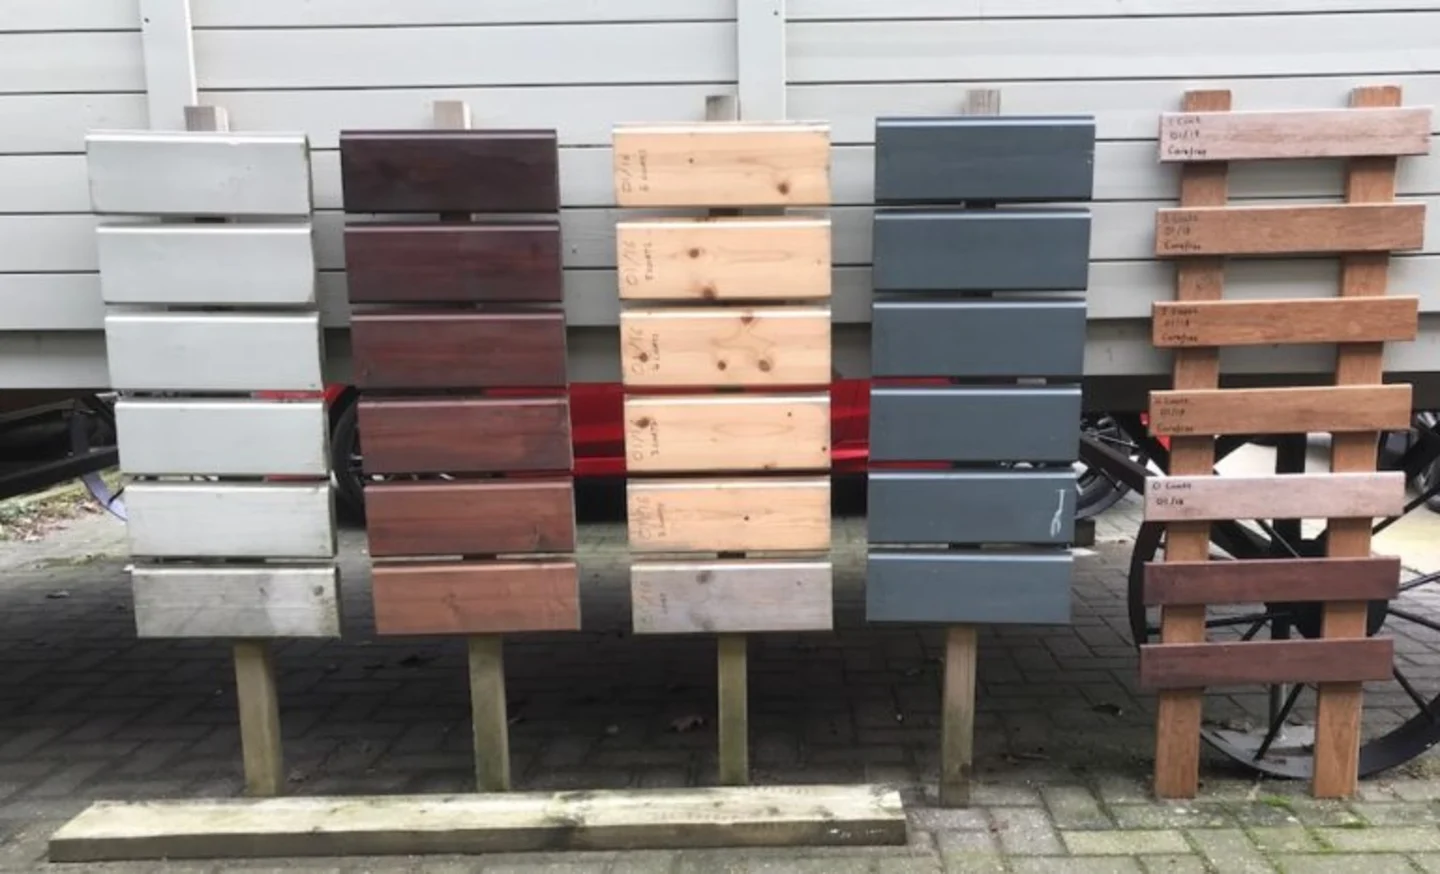
As you can see from our real-life examples below, these boards have been coating in varying coats of treatment and left to weather over three years. You can see the impact of only applying a few coats to the look of the wood.
How to avoid this problem
Apply at least two to three coats of your chosen treatment
Follow the manufacturer’s guidelines on drying times between coats
Make sure each coat is fully absorbed before applying the next
5. Neglecting problem areas such as end grains and base logs
Certain parts of your log cabin are more exposed to water and wear, especially the end grains, bottom logs and exposed corners. These are often missed or only lightly coated during treatment.
End grains can soak up water far faster than other parts of the timber and base logs are most exposed to splashback, ground moisture and runoff so ignoring these areas can lead to rot and discolouration of the wood over time.
How to avoid this problem
Apply extra coats of treatment to all exposed end grain, especially door and window reveals
Use a brush, not a roller or sprayer, to work the treatment into the grain
Consider applying a clear sealer over high-risk areas for added protection
Ensure the cabin has sufficient drainage and airflow beneath to prevent base log saturation
Bonus tip: Don’t forget regular log cabin maintenance
Even if you get the initial treatment right, all timber buildings need to be maintained. Reapply treatment every few years (depending on product lifespan and exposure), and check annually for signs of wear, flaking or greying.
Real-life examples
Here are just a few examples of log cabins that have not been treated correctly and the impact this has had on the wood.
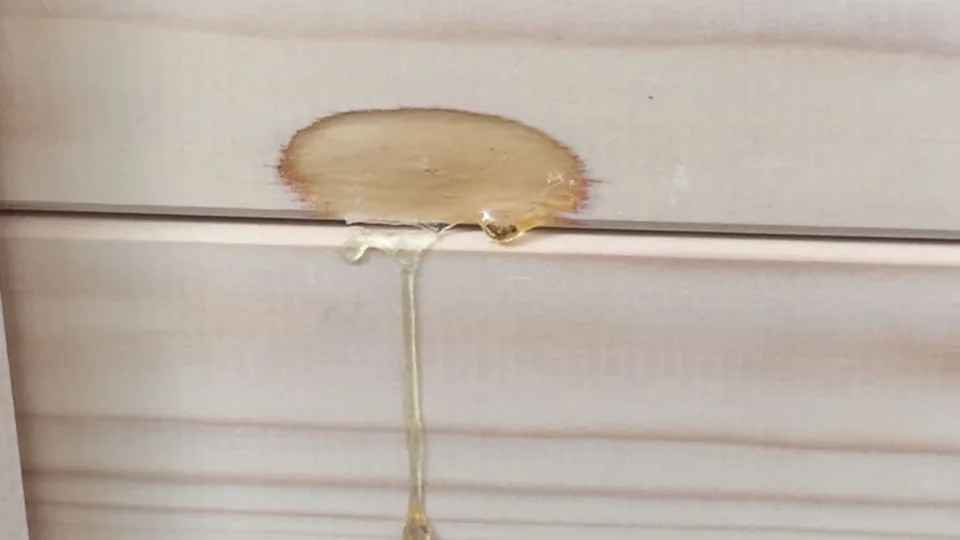
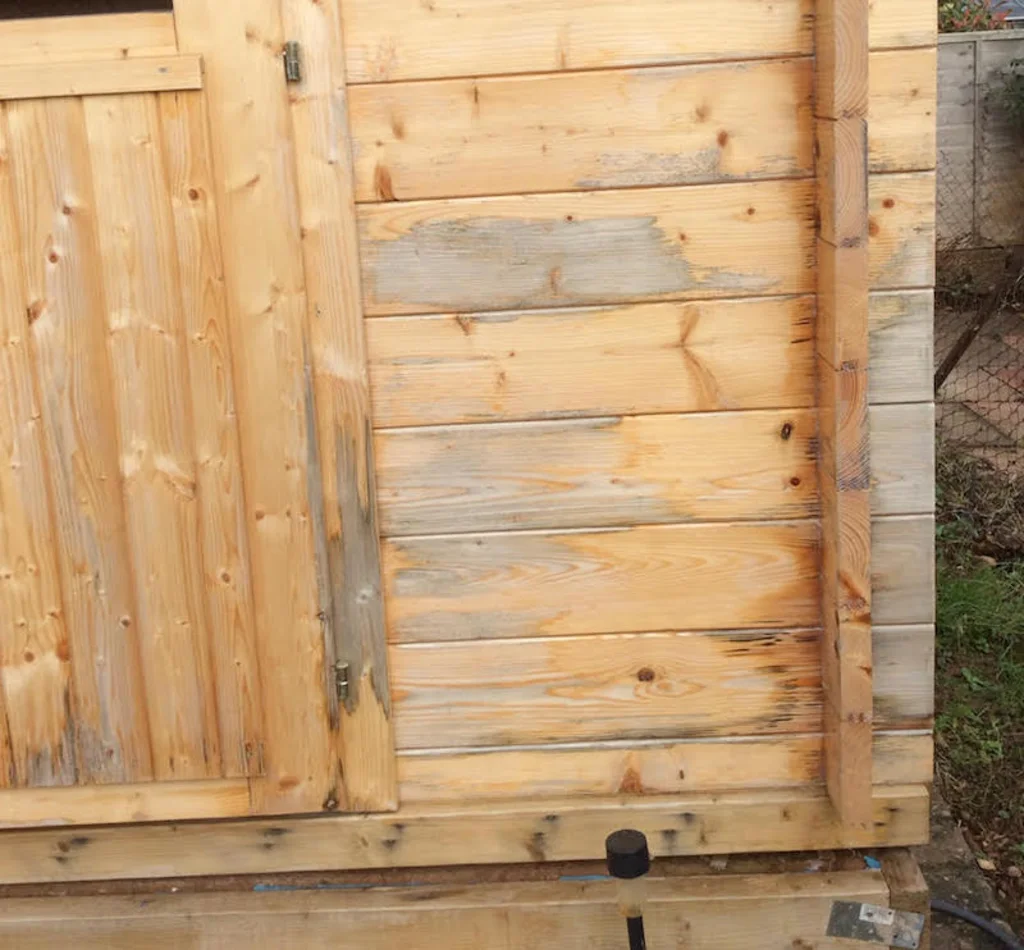
Bad staining is forming at the bottom of this cabin and the door trims have begun to discolour.
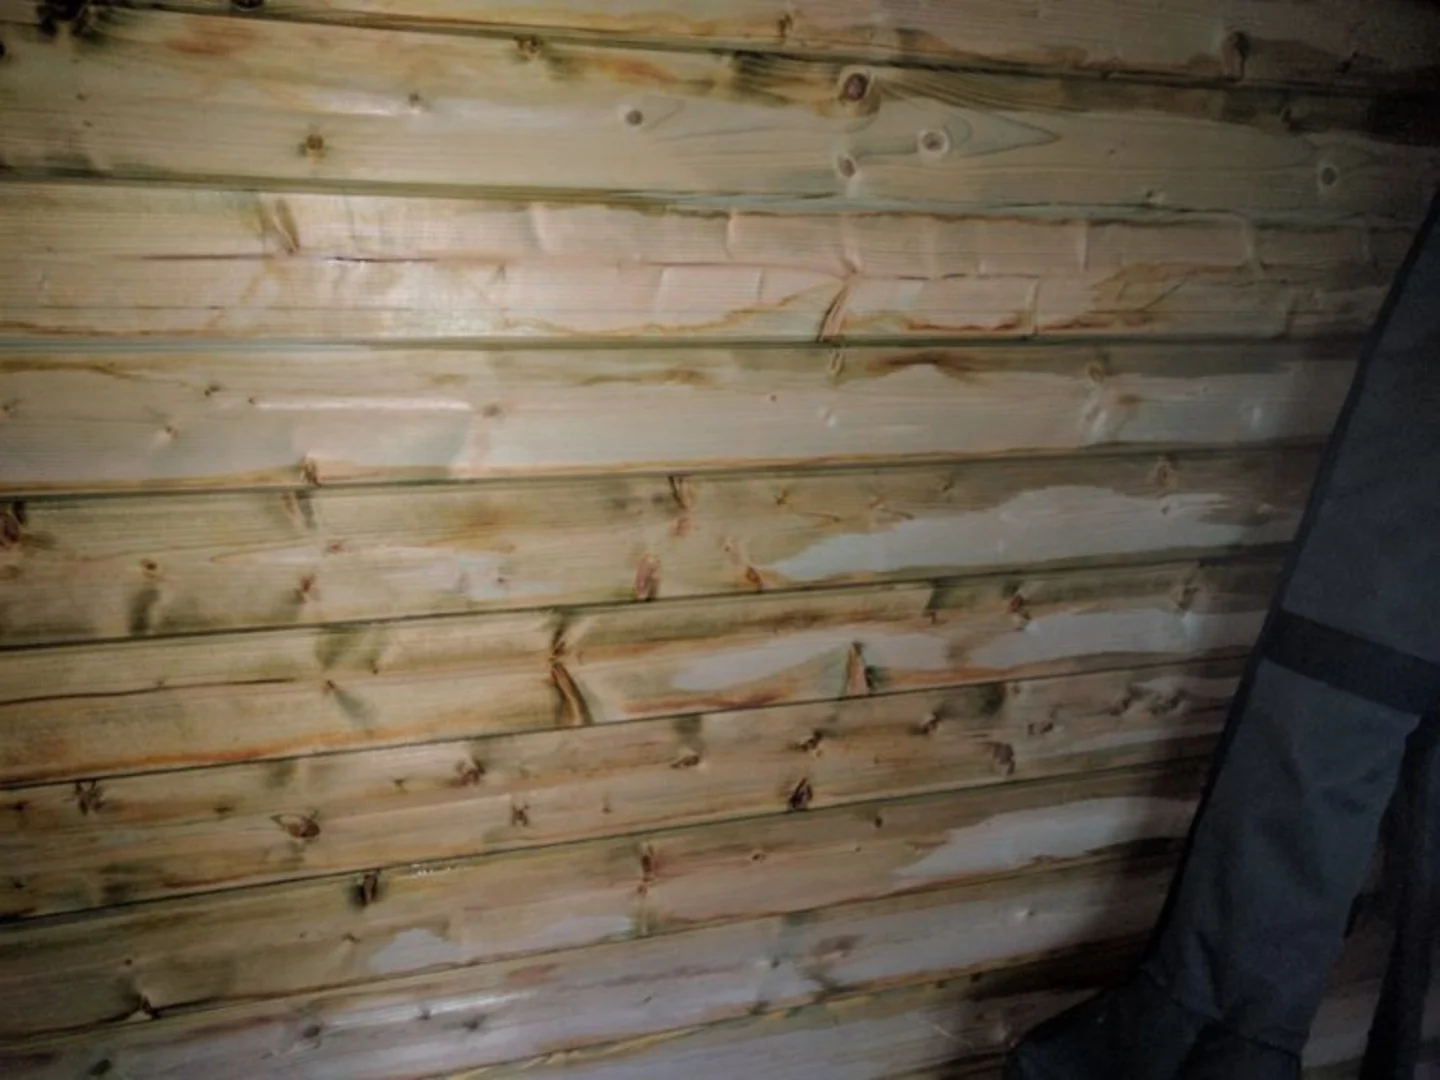
This is an example of an internal wall that has been exposed to the weather which has caused discolouration of the inside of the logs which are still wet.
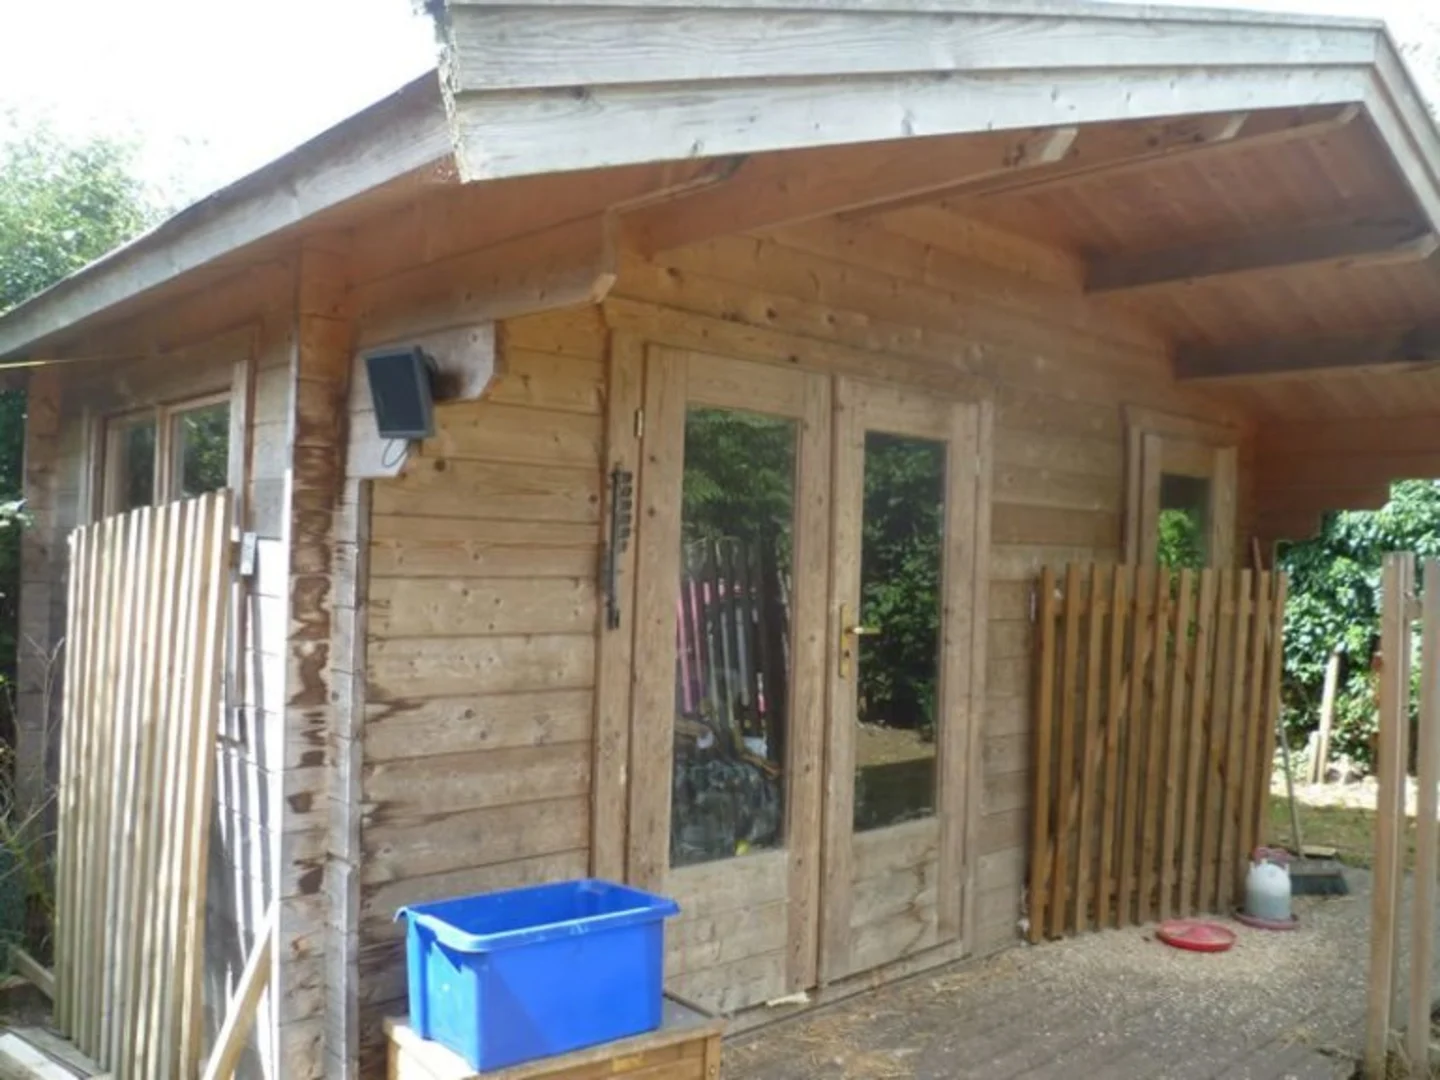
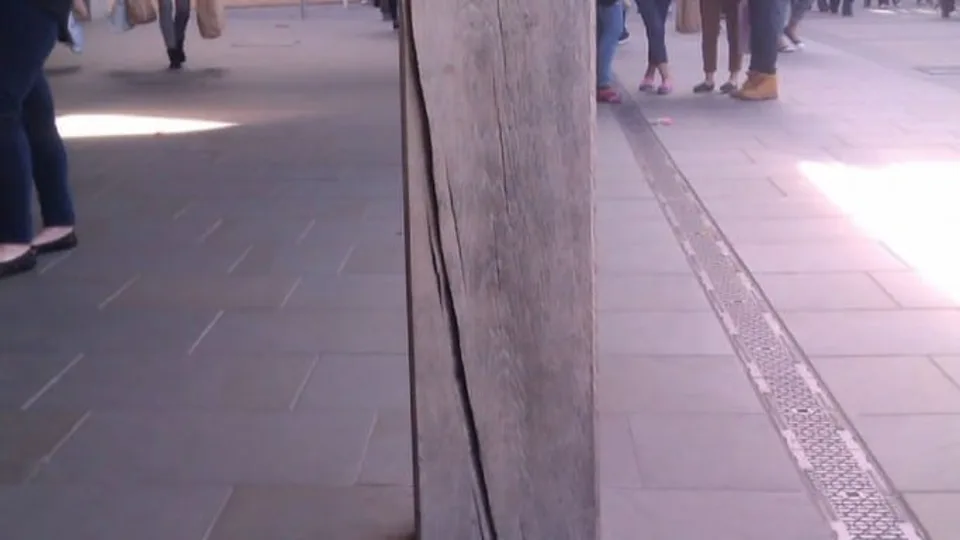
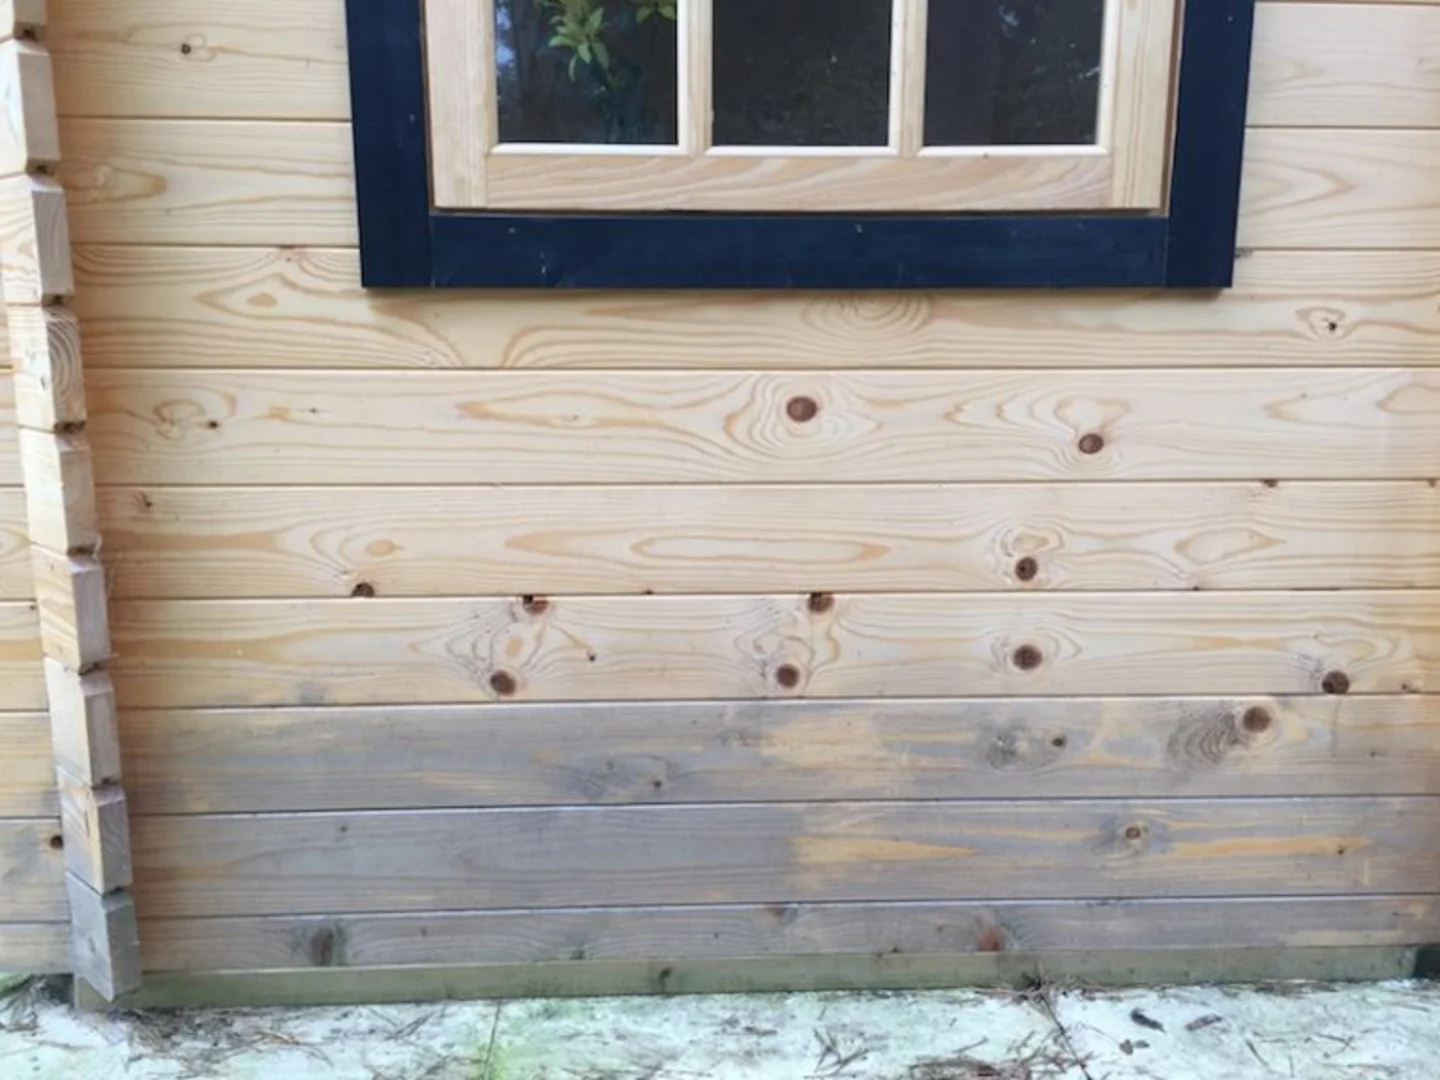
This log cabin has been left completely untreated. It’s an old log cabin that’s still not rotten but, as you can see, the wood hasn’t weathered well.
How to treat your log cabin the right way
Avoiding these common log cabin treatment mistakes will save you time, money and frustration – and keep your log cabin looking its best throughout its lifetime! Proper drying, preparation, product choice, and application depth are all crucial to long-lasting protection.
Take the time to:
Let the wood dry out fully
Choose the right products
Apply multiple coats
Pay special attention to vulnerable areas
With the right treatment, your log cabin will stay beautiful, weather-resistant and structurally sound for many years to come.
Need help choosing the right treatment?
We stock a range of log cabin treatments to help you protect your log cabin and keep it looking it’s best.
If you’d like more advice or guidance, please contact our expert customer service team.